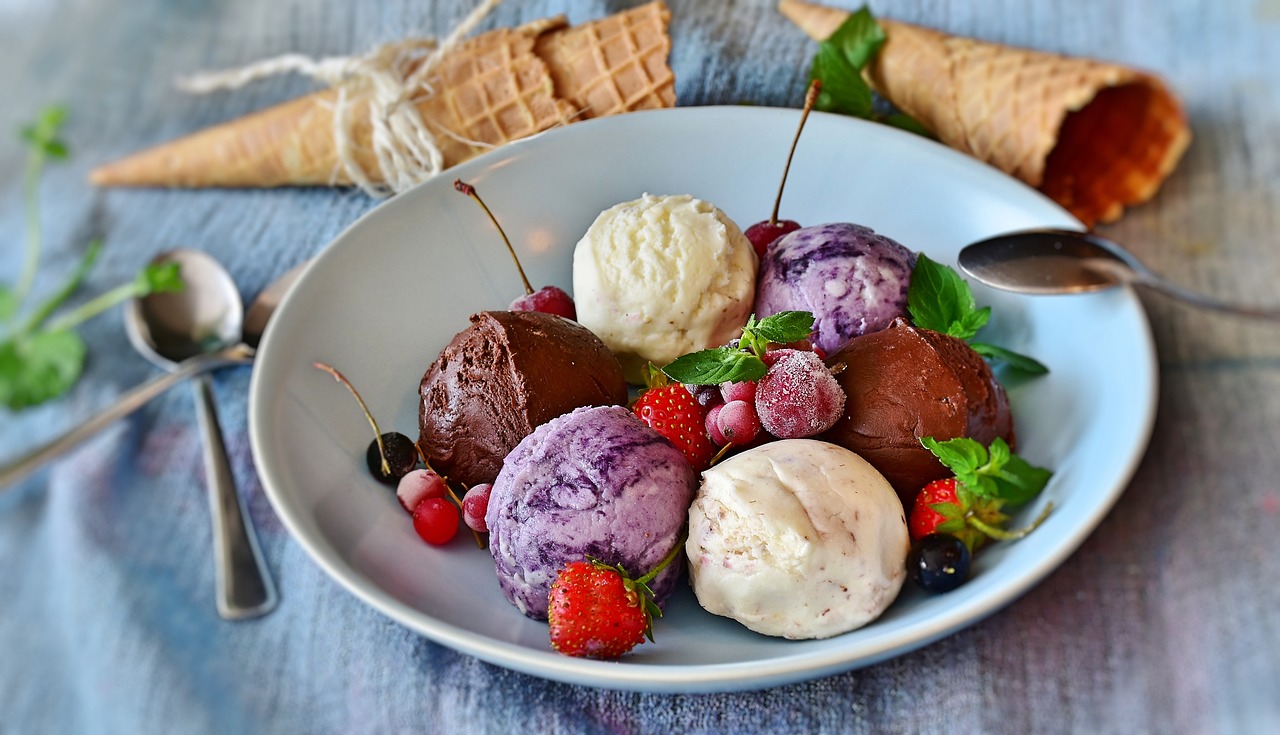
Ah, ice cream. That delicious frozen confection that’s as essential to human life as, well, oxygen and Wi-Fi. If you’ve reached adulthood without ever making your own ice cream, I have to wonder: what have you even been doing with your life? Studying? Working? Forming meaningful relationships? Psh. Amateurs. Clearly, it’s time you address this gaping hole in your existence, and who better to guide you through this spiritual journey than yours truly?
Step 1: Decide You’re Too Good for Store-Bought Ice Cream
The first step to making ice cream at home is acknowledging that Ben & Jerry’s, Häagen-Dazs, and Baskin-Robbins are mere child’s play. After all, you are a culinary artist, ready to take the gastronomic world by storm with your unprecedented frozen treats. Store-bought ice cream is for those who can’t appreciate the nuanced notes of Tahitian vanilla or the artisanal chunkiness of hand-crumbled cookies. In short, it’s for the plebs, and you’re not a pleb, are you?
Step 2: Acquire an Ice Cream Maker
Now, I know what you’re thinking: “Can’t I just freeze some milk and sugar and call it a day?” Oh, my sweet summer child, you’ve got another thing coming. Sure, you can try those ‘no-churn’ recipes you find on Pinterest, created by food bloggers who throw around phrases like “quick and easy” as if they’re sprinkles on a sundae. But let’s get real. You need an ice cream maker because, well, you’re taking this seriously, aren’t you?
An ice cream maker is a magical contraption that turns your liquid dreams into frozen realities. If you’re unsure about what kind to get, just ask yourself: “What would Martha Stewart do?” Then go ahead and get whatever you can afford that’s a step below that, because you’re not made of money. Unless you are, in which case, can we be friends?
Step 3: Ingredients – The Building Blocks of Genius
Now the ingredients. AKA, the ‘things’ you put into the ‘thing’ to make the ‘thing.’ Confused? Don’t be. Here’s a breakdown of what you’ll need to make a basic vanilla ice cream, because let’s face it, if you mess up vanilla, you have no business even attempting ‘Triple Fudge Brownie Caramel Swirl Fantasy.’
- Heavy Cream (2 cups): This is the stuff of legends. Or coronary artery disease. Either way, it’s essential.
- Whole Milk (1 cup): Because 2% is for your morning cereal, not your magnum opus.
- Sugar (3/4 cup): Sweet, glorious sugar. You’ll need it to remind yourself of the joys of life as you slog through the process.
- Vanilla Extract (1 tablespoon): Get the good stuff, not the “vanillin” tragedy in a bottle.
And that’s it. I mean, how could something so simple be so elusive for you up until now? But hold your horses; we’re not mixing and freezing yet. First, we must discuss technique, because artistry is 1% inspiration, 99% perspiration, and 100% food coloring when things go south.
Step 4: Prepare Your Base Like a Pro
Alright, grab a saucepan. You do have a saucepan, right? Oh, you do? Congratulations, you’ve passed Adulting 101. Pour in the heavy cream, whole milk, and sugar. Heat it over medium-low because you’re cooking, not conducting a witch trial. Stir continuously but not obsessively; this isn’t a therapy session. You just want the sugar to dissolve like your hopes and dreams when you realized you were 30 and Googling “how to make ice cream.”
When the mixture is hot but not boiling — think a Miami summer, not the Earth’s core — take it off the stove and add the vanilla extract. If you’re feeling extra fancy, you can scrape in the seeds from a vanilla bean pod, and instantly become the kind of person who uses phrases like “mouthfeel” and “flavor profile.”
And voila! You’ve successfully made your ice cream base. Now all that’s left is churning, freezing, and questioning why you didn’t just buy a pint from the grocery store like a normal person. But hey, you’re committed now. On to churning!
Step 5: The Art of Churning (Or How to Actually Use That Ice Cream Maker)
Now, the moment of truth — churning. Take your newly-purchased or dust-collected ice cream maker and read the instructions. Go ahead, I’ll wait. You didn’t read them, did you? Classic. Don’t worry; they’re basically IKEA instructions for dessert. Just plug it in, pour in your base, and let the machine work its mediocre magic.
In roughly 20 to 30 minutes, the machine will take your liquid ‘aspirations’ and convert them into something that vaguely resembles soft-serve ice cream. Or, as we call it in the culinary world, a ‘semi-success.’
For Those of You Who Don’t Own an Ice Cream Maker (The Anarchy Method):
So you don’t have an ice cream maker. What’s next? Pack up your dreams and go home? Absolutely not. If you’re not keen on spending your hard-earned money on yet another appliance that you’ll use twice a year, you can opt for the good old manual method. You’ll need a little more elbow grease, but let’s face it, it’s probably the most physical activity you’ll get this week.
Pour your glorious base mixture into a shallow, freezer-safe dish. Slide that bad boy into your freezer and wait 30 minutes. Now here comes the fun part: take it out, and with all the fury of a scorned lover, whisk the heck out of it. Really give it your all; make it wish it had never been born as a liquid. This will help break up the ice crystals and give you a smoother texture. Slide it back into the freezer and repeat this process every 30 minutes for about 3 hours or until you tire of this madness.
There you go, you maverick. Who needs an ice cream maker when you’ve got raw determination and a whisk?
And voila! Whether you churned mechanically or manually stirred your way to glory, you’ve got something that should pass for ice cream. On to the freezing!
Step 6: The Waiting Game (The Freezer is Your New Best Friend)
Spoon the contents into a freezer-safe container. Choose one with a lid, unless you enjoy the complex flavors of freezer burn. Place it in the freezer and then wait. And wait. And wait some more. Watch an episode of a cooking show where the chef whips up an entire three-course meal in the same time it’s taking your ice cream to freeze. Question your life choices.
Your ice cream needs at least 4 hours to get its act together, or overnight if it’s really indecisive.
Step 7: Toppings and Add-Ins, Because You’re Extra
While your ice cream is solidifying its life plans in the freezer, consider any add-ins. Sure, vanilla is classic and elegant, but who are we kidding? You want chocolate chips, sprinkles, crushed Oreos, and maybe a dash of existential dread. Basically, it’s a party in frozen dairy form. Mix these in during the last 5 minutes of churning, unless you want a catastrophic blender situation on your hands.
Step 8: The Big Reveal
At last, the moment you’ve been waiting for. Take that ice cream out of the freezer. Marvel at its frozen splendor. Use an ice cream scooper to carve out a perfect sphere. If you don’t have an ice cream scooper, a spoon will do, but don’t tell anyone in the culinary world I said that. They’ll revoke my imaginary Michelin star.
Take that first bite. Is it everything you dreamed of? No? Ah, who cares — you made it, and that counts for something. Yes? Congratulations, you are now qualified to pass judgment on every other ice cream you encounter for the rest of your life.
Step 9: Clean Up (Or Don’t, I’m Not Your Mom)
You’ve done it. You’ve crafted your own ice cream like the culinary wizard you are. Now, you have a choice: clean up immediately or leave it for your “future self” to deal with. Choose wisely.
Step 10: Annoy Everyone You Know
Having successfully created ice cream, your final step is to incessantly talk about it. Share it on social media, text your ex to tell them what they’re missing, make your co-workers try it while you watch their faces for any sign of deceit. You didn’t go through this journey to NOT get validation, right?
And there you have it — your beginner’s guide to making ice cream at home. You’re now equipped with the skills and hubris to forge your own path in the thrilling world of frozen desserts. The ice cream aisle will never look the same again. Not because you won’t need it, but because you’ll walk by muttering, “Mine is better,” while surreptitiously adding a pint of Ben & Jerry’s to your cart — just in case.
Bonus: 3 Essential Ice Cream Recipes You Definitely Need (No, Seriously)
So you’ve slogged through the amateur hour of making vanilla ice cream. Congratulations, you’ve graduated from Ice Cream University with a degree in Deliciousness and a minor in Self-Doubt. Time to level up your frozen dessert game with these recipes that are so good, they should probably be illegal.
1. Chocoholic’s Dream: Double Chocolate Ice Cream
Ingredients:
- 2 cups heavy cream
- 1 cup whole milk
- 3/4 cup granulated sugar
- 1/2 cup unsweetened cocoa powder
- 200g dark chocolate, chopped
- 1 tablespoon vanilla extract
Makes around 1 quart
Instructions:
- In a saucepan, mix the heavy cream, whole milk, and sugar. Heat over medium-low.
- Add cocoa powder and whisk until smooth.
- Add the chopped dark chocolate and stir until melted and combined.
- Remove from heat and stir in the vanilla extract.
- Chill, churn, and freeze according to your ice cream maker’s vague, yet strangely specific, instructions.
2. Matcha Made in Heaven: Matcha Green Tea Ice Cream
Ingredients:
- 2 cups heavy cream
- 1 cup whole milk
- 3/4 cup granulated sugar
- 2 tablespoons Matcha green tea powder
- 1 teaspoon vanilla extract
Makes around 1 quart
Instructions:
- In a saucepan, combine the heavy cream, whole milk, and sugar. Heat over medium-low.
- Sift in the Matcha powder. Yep, sift it; don’t just dump it. Unless you enjoy the flavor of clumps.
- Whisk until everything is fully incorporated.
- Remove from heat and add vanilla extract.
- Proceed to chill, churn, and freeze as your existential dread mounts.
3. Vegan Coconut Raspberry Bliss
Ingredients:
- 2 cans (13.5 oz each) full-fat coconut milk
- 3/4 cup granulated sugar
- 1 tablespoon vanilla extract
- 1 cup raspberries (fresh or frozen)
Makes around 1 quart
Instructions:
- In a saucepan, mix the coconut milk and sugar. Heat over medium-low until sugar is dissolved.
- Remove from heat, add vanilla extract.
- Chill in the fridge for at least 2 hours because even coconut milk needs beauty sleep.
- During the last 5 minutes of churning, add the raspberries.
- Freeze like you’ve frozen your gym membership payments during the pandemic.
And there you have it, folks. Three ice cream recipes to impress your friends, family, and that neighbor you always awkwardly wave to but whose name you’ve forgotten. You are now an unstoppable force in the frozen dessert universe. Or at least in your own kitchen.