Sushi rice. The bedrock of every sushi lover’s dreams, and the nightmare of every person who’s ever had to suffer through a failed attempt. Because who wouldn’t want a glob of rice to ruin their sushi experience?
But fret not, dear wannabe sushi chef! Today, I shall lead you by your hand, laden with a wooden spatula, down the treacherous and sticky path of sushi rice preparation. Let’s dive in, shall we?
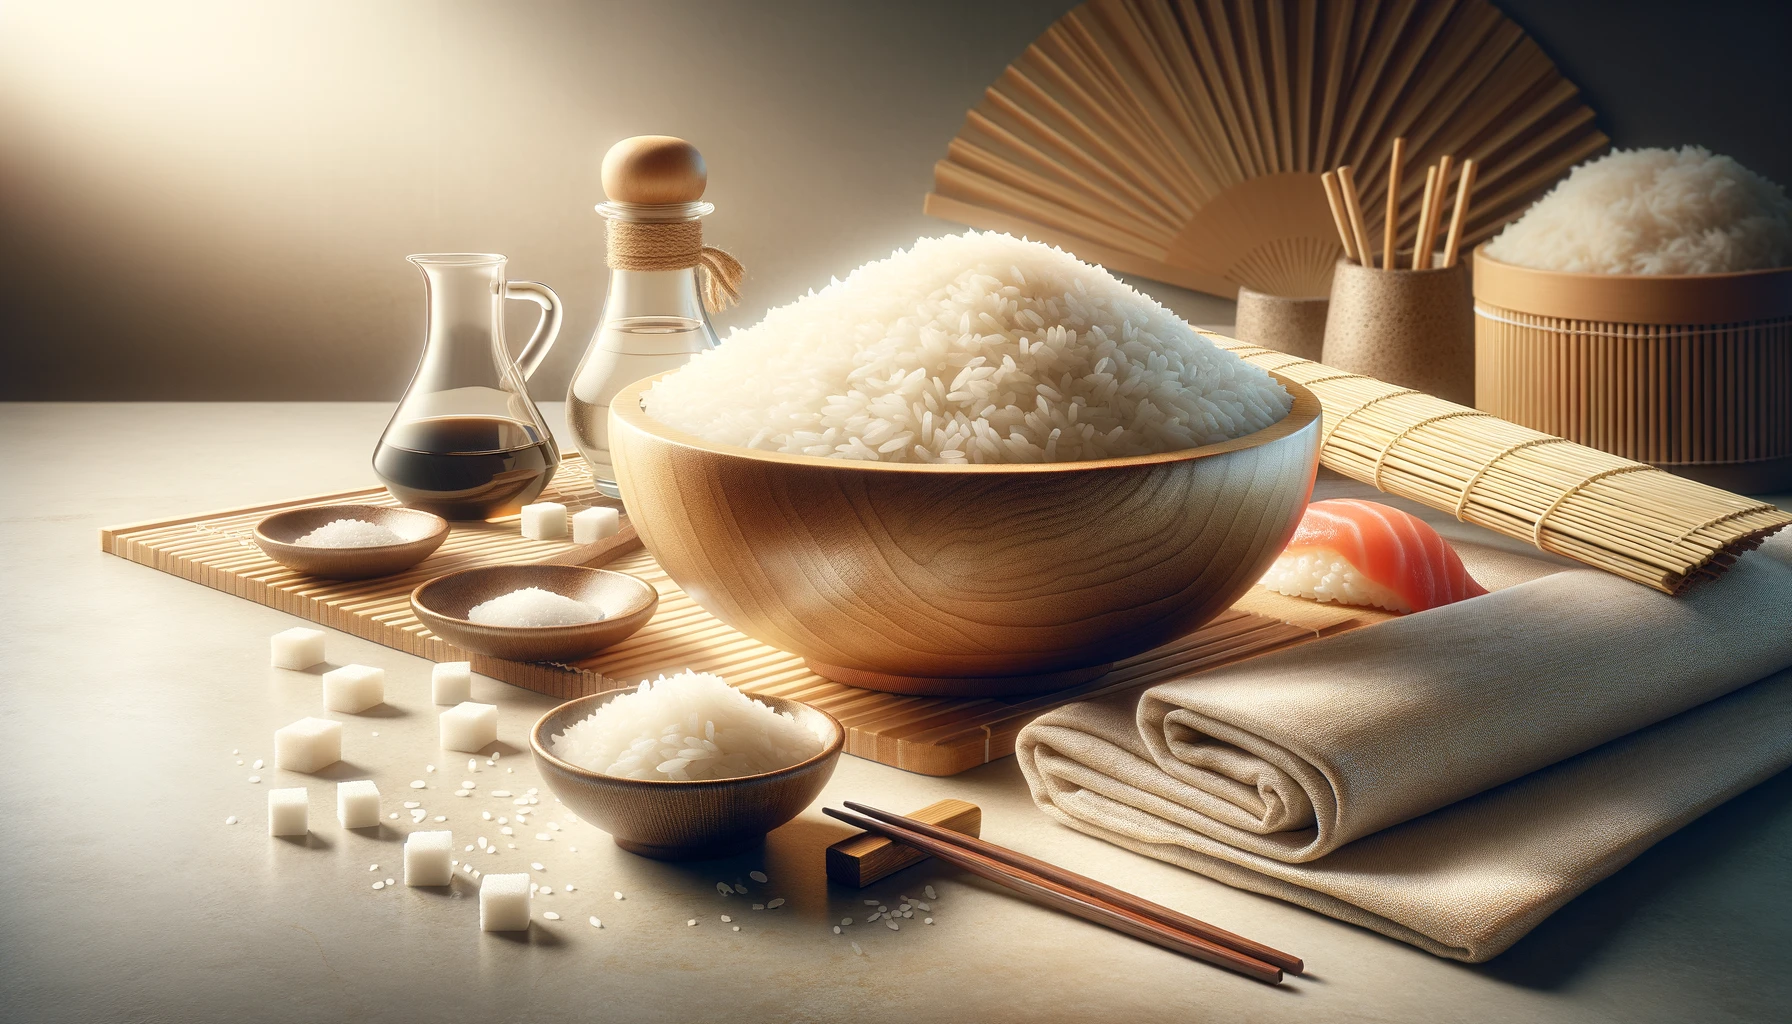
Ingredients:
(Because apparently, you can’t make sushi rice with just dreams and ambition.)
- Rice: 2 cups of short-grain Japanese rice. But hey, if you’re feeling adventurous or just plain lazy, go ahead and use that leftover long-grain rice from last night’s curry. See if I care. (But really, please use short-grain.)
- Water: 2.5 cups. From the tap, from a bottle, from the tears of your enemies – the choice is yours.
- Rice vinegar: ⅓ cup. It’s the stuff that makes your rice taste like…well, sushi rice.
- Sugar: 3 tablespoons. Because life is sour enough.
- Salt: 1 teaspoon. I like to imagine it’s the tears of sushi masters past, sprinkled in for flavor.
Steps to Achieve Sticky Success:
1. Cleaning up your act: Start by rinsing the rice. This is a pivotal step, unless you enjoy your rice with a side of dusty disappointment. Rinse under cold water using a sieve or a colander, swirling the grains around until the water runs relatively clear. This might take several attempts, much like your first few tries at dating.
2. Soaking up the drama: After washing, let the rice soak for about 30 minutes. This isn’t some spa-treatment for your rice, but it ensures the grains will cook evenly. If you skip this step, you’ll be known as the person who made crunchy sushi rice, and no one wants that title.
3. Cooking, the main event: Add your well-pampered rice and your choice of water to a pot. Slap on a lid (tightly now, we’re not trying to let the steam have a party) and bring it to a boil over medium heat. Once it’s boiling like your impatience, reduce to a simmer for about 10-12 minutes. Resist the urge to lift the lid and peek! Seriously, no peeking. It’s like opening the oven door during a soufflé bake — only heartbreak lies that way.
4. Saucy Affair: While your rice is cooking and steaming up the place, let’s get saucy. In a small saucepan, combine the rice vinegar, sugar, and ancient sushi master tears (or regular salt). Warm it up over low heat, just until the sugar and salt have dissolved. It should neither boil nor develop a personality. Keep it simple.
5. Cooling with Style: After your rice is done, turn off the heat and let it sit for another 10 minutes, still covered. This is its personal time; let it have its moment. Once done, transfer the rice to a large, non-metallic bowl. A wooden or glass bowl works best. Metal bowls? That’s just rice blasphemy.
6. Fanning the Flames (or just the rice): If you’ve seen sushi chefs in action, you might’ve noticed they often fan the rice as they season it. This cools the rice and gives it a shiny finish. Now, you could use an actual fan, or you could use the latest issue of that gossip magazine you swear you don’t subscribe to. Either way, fan away!
7. Season while it’s hot: Drizzle that saucy mixture you made earlier over the rice. But don’t dump it all at once! You’re seasoning, not drowning. Use a rice paddle or a spatula to gently fold the rice. The goal here is to coat each grain with the vinegar mixture without turning the whole thing into rice mush. Remember: fold, don’t stir. This isn’t your aunt’s questionable potato salad.
8. Let it breathe: Once your rice is seasoned, let it sit for a while to reach room temperature. If you’re in a hurry, you can fan it a bit more, waving that magazine like you’re trying to get the attention of a waiter who’s determined to ignore you.
9. Taste and Despair (or Rejoice): Give your rice a taste. If it tastes like sushi rice, congratulations! You did something right. If not, well, at least you have a funny story to tell at parties.
10. The Final Touch: Before using the rice to make sushi, dip your fingers in a mixture of water and a bit of rice vinegar. This not only prevents the rice from turning your hands into sticky messes but also adds a tiny bit of flavor. Ah, the tricks of the trade.
Conclusion
Making sushi rice might seem like an Olympic event with all its steps and finesse, but with practice (and a bit of humor), you’ll get the hang of it. Before you know it, you’ll be rolling sushi like a pro, impressing your friends and family with your newfound skills.
Remember, sushi rice is the foundation of any good sushi. Treat it with the respect it deserves, and it will reward you with delicious results.
Now, go forth and roll! And when someone asks where you learned to make sushi rice, you can tell them about that one sarcastic and hilarious guide. You’re welcome.
Pro Tips for Making Sushi Rice
- The Right Rice Ratio: While 2 cups of rice is standard, remember that different brands of rice may absorb water differently. It’s a good idea to check the package instructions for the water-to-rice ratio and adjust accordingly. Precision matters in sushi-making!
- Temperature Matters: Sushi rice should be seasoned while it’s still warm. This helps the rice absorb the vinegar mixture more effectively, resulting in a better texture and flavor.
- Avoid the Fridge: Never refrigerate your sushi rice if you plan to use it for sushi later. Refrigeration can alter the texture, making it hard and less sticky. Always aim to use it fresh or leave it at room temperature covered with a damp cloth.
- Experiment with Additions: For those who want to get a bit more adventurous, try adding a piece of kombu (dried kelp) to your cooking rice. It adds a subtle umami flavor that can elevate your sushi rice.
- Rice Cooker Magic: If you have a rice cooker, use it! It can make the process a lot simpler and more consistent. Plus, many rice cookers have a sushi rice setting specifically for this purpose.
- The Art of Fluffing: Once your rice is cooked and seasoned, fluff it gently with a fork or rice paddle. This helps to separate the grains and keep the texture light and airy.
- Patience is Key: Allow the rice to cool down to room temperature naturally. Avoid rushing the process with artificial cooling methods as this can impact the final texture.
- Storage Smarts: If you must store sushi rice, keep it in a tightly sealed container at room temperature for no more than a day. Reheat it gently with a sprinkle of water to bring back some moisture.
- Balancing the Seasoning: Adjust the amount of vinegar, sugar, and salt to your taste. Some prefer a sweeter rice, while others might like it more tangy. Don’t be afraid to tweak the ratios.
- Practice Makes Perfect: Finally, remember that making perfect sushi rice is an art that takes practice. Don’t get discouraged if your first few attempts aren’t perfect. Keep trying!
FAQs about Sushi Rice
It’s best to use short-grain Japanese rice for sushi. This type of rice has the ideal texture and stickiness for sushi. Long-grain rice, like basmati or jasmine, is too dry and won’t hold together well.
Rinsing removes excess starch from the surface of the rice grains, which can make your sushi rice overly sticky and gummy. Rinse until the water runs clear for the best texture.
Yes, soaking helps the grains cook more evenly. It ensures that the center of each grain is as tender as the outside. Skipping this step can result in unevenly cooked rice.
Absolutely! Many rice cookers even have a specific setting for sushi rice. It can simplify the cooking process and help produce consistently good results.
The vinegar mixture is crucial as it gives sushi rice its distinctive tangy flavor and glossy appearance. Adjust the sugar and salt to suit your taste, but don’t skip the vinegar.
Store it at room temperature, covered with a damp cloth, for up to a day. Avoid refrigerating as it hardens the rice. To reuse, lightly sprinkle with water and reheat gently.
Fanning the rice helps it cool to the right temperature and gives it a desirable glossy sheen. It also helps to evenly distribute the vinegar seasoning.
Too sticky rice often means overcooking or insufficient rinsing. If it’s too hard, it might not have been cooked long enough, or the water-to-rice ratio was off. Adjust accordingly next time.
Yes, you can experiment with subtle flavors. A piece of kombu added while cooking can give a umami flavor. Be cautious with additions, as the rice should complement the sushi, not overpower it.
Practice and patience are key. Follow the steps carefully, adjust the seasoning to your taste, and don’t rush the cooling process. Each batch you make will get you closer to perfection.