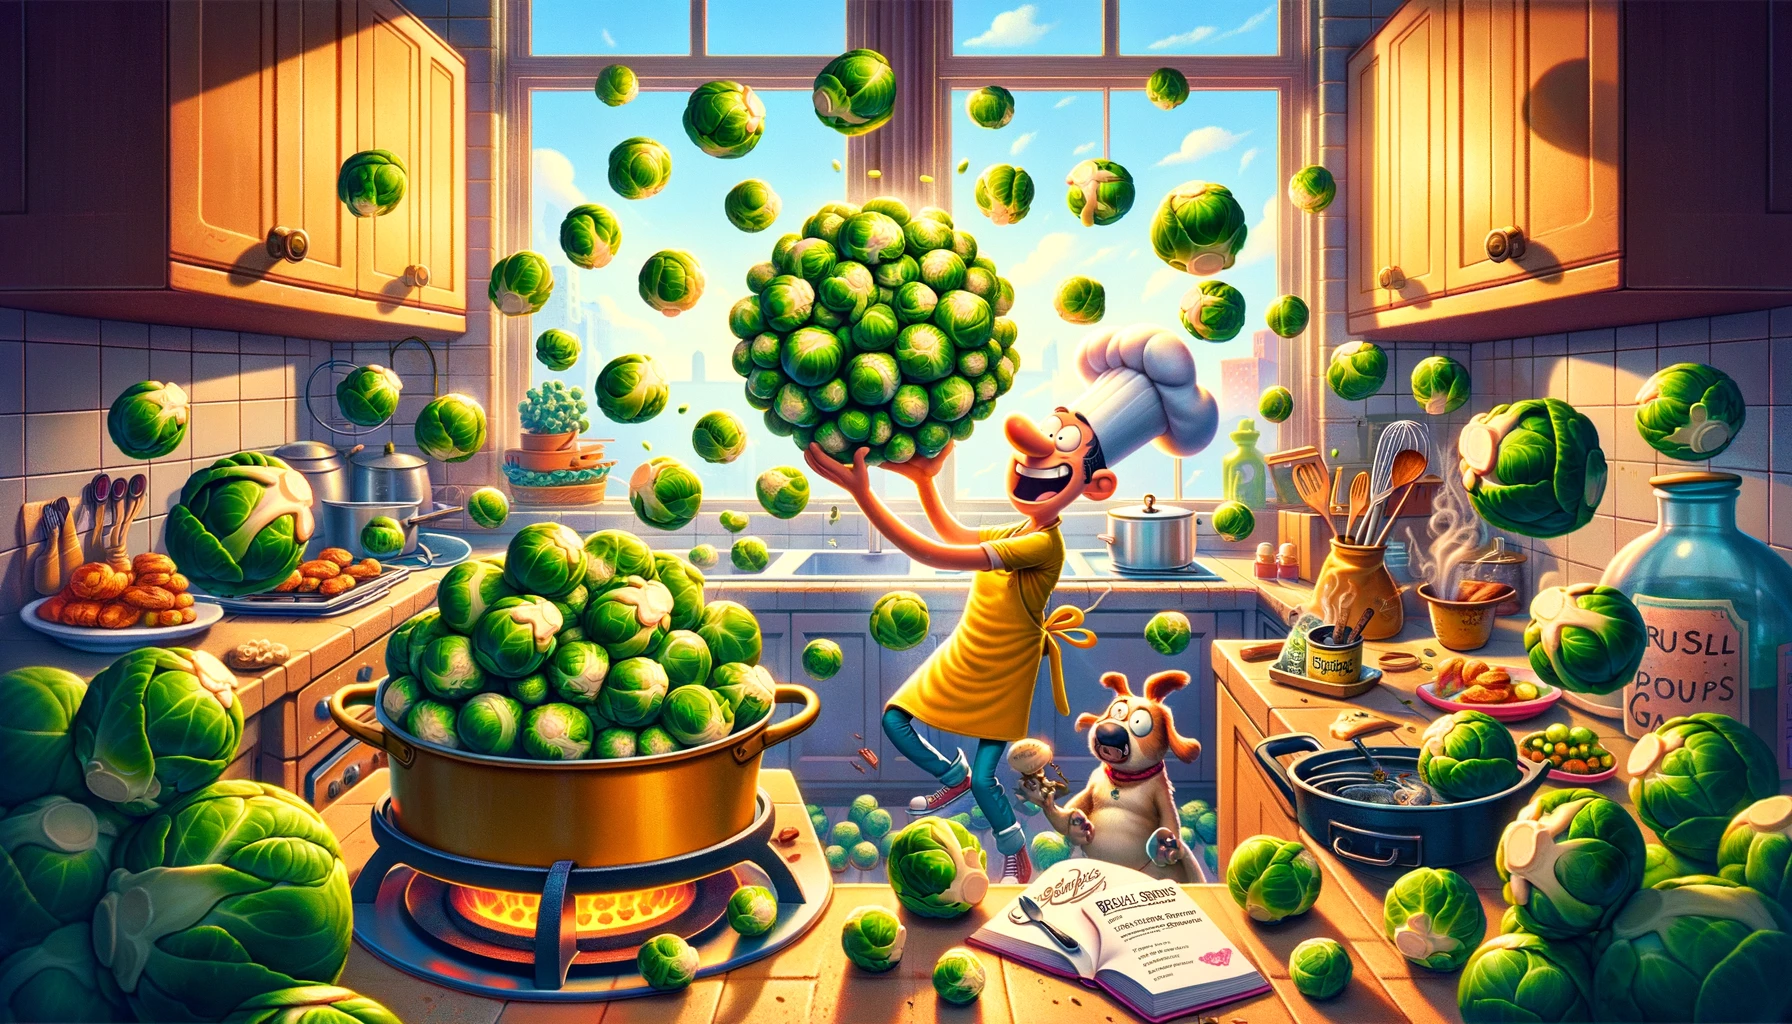
Brussel sprouts – the tiny, cabbage-like veggies that have a reputation of haunting childhood dinners. Let’s embark on this culinary adventure to transform these notorious greens into something edible, or dare I say, enjoyable. Who knows, with a little bit of magic (and a lot of seasoning), you might just end up not hating them!
Ingredients:
- Brussel sprouts – 500 grams (because suffering in small quantities is just not enough)
- Olive oil – 3 tablespoons (the elixir of life)
- Salt – a pinch (or a fistful, depending on your love for sodium)
- Black pepper – 1 teaspoon (to add the ‘spice’ of risk)
- Garlic powder – 1 teaspoon (because garlic makes everything better, right?)
- Balsamic vinegar – 2 tablespoons (for that touch of sophistication)
- Honey – 1 tablespoon (to sweeten the deal, or the sprouts)
- Parmesan cheese, grated – ¼ cup (because cheese is the answer to most of life’s problems)
- Crushed red pepper flakes – ½ teaspoon (optional, for those who like to live dangerously)
Step 1: Prep the Little Green Monsters
First things first, rinse your Brussel sprouts. This is crucial, as it washes away the bitterness (metaphorically speaking, the bitterness never truly leaves). Trim off the ends and remove any yellow leaves. Then, cut them in half. This is not only for cooking purposes but also to check that there are no hidden bugs planning to surprise you. Because, let’s face it, a bug-infested Brussel sprout is the only thing worse than a regular Brussel sprout.
Step 2: Seasoning – The Make It or Break It
In a large bowl, toss these little green balls of joy with olive oil, salt, pepper, and garlic powder. Be generous with the seasoning – remember, we’re trying to mask the inherent flavor of the sprouts here.
Step 3: Cooking – Aka, The Transformation
Place the Brussel sprouts on a baking sheet, ensuring they have room to breathe. Overcrowding leads to steaming, and steaming leads to soggy sprouts – and nobody wants that. Roast them in a preheated oven at 400°F (200°C) for about 20-25 minutes. Halfway through, give them a good stir or a shake. This isn’t just for even cooking; it’s also a great way to release any pent-up aggression.
Step 4: The Final Touches
Once they’re nicely browned (and somewhat unrecognizable), remove them from the oven. Drizzle with balsamic vinegar and honey for a glaze that says, “I’m trying really hard to make you taste good.” Sprinkle the grated Parmesan cheese and red pepper flakes for that final oomph.
And there you have it, Brussel sprouts that are almost, nearly, sort of edible. Serve them to your family or enemies, and watch as they struggle to decide whether they’re actually tasty or if it’s just the cheese and seasonings doing the heavy lifting. Bon appétit!
Pro Tips to Elevate Your Brussel Sprout Game (Or At Least Make Them Bearable):
- Roast, Don’t Boil: Boiling Brussel sprouts is a crime against humanity. Roasting them brings out a nutty flavor, which is a pleasant surprise compared to the usual boiled bitterness. Remember, you’re not making a potion; you’re making dinner.
- The Power of Bacon: Everything’s better with bacon, right? If you feel like cheating (and let’s face it, with Brussel sprouts, it’s allowed), add some bacon bits. The smokiness and crunch add a delightful contrast to the sprouts. It’s like adding a spoonful of sugar to medicine – necessary and effective.
- Play with Textures: Add some chopped nuts (like pecans or walnuts) for a bit of crunch. It’s not just about taste – texture plays a big part in tricking your brain into thinking Brussel sprouts are a treat.
- Lemon Zest for Zing: If you want to add a fresh, citrusy zing, sprinkle some lemon zest over your cooked Brussel sprouts. It’s like adding a bit of sunshine to a cloudy day.
- Cheese, Please!: If Parmesan doesn’t do it for you, experiment with other types of cheese. A sprinkle of feta can add a tangy kick, while Gouda can bring a nice smoky touch. Cheese is the duct tape of the culinary world; it fixes everything.
- Size Matters: Cut your Brussel sprouts in uniform sizes to ensure even cooking. No one wants a plate of mixed undercooked and overcooked sprouts. Consistency is key (and often elusive when it comes to these green orbs).
- The Caramelization Station: Allow your Brussel sprouts to get nicely caramelized in the oven. That golden-brown crust isn’t just for looks; it’s a flavor powerhouse. It’s the Brussel sprout’s final attempt at redemption.
- Spice it Up: Don’t shy away from spices. A little cumin, curry powder, or smoked paprika can go a long way in transforming these little green balls from drab to fab.
- Maple Syrup for the Win: If honey isn’t your thing, try maple syrup for a different kind of sweetness. It’s like choosing between two types of band-aids – they both cover up the pain, just in slightly different ways.
- Leftover Makeover: If you have leftovers (which is likely, let’s be honest), chop them up and toss them in a salad, pasta, or omelet the next day. It’s the art of disguising Brussel sprouts in something more palatable.
FAQ Section: Navigating the World of Brussel Sprouts
Brussel sprouts naturally contain compounds called glucosinolates, which give them their notorious bitter taste. The key to reducing bitterness is in the cooking method. Roasting, as opposed to boiling, helps caramelize the natural sugars in the sprouts, mitigating the bitterness. Also, selecting smaller sprouts can help, as they tend to be less bitter than their larger counterparts.
Look for small, firm sprouts with tightly closed leaves. They should be bright green and free of yellow and brown spots. Avoid sprouts that have a pungent smell, as this indicates they’re overripe and more likely to be extra bitter.
Absolutely! You can trim and halve your Brussel sprouts a day or two in advance. Just store them in an airtight container in the refrigerator. Prepping ahead can save you time and make your cooking experience a bit less daunting.
Despite their contentious taste, Brussel sprouts are a nutritional powerhouse. They are high in fiber, vitamins (like Vitamin C and K), and antioxidants, which are great for overall health. So yes, they’re healthy, but whether that compensates for their taste is a matter of personal opinion.
Generally, Brussel sprouts should be roasted for about 20-25 minutes at 400°F (200°C). However, this can vary depending on the size of the sprouts and your oven. You’re looking for a golden-brown color and a tender but not mushy texture.
Yes, you can freeze Brussel sprouts. It’s best to blanch them first for about 3-4 minutes, then plunge them into ice water to stop the cooking process. Dry them thoroughly before freezing. They can be stored in the freezer for up to 12 months.
The trick is to disguise their flavor and make them fun. Try roasting them with a touch of maple syrup or honey for sweetness, or mix them with bacon or cheese. You can also chop them finely and incorporate them into dishes like pasta or fried rice.
For a quicker method, you can sauté halved Brussel sprouts over medium-high heat for about 10 minutes. This method also allows for a nice caramelization. Just be sure to not overcrowd the pan, as they can steam and become soggy.
Brussel sprouts can be a versatile ingredient. Try adding roasted Brussel sprouts to salads, pastas, or grain bowls. You can also shred them raw for a crunchy addition to slaws or stir-fries.
The strong smell is due to the sulfur compounds released during cooking. To minimize this, avoid overcooking them. Cooking them at a higher temperature for a shorter duration (like roasting or sautéing) can also help reduce the odor.