So you’ve decided to make your own jewelry. Bravo! Really, I can’t think of a better way for you to spend your free time. Let’s face it, Netflix was starting to get a bit monotonous, and you’ve already baked enough banana bread to last a lifetime. Now, it’s time to do something with those idle hands, because as they say, “idle hands are the devil’s workshop.” But let’s turn that workshop into something less demonic and more shiny, shall we?
Step 1: Inspiration (or Delusion?)
First off, you need inspiration, darling. And by inspiration, I mean you need to decide whether you’re crafting for yourself, your Aunt Sally who still thinks you’re 12, or that artsy flea market where people buy upcycled bicycle chain necklaces. After all, what’s life without a hint of delusion? Spend a good, long while scrolling through Pinterest, and don’t forget to ooh and aah at the pieces that are clearly beyond your skill level.
Step 2: Materials, or How to Spend Money to Save Money
Oh, you thought making your own jewelry would be a budget-friendly alternative to buying new trinkets? You sweet, naïve soul. Head to the nearest craft store, and be prepared to drop enough money to make you wonder whether you should’ve just gone to Tiffany’s instead. Here’s a shopping list for the completely clueless:
- Beads: The shinier, the better. If you don’t momentarily blind yourself while looking at them, you’re doing it wrong.
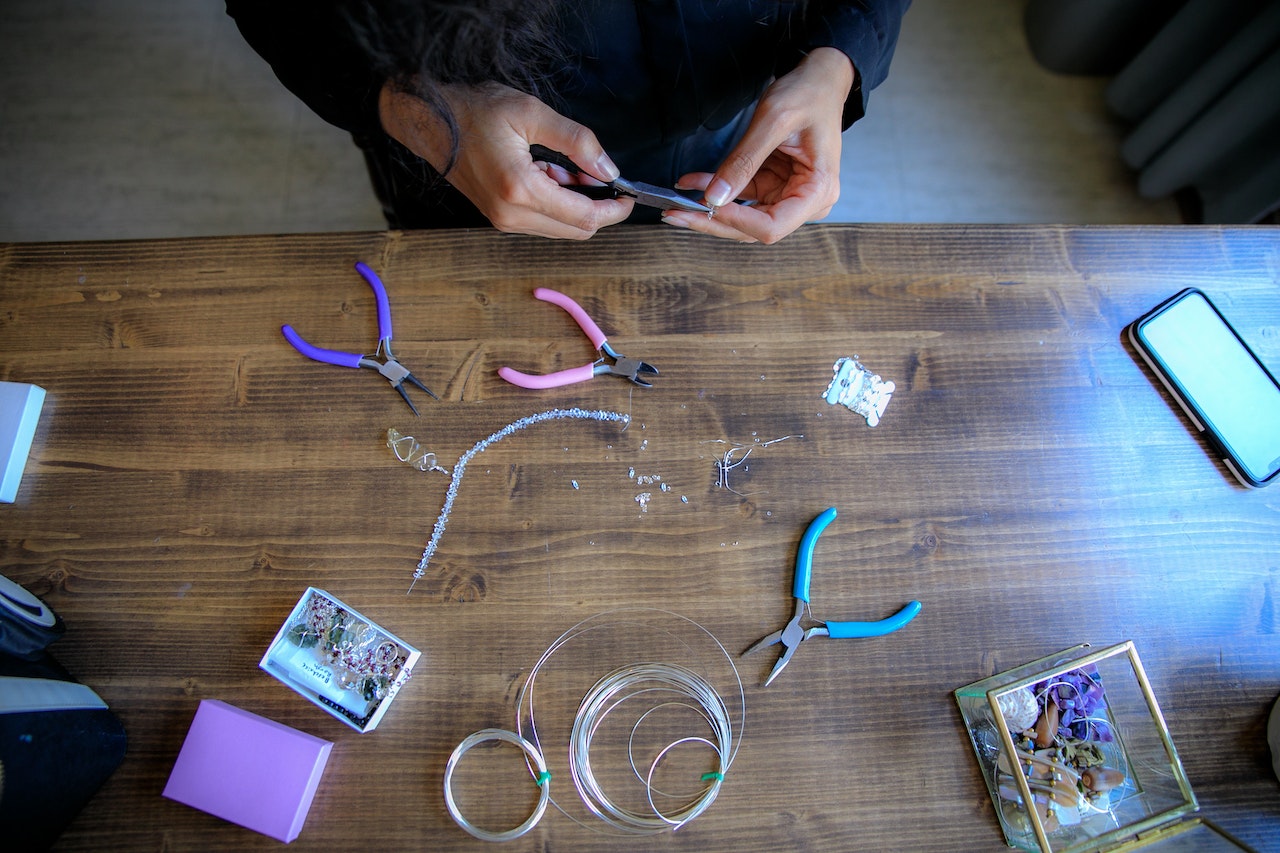
- Wire: Thin enough to bend, thick enough to actually hold the beads. A complicated relationship, indeed.
- Clasps and Findings: No, that’s not the name of a hipster band. You’ll need these to, you know, close the necklace or bracelet.
- Pliers: Because using your teeth is generally frowned upon in the civilized world.
Step 3: The Art of Bead Threading, or How to Test Your Patience
Now that you’ve got your bling, it’s time to string those beads like your life depends on it. Bead threading is the haute couture equivalent of threading a needle. It takes focus, precision, and the sort of patience you reserve for waiting for your phone to update. But hey, you chose this life. Tip: if you drop a bead and can’t find it, just assume it’s gone to bead heaven and move on. Life’s too short to spend it searching for fallen beads.
Step 4: Don’t Forget to Accessorize Your Accessories
Think your bead sequence looks perfect? Think again. Now’s the time to rip apart everything you just did and start over. Okay, fine, I’m exaggerating (sort of). But do consider adding some pizzazz. Charms, little tassels, or even a tiny, inoffensive skull can add that extra “oomph” to make your DIY project look like it’s worth at least three times the cost of your materials.
Step 5: The Almighty Clasp
You’ve strung the beads, added some flair, and now you’re nearing the finish line. All that’s left to do is to add the clasp. Simple, right? Ha! You thought threading beads tested your patience? Try attaching a clasp with pliers in one hand, the necklace slipping through your other hand, all while questioning your life choices. But once you’ve done it, congratulations! You’ve just made something that may or may not resemble jewelry.
Step 6: Admiration Time—Just Don’t Look Too Closely
So, you’ve actually done it. You’ve created something wearable! Now’s the time to admire your handiwork. Hold it up to the light. Instagram it. Take it for a night out paired with your least questionable outfit. Just whatever you do, don’t inspect it too closely. You know that saying, “Perfection is the enemy of good”? Keep telling yourself that, especially when you notice that one bead that’s not quite like the others. Consider it your “signature asymmetry.”
Step 7: Take it For a Test Run, or Brace for Breakage
You may think your masterpiece is ready for the Met Gala, but let’s be realistic: start small. Wear it to a family dinner and relish the forced compliments. If it can survive Aunt Sally’s over-enthusiastic hugs or your toddler cousin trying to use it as a teething ring, you’re golden. If it breaks, well, remember: every artist has their “Blue Period.” Time to go back to the drawing (or beading) board.
Step 8: Gift Your Creations (Whether They Want Them or Not)
So you’ve got one — no, let’s be optimistic here — several pieces of jewelry now. More than you can realistically wear unless you’re planning on doubling as a Christmas tree. Time to spread the joy! And by “spread the joy,” I mean foisting your creations upon your closest friends and family. Watch their faces light up with the forced smiles that only come from receiving a handmade gift. Priceless.
Step 9: Become an ‘Entrepreneur’
So you’ve pawned off your jewelry on everyone you know, and there’s still more. What to do? Obviously, it’s time to become an entrepreneur. Open an Etsy store and give it an artsy, completely unrelated name like “Bohemian Moonlight Shadow Crystals.” Don’t forget to write product descriptions that include words like “artisan,” “bespoke,” and “ethereal.” You’re not just selling jewelry, you’re selling a lifestyle. A lifestyle that includes spending $20 plus shipping on questionable jewelry.
Step 10: Reflect on Your Life Choices
As the weeks roll by and you have yet to make a single sale on Etsy, take this quiet time to reflect on your life choices. Perhaps DIY jewelry isn’t your path to fame and fortune. But look on the bright side: you’ve developed a new skill, filled some empty hours, and most importantly, you now have a lifetime supply of emergency gifts. And you never know, the next family birthday or obscure holiday could be right around the corner!
So there you have it, folks. You’re now equipped with enough advice to dive headlong — or beadlong — into the glittering world of jewelry making. Trust me, it’s an adventure you won’t soon forget, no matter how hard you try.
Happy beading!