Listen up, people. Gather ’round, and let me share with you the sorcery and dark magic that is “taking a good photograph.” That’s right; by the end of this article, you’ll be the Ansel Adams of smartphone photography, the Annie Leibovitz of your friend group’s awkward parties. And the best part? You don’t need a fancy degree from a posh art school. Heck, you don’t even need to know what f-stop is, although it does sound like a rejected name for a hipster band.
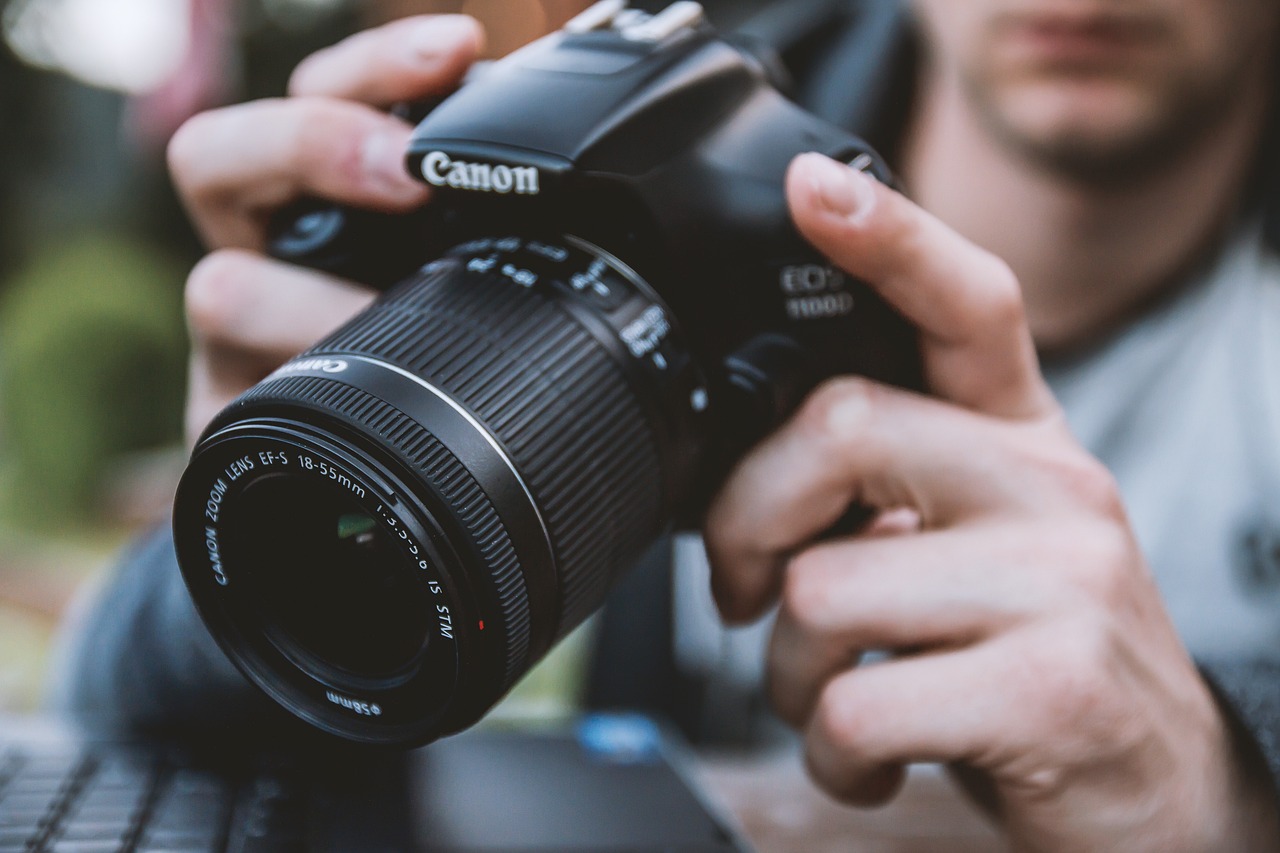
Step 1: Buy Expensive Gear You Don’t Need
The first rule of Fight Club — I mean, photography — is that the more you spend on a camera, the better your photos will be. That’s just common sense, folks. If your camera doesn’t have at least three lenses, weigh as much as a newborn, and make you look like a paparazzo stalking a celebrity, then are you even a real photographer?
But don’t stop there! You need all the extras: filters that you’ll never use, a tripod that’s sturdier than your commitment to the gym, and a camera bag that screams “I have no idea what I’m doing, but I spent a lot of money doing it.”
Step 2: Shoot in Auto Mode and Tell Everyone You’re Using Manual
Now that you’ve bought the camera that will inevitably collect dust on a shelf, go ahead and shoot everything in auto mode. Don’t worry, all the pros do it but will never admit it. Your camera’s AI is probably smarter than you when it comes to capturing light and color, so just let the machine do the work.
But remember, if anyone asks, you are in full manual mode, manipulating ISO settings, aperture, and shutter speed like a maestro leading a symphony of pixels. Throw around some jargon like “I love how the bokeh complements the mise-en-scène,” even if you have absolutely no clue what that means.
Step 3: Use The Rule of Thirds, or Don’t, Whatever
You’ve probably heard of the “Rule of Thirds,” a golden nugget of wisdom that’s been handed down through generations of photographers like a treasured family heirloom. The idea is that you divide your frame into nine equal parts and then — brace yourself — put the important stuff along those lines or at their intersections. Revolutionary, right?
But honestly, rules are for chumps and robots. You’re an artist, a maverick! So go ahead and put your subject dead center like you’re taking a mugshot. Or shove them into a corner so tiny, they’re practically an afterthought. Your indifference to composition will make people think you’re avant-garde or something.
Step 4: Natural Light is Your Best Friend, Until It Isn’t
Ah, natural light: the bread and butter of every Instagram influencer who thinks standing next to a window is a personality trait. Sure, natural light can make your shots look ethereal, like a fairy just blessed your camera lens. But let’s be honest, how often does the sun actually cooperate with us mere mortals?
Don’t fret when clouds roll in and the lighting gets as flat as a pancake. Just slap on a filter or three, ramp up the contrast until everyone looks like a cartoon, and boom — you’re a lighting genius!
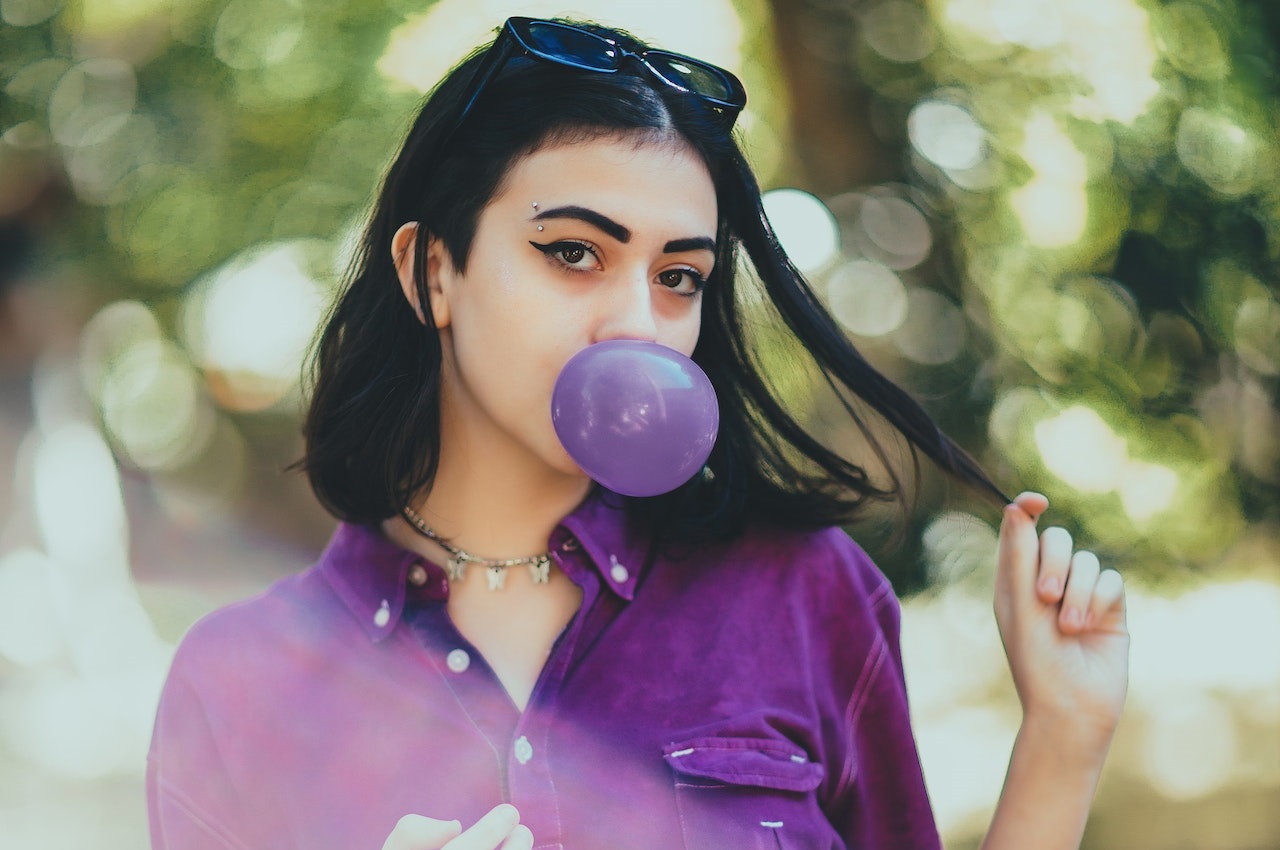
Step 5: Master the Art of the Selfie, Even If It’s Not a Self-Portrait
Who says you need other people to be your subjects? You’re good enough, you’re smart enough, and doggone it, people like looking at photos of you. Probably. So, turn that camera around and get ready for some selfie action. The secret to a great selfie is the angle. Hold the camera as high as your arm can reach to make it look like a drone captured your ethereal beauty. Remember, the higher the angle, the fewer the chins. That’s just math, people.
And please, for the love of all that’s holy, use the self-timer. No one needs to see that you’ve become a contortionist just to get a selfie that doesn’t look like a selfie.
Step 6: Learn Photo Editing Software but Just Use It to Add Lens Flare
Congratulations! You’ve captured some photos — time to make them look like you know what you’re doing. Get yourself some photo editing software. You don’t need to actually understand it; that’s optional. Slap on some lens flare to make it look like you’re always shooting during golden hour. Oh, what’s that? Your picture is of a nighttime cityscape? Who cares! Add that lens flare like you’re J.J. Abrams.
If someone comments on it, just say it’s a “creative decision” and give them a look that says, “You just wouldn’t understand.”
Step 7: Develop an Unhealthy Obsession with Symmetry
Ever looked at a perfectly symmetrical photo and thought, “Wow, what a creative genius”? Of course you have. So now it’s your turn to obsess over symmetry like you’re auditioning for “A Beautiful Mind: Photographer Edition.” Spend hours lining up your shot to capture that perfect reflection in a lake, or the exact moment when the sun aligns with a sewer grate. Don’t question why you’re doing it, just know that when you nail it, you’ll be swimming in those sweet, sweet Instagram likes.
Step 8: Caption Your Photos with Deep, Inscrutable Statements
Your work is not complete until you attach a caption that makes people pause and wonder if they’ve just read a line from a long-lost existentialist poem. Forget clear descriptions like “sunset at the beach.” Opt for something more intriguing, like “Chasing the amber enigma, where sky meets soul.” It doesn’t have to make sense; it just has to make you look like you read philosophy for fun.
Step 9: Never, Ever Show Humility
Now that you’re a self-proclaimed photography guru, it’s crucial to never admit that you might still have something to learn. Should someone offer constructive criticism, remember to look deeply offended and mutter something about “artistic vision.”
Bonus Pro Tips for the Overachievers Among Us
Still hungry for more? Either you’re an overachiever or you’re procrastinating on something more important. Either way, I applaud your tenacity. Here are some bonus tips, because you’re just that extra.
Bonus Tip 1: Make Friends With the Blur
Everybody loves a good bokeh — the creamy, blurry background that makes it look like your subject is floating in a dream. Here’s how you do it: Use a wide aperture, or just tape some plastic wrap over your smartphone’s lens for that genuine, low-budget haze. Remember, blur is the photographer’s version of “smoke and mirrors” — it makes everything look fancier than it is.
Bonus Tip 2: Pretend You’re a Paparazzo, But Don’t Get Arrested
Sometimes the best photos capture real, candid moments. Channel your inner paparazzo and stalk your friends, family, or even your pets. But please, be respectful and not creepy about it. If someone yells “stop,” then, for heaven’s sake, stop.
Bonus Tip 3: Always, Always Overexpose Wedding Photos
If you’re ever roped into doing wedding photography, remember that brides, grooms, and especially mothers-in-law believe that overexposure erases all sins, from crow’s feet to cousin Eddie photobombing in the background. Go ahead and wash that image out until everyone looks like an angel floating in a tub of milk.
Bonus Tip 4: Use Animals and Babies, Regardless of Context
Everybody loves pictures of animals and babies, so if you want to make any photo instantly better, just add one or both. It doesn’t matter if the rest of the photo is a dumpster fire (literally or metaphorically); your audience will be too distracted by the cuteness to care.
Bonus Tip 5: When All Else Fails, Monochrome
If your photo is just unsalvageable, slap a black and white filter on it and call it “artistic.” People will think you’re going for a deep, retro vibe, when in reality, you’re just covering up the fact that you can’t color balance to save your life.
There you have it, my aspiring photo prodigies — a step-by-step guide that will propel you from camera noob to insufferable photography know-it-all in no time. So go forth, armed with your unnecessary gear and unjustified confidence, and flood the world with your “masterpieces.”
Don’t forget to thank me when you’re famous, living in a loft filled with vintage cameras and ironic t-shirts. I’ll be here, still rolling my eyes, but secretly proud that you’ve made it.