Ah, slime, that glistening, gooey, glamorous glob of goo. You’ve seen it all over YouTube, made by people who can’t help but squish their hands into its delectable depths. It’s the envy of pre-teens, the pride of Instagrammers, and the bane of parents’ existence. So, obviously, you want to make it. Well, folks, your dreams of oozy grandeur are about to come true. This is the definitive, super serious guide on how to make slime — a mess that you can be proud of.
Step 1: Re-Evaluate Your Life Choices
Before we jump into the chemical abyss of slime-making, ask yourself: “Why am I doing this?” If the answer involves having too much free time or wanting to stick your fingers into something other than a tub of ice cream, then by all means, continue. The world needs more slime enthusiasts. In a universe of chaos and uncertainty, what could be more essential than a gooey, multicolored mess?
Step 2: Gather Your Arsenal of Ingredients
To embark on this culinary adventure (but please, don’t actually eat it), you’ll need a few critical ingredients. No, we’re not talking about eye of newt or hair of dog. We’re talking about everyday household items that make you wonder why you don’t already have a slime factory in your basement.
- Glue: Oh, you thought we were joking? The cornerstone of any good slime is your elementary school nemesis: glue. Make sure to grab the white PVA kind and not the super glue unless you’re trying to permanently adhere your fingers together. In which case, you have different issues to address.
- Food Coloring: Because nothing says “healthy” like unnaturally colored glop.
- Borax: This is the magic ingredient that turns your gooey nightmare into a slightly more manageable gooey nightmare. Just don’t snort it, consume it, or bathe in it. We’re making slime, not auditioning for “Jackass.”
- Water: It’s free. It falls from the sky. You need it to live. You’ll also need it to make slime.
- A mixing bowl and spoon: Trust us; you don’t want to use your hands for this step. You’ll have enough time for that later.
Step 3: Create Your Elusive Elixir
Now that you’re armed with your ingredients, let’s get down to business. And by business, I mean the kind of scientific experiment that would have your high school chemistry teacher shaking their head in disbelief.
- Pour the Glue: Empty an entire bottle of white PVA glue into your mixing bowl. You might experience a brief moment of existential crisis as you watch it ooze out. Embrace it.
- Add Color: A few drops of food coloring will do. If you’re feeling particularly adventurous, go ahead and mix colors. You’re practically Picasso but with household items.
- Water It Down: Add some water to your colorful bowl of glue and mix it until it looks like unicorn vomit. You’re doing great!
- Borax Time: Mix a teaspoon of Borax with a cup of water in a separate container. Now, slowly add this to your unicorn vomit while stirring. Don’t add it all at once, or you’ll end up with slime that’s as hard as your commitment to this project.
At this point, your mixture should start resembling something between quicksand and flubber. This is a good sign. But we’re not done yet — oh no, my slimy apprentice. This is just the beginning of your slippery slope into slime stardom.
Step 4: Get Your Hands Dirty (Literally)
You’ve been waiting for this moment, haven’t you? Toss that spoon aside like the underutilized utensil it is, and dive in with both hands. Yes, it’s going to be sticky. Yes, you’re going to question some life choices. But knead that almost-slime until it becomes the slime of your dreams (or nightmares, we don’t judge).
Step 5: The Art of Slime-Refinement
Ah, the nuance of slime-making. If you feel your slime is too sticky, feel free to add a bit more Borax solution. On the other hand, if your slime more closely resembles a rubber tire, add some water to soften it up. Remember, slime-making is like dating; it’s all about finding the perfect balance. Too sticky or too rigid, and no one’s happy.
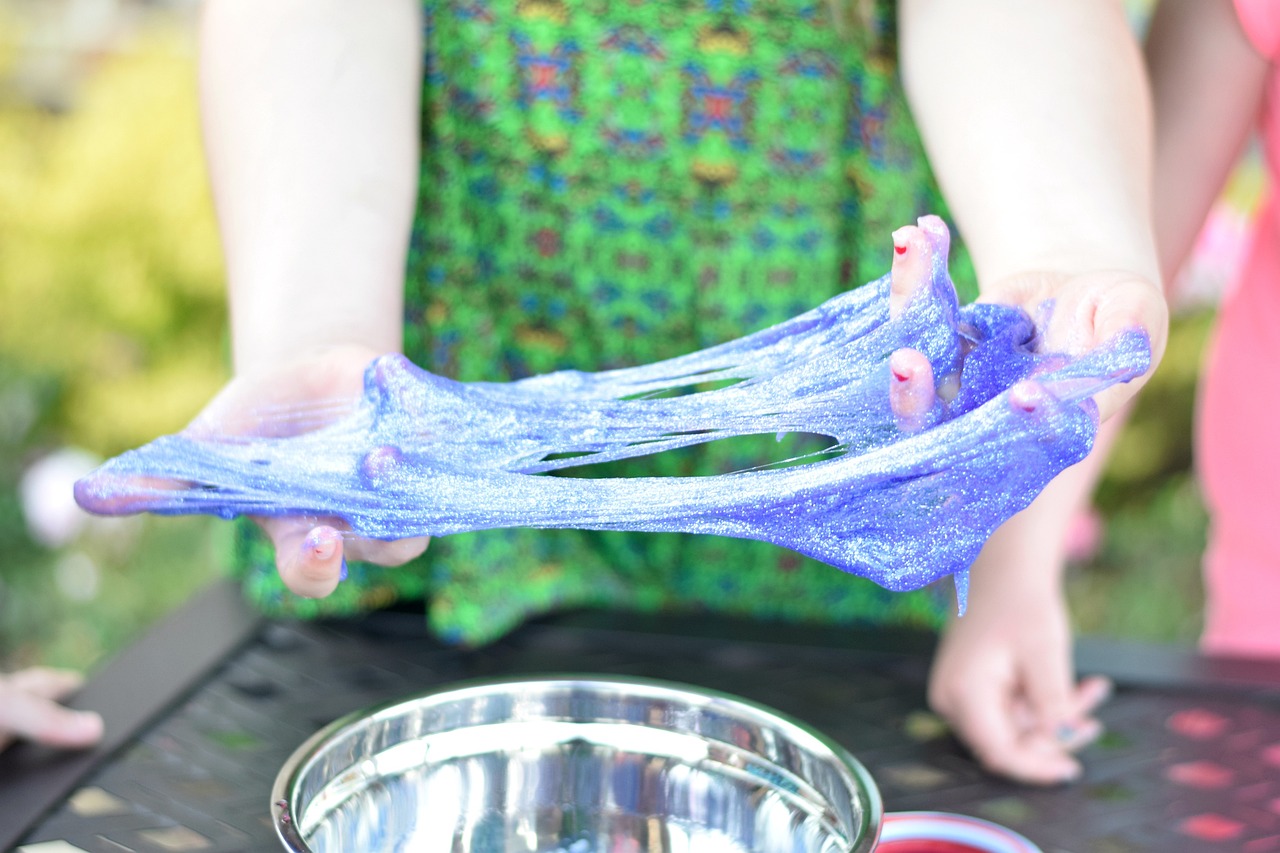
Step 6: The Slime-Stretch Test
Here’s the real test of your prowess: the stretch. A perfect slime can stretch, ooze, and glob in the most satisfying ways. If your slime snaps like an overstressed mom, you need to revisit your moisture levels. If it drips like a B-movie monster, tighten it up with a sprinkle of Borax.
Step 7: Optional Upgrades for the Overachievers
If you’re one of those people who can’t leave well enough alone, you can add some flair to your slime:
- Glitter: For that extra sparkle in your life.
- Beads or Foam Balls: For a crunchy texture. Who doesn’t love crunch?
- Scented Oils: If you need your slime to smell like lavender fields rather than, well, glue and Borax.
Step 8: Store Your Masterpiece
Once you’ve achieved slimy nirvana, you’ll want to store it in an airtight container. Unless, of course, you prefer it to dry out and become a weird rubbery pancake you find under the bed three months later.
Step 9: Show It Off
Congratulations, you’ve created slime! Now, go ahead and make your friends, family, and random strangers on social media jealous of your incredible slimy creation. Post pictures, make a video, or invite friends over for a slime party. Just don’t forget to tag it #BestSlimeEver, because, let’s face it, your slime is a superstar.
Step 10: Clean Up and Reflect
By now, your kitchen looks like a scene from a low-budget sci-fi film. Time to clean up. As you’re scrubbing glue off countertops and fishing food coloring droplets from the sink, take a moment to reflect on what you’ve achieved. You’ve brought goo into the world. You’re basically a god now. Or at least, a very sticky alchemist.
So there you have it: the perfect recipe for creating your very own blob of slime, complete with optional existential crises. Just remember, you’re not just making slime; you’re making history. Or at least, a really, really entertaining afternoon.
And remember, when in doubt, add more glitter. Always add more glitter.