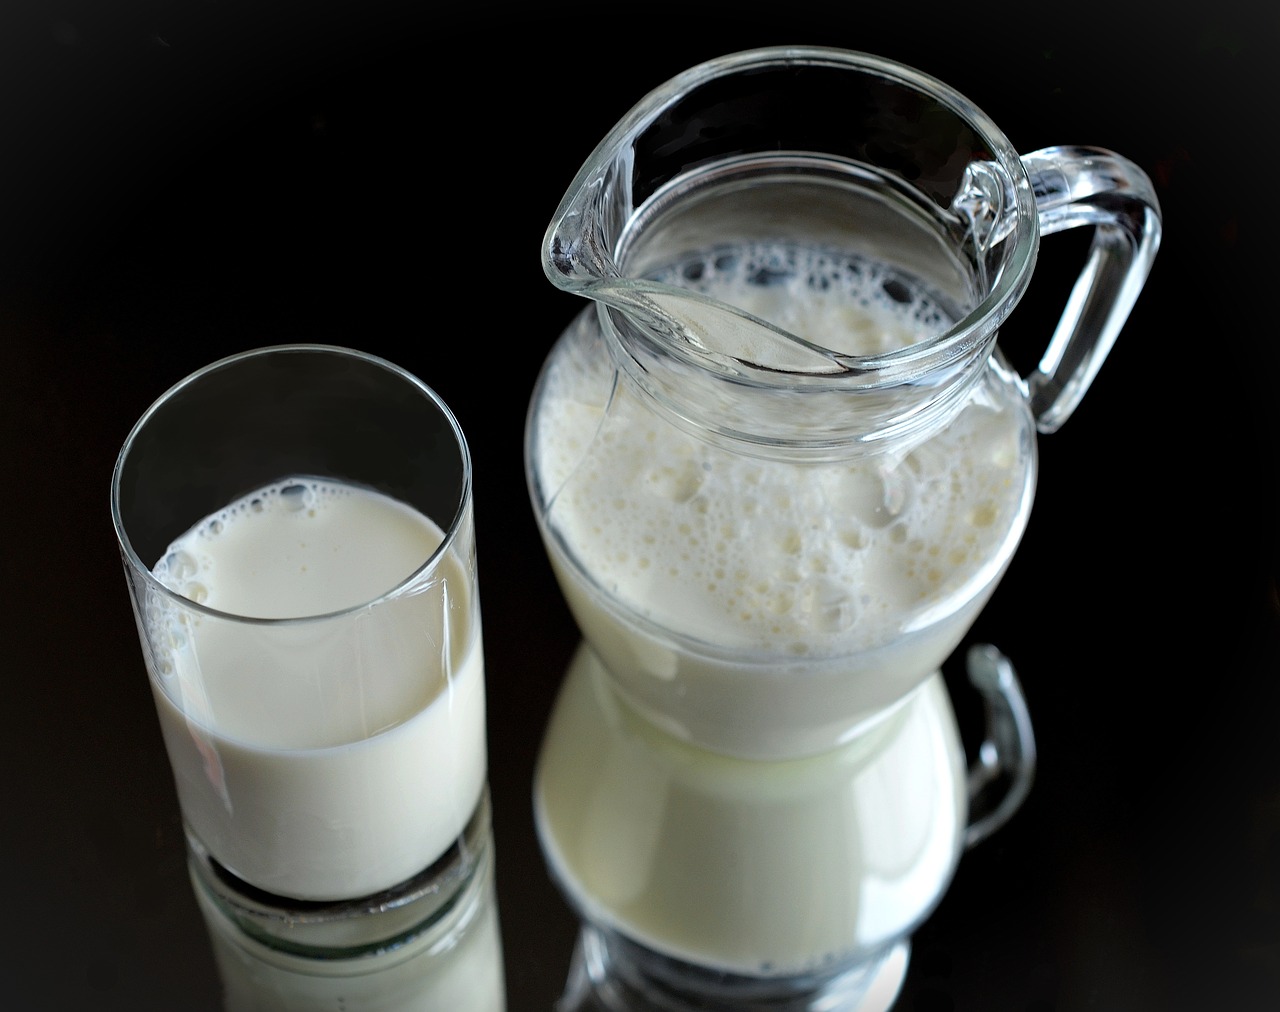
Ah yes, buttermilk. The veritable elixir of life; the magical potion of lusciousness that our forefathers and foremothers surely must have fought wars over. I can almost hear the whispers in the wind: “Buttermilk is love, buttermilk is life.”
So, you find yourself in a situation where you’re baking or cooking, and you see the word “buttermilk” on the recipe card. And of course, you don’t have any in the fridge. Because why would you? It’s not like you keep a cow in the back yard for moments like this.
But fret not, weary traveler! The path to buttermilk enlightenment is neither steep nor treacherous. It requires neither a PhD in Dairy Sciences nor a spirit quest guided by a bearded yogi named Phil.
The Basics: What You’ll Need
- Milk: And not just any milk. I’m talking about the regular kind, the one that you feed your cat when you’re feeling generous. Please, for the love of all that’s creamy, do not use non-fat or skim milk. Buttermilk deserves better than that.
- Acid: Vinegar, or lemon juice, or, for the daring souls among us, cream of tartar. Basically, something that would win in a street fight against a base.
- A Measuring Cup: Because apparently, we’re not savages.
- A Spoon: To stir the liquid gold you’re about to create. A plastic spork will not do, you monster.
Step 1: Choose Your Acid
Alright, Picasso, time to choose your palette. Vinegar will give you that classic buttermilk tang, while lemon juice adds a citrusy twist. Cream of tartar is for those of you who don’t like to play by society’s rules.
Step 2: Measure Like a Pro
Pour one cup of milk into your measuring cup. Remove one tablespoon of that milk and pour it back into the carton (or drink it, you rebel). Now, add one tablespoon of your chosen acid. Wow, you’re like the Newton of dairy!
Step 3: Stir, Stir, Stir!
This is the step where you get to play the role of a master alchemist. Take your spoon, and stir the mixture until it looks like, well, milk with something sour in it. Because that’s exactly what it is.
Step 4: Wait
I know, waiting is the bane of any culinary artist’s existence. But alas, the milk must get a chance to curdle and thicken, just like your favorite old-timey romance plot. Give it about 10 minutes to reach its full potential.
Step 5: Voila, You’ve Done It!
Congratulations! You’ve just created buttermilk! Or something vaguely resembling it. Either way, you can now proceed with your recipe, or just chug that bad boy as is.
FAQs
1. Can I make buttermilk out of almond milk, soy milk, or some other kind of not-really-milk?
Sure, you can “try.” But let’s be honest, calling that buttermilk is like calling a squirrel a flying unicorn. Cute, but not fooling anyone.
2. How long does homemade buttermilk last?
As a rule of thumb, homemade buttermilk can last as long as your ability to avoid using it in everything you cook. But technically, up to a week in the fridge.
3. Can I just skip the buttermilk and use regular milk instead?
Ah, a brave soul! While you can do that, expect your pancakes, muffins, or whatever you’re making to glare at you in disappointment. Buttermilk adds a special tangy kick that makes baked goods rise to the occasion — literally.
4. Does this homemade buttermilk have magical properties?
Well, it won’t turn you into a Marvel superhero, but it’ll definitely make you the hero of your kitchen.
In conclusion, making buttermilk is as easy as, well, making buttermilk. You don’t need to don a cape or sing to woodland creatures to produce this liquid gold. All it takes is some milk, acid, and a flair for the dramatic. Now go forth and create culinary masterpieces, you legend, you!