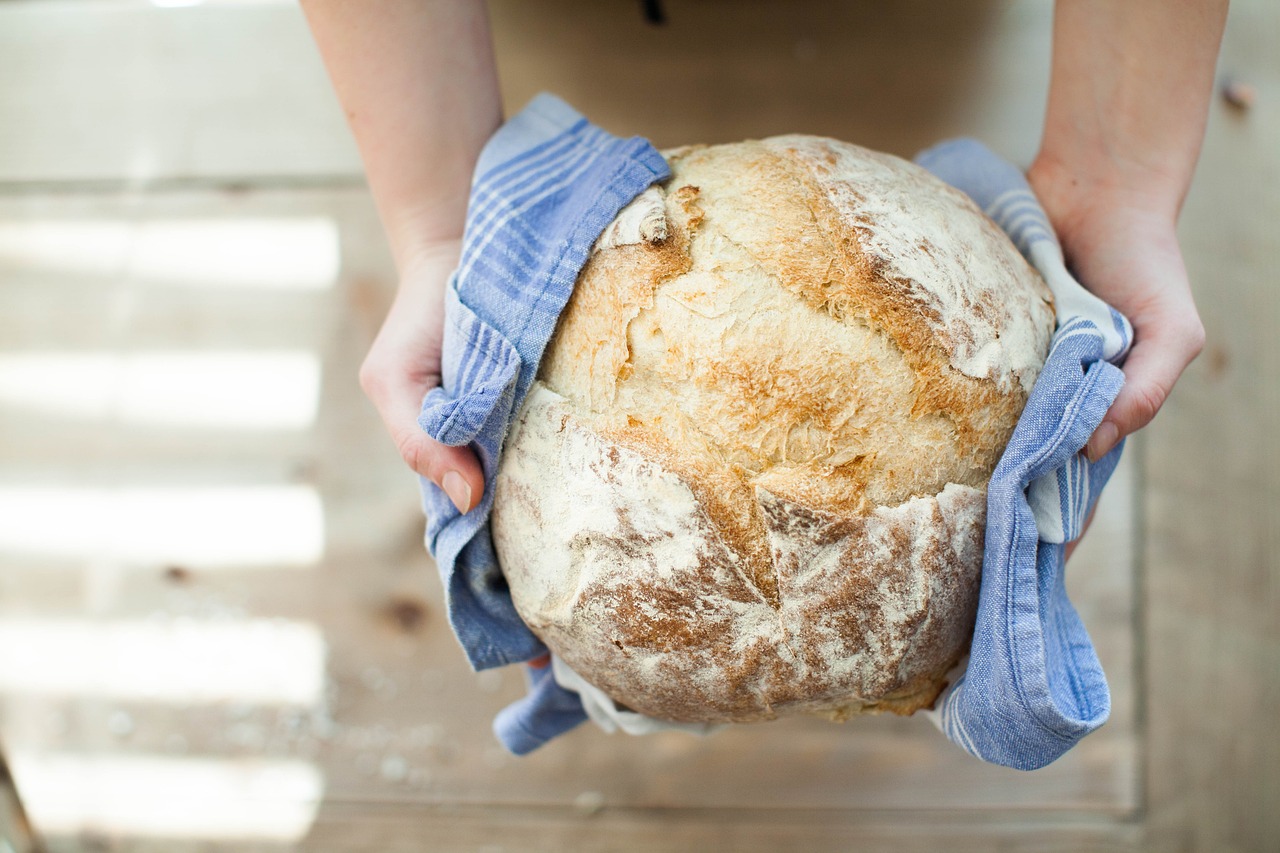
Bread. That ancient, crusty sustenance that has graced our tables since, well, since we figured out that yeast wasn’t just for brewing beer. You could go to the store and buy a loaf. But why do that when you can turn your kitchen into a flour-coated hellscape and grow a deep emotional attachment to a ball of dough?
That’s right, folks. Buckle up. We’re making bread from scratch, because we are fierce domestic gods and goddesses, and we will not be tamed by convenience.
Step 1: Source Your Ingredients
First thing’s first: You need ingredients. I know, shocking. Here’s your shopping list:
- Flour: 4 cups (about 500 grams for those who are metrically inclined). Plain all-purpose flour is your bread-and-butter. You could also go whole-wheat and pretend you’re being healthy, but let’s be honest, you’re about to consume a lot of carbs. Own it.
- Yeast: 1 packet or 2 1/4 teaspoons of active dry yeast. Don’t even think about using expired yeast; this isn’t a time capsule project. You have to make sure it’s active, otherwise you’ll be left with a flour brick, and nobody’s Instagram wants to see that.
- Water: 1 1/2 cups (350 ml), lukewarm — like your feelings about going to your high school reunion. Tap water is fine, as long as your pipes aren’t from the Victorian era.
- Salt: 1 1/2 teaspoons (a generous pinch, let’s say). No, it’s not optional. It’s the emotional support animal of bread ingredients.
Run to the store and act as confused as possible while you locate these. It adds to the experience.
Step 2: The Tools of the Trade
You’ll need a bowl. Or a cauldron, if you’re feeling particularly medieval. You’ll also need a measuring cup, a spoon, and, ideally, your wits about you. You can use a fancy stand mixer if you have one, but you can also just use your hands, the original stand mixers. Just make sure to remove any jewelry lest you want to offer up a gold sacrifice to the Bread Gods.
Step 3: Awakening the Yeast (Frankenyeast)
Warm up some water — just a little warmer than your indifference toward joining yet another Zoom meeting. Pour the warm water into a bowl, sprinkle in the yeast, and let it sit. We’re trying to awaken it from its deep slumber. If all goes well, it’ll froth up like a 6th grader who just discovered soda.
Step 4: The Mixing
Once your yeast is awake and questioning its existence, it’s time to mix. Dump the flour into a separate big bowl like it owes you money. Create a well in the center — like a volcano. Yes, this is like 3rd-grade science class, but with fewer potential casualties. Before you pour in the yeast water, sprinkle your salt around the crater like you’re casting a spell to ward off evil spirits (or, in this case, blandness). Now pour the awakened yeast water into the well and get mixing. A spoon can be your weapon of choice, but your hand will work just as well. Mix until you get a blob of dough.
Step 5: Knead to Know Basis
Time to knead! Flour a surface so the dough doesn’t stick. What’s that? You don’t know how to knead? Just pretend the dough is that annoying coworker and punch it down, then fold it over, and do it again for about 10 minutes. If you get tired, you’re doing it right. If you don’t get tired, then I guess you can join a gym and show off your new kneading-based muscles.
Step 6: The Waiting Game (First Rise)
Now, the first rise. A crucial moment where you do absolutely nothing and let the dough chill. Literally. Cover your blob of potential with a damp cloth or plastic wrap, and let it sit for an hour or until it’s doubled in size. This is the time to reconsider your life choices or binge-watch a new show. You can even scroll through social media, because let’s be real, this dough is far more active than your Twitter account.
Step 7: Dough-Tor Strange (Shaping the Dough)
Now that your dough has become something akin to a chubby toddler in size, it’s time to shape it. I know, it’s just getting to the good part. You can go traditional loaf shape, or let your inner rebel shine with an avant-garde formation that Picasso would envy. Place your magnum opus on a baking sheet, perhaps with a sprinkle of cornmeal for added theatrics.
Step 8: The Waiting Game, Part Deux (Second Rise)
Time to cover that bad boy up again. You’d think the dough would be done rising, but no, it wants another go at it. Cover it up and wait for another 30 minutes to an hour. More time for you to ponder why you didn’t just spend $2 on a perfectly good store-bought loaf.
Step 9: The Oven Beckons
Preheat your oven to around 425°F (220°C). That’s right. We’re cranking this baby up. Why? Because bread likes it hot. Slide your dough into the oven, and for the love of gluten, don’t open the oven door. You don’t want your loaf to suffer from performance anxiety.
Step 10: Time’s Up
After about 25 to 30 minutes, your loaf should have a beautiful golden brown crust. If it looks like it got a sunburn, you’ve gone too far. Take it out and let it cool on a wire rack. Resist the temptation to immediately cut into it unless you want a deflated loaf. Patience, my young Padawan.
Step 11: The Bread-breaking Ceremony
Now that your loaf has cooled to room temperature, you may cut it. Take a moment to inhale that heavenly aroma. Go ahead, you’ve earned it. Savor the initial crunch, the softness inside, and the taste of your own culinary triumph.
Step 12: Cleanup or Leave for Future Archaeologists?
Your kitchen likely looks like a flour bomb went off. You could clean up, or you could leave it as a testament to your grand endeavor for future generations to discover and marvel at.
In Summary
So there it is, you domestic dynamo, you. You’ve battled the elements (flour, water, yeast, and salt), harnessed the power of time, and emerged victorious with a loaf of bread you can call your own. Sure, it might not be perfect, but it’s yours. And now you can hang up your apron, feeling slightly smug that you’ve conquered one of the oldest food recipes known to mankind. Take that, store-bought bread!
So the next time someone asks, “Why don’t you just buy bread? It’s so much easier,” you can look them dead in the eyes and say, “Because I’m not a quitter, Karen.”


