Cooking a ham – the culinary equivalent of running a marathon with one shoe. It’s not just cooking; it’s an adventure in patience, skill, and a desperate hope that things won’t end up in flames. So, grab your apron, your sense of humor, and let’s embark on this perilous journey together.
Ingredients: What You’ll Need (or Regret Not Having)
- One Whole Ham: Size? Oh, just about the size of your biggest cooking disaster. Let’s say about 8 to 10 pounds (3.5-4.5 kg) – enough to feed your guests and the entire neighborhood.
- Brown Sugar: A cup, or two, or just however much it takes to sweeten your bitter culinary skills.
- Honey: Half a cup, because what’s a ham without the sticky mess that reminds you of your life choices?
- Dijon Mustard: A quarter cup. It’s fancy, like you’re pretending to be when you tell people you’re cooking a ham.
- Apple Cider Vinegar: Three tablespoons. It’s for that zing – like the surprise of you cooking.
- Cloves: A tablespoon, because we’re going all out. This isn’t amateur hour (well, maybe it is).
- Pineapple Juice: A cup – it’s not just for tropical drinks, surprise!
- A Sense of Overconfidence: Mandatory.
Process: The Art of Ham
Step 1: Preheat Your Oven
Start by preheating your oven to 325°F (163°C). Yes, it needs to be exact, this isn’t a game of horseshoes. You’re not throwing things and hoping it works. Precision, dear chef, precision.
Step 2: Scoring the Ham
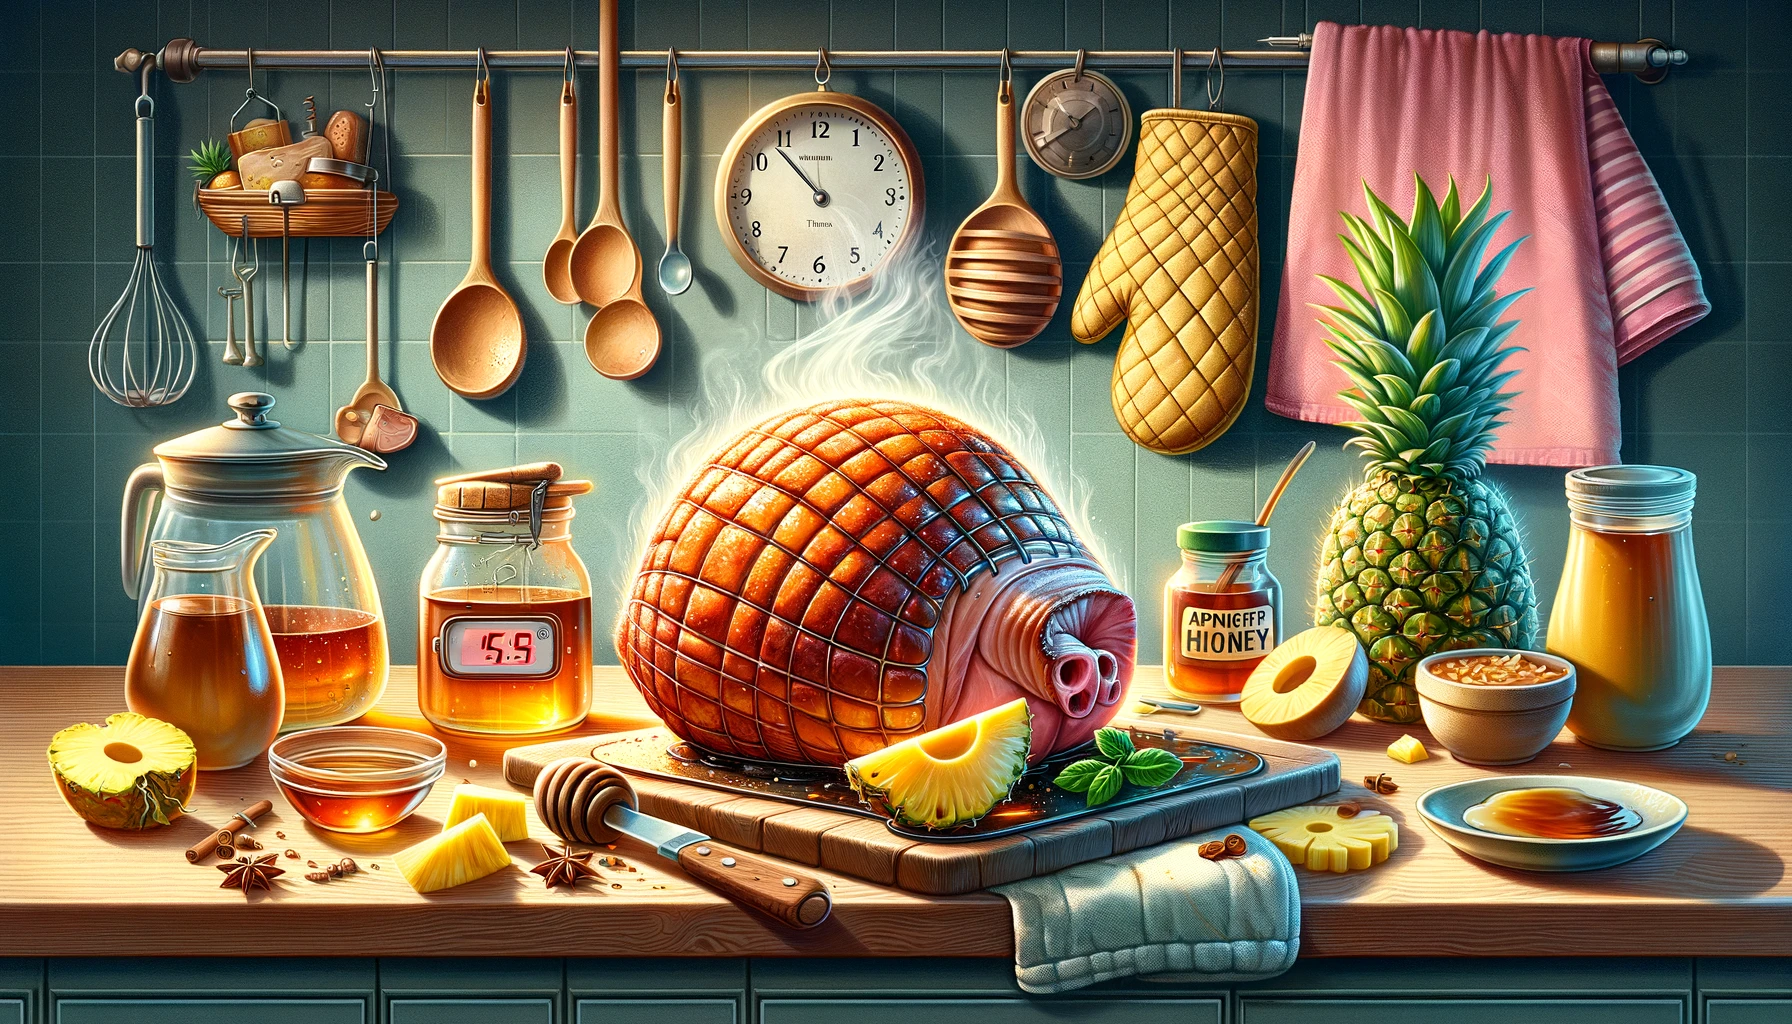
Now, take your ham and score it. This doesn’t mean give it a rating out of ten – though, feel free to judge it harshly as it sits there, all raw and unimpressive. Scoring means making shallow cuts on its surface in a diamond pattern. This is the part where you can pretend you’re carving a masterpiece out of marble. Only it’s a ham. And you’re not Michelangelo.
Step 3: The Glaze – A Sticky Affair
In a bowl, mix brown sugar, honey, Dijon mustard, apple cider vinegar, and your unrealistic expectations. Stir until you’ve created a glaze that looks like your hopes and dreams – sweet, but slightly uncertain.
Step 4: Applying the Glaze
Brush the glaze over your scored ham like you’re painting the Sistine Chapel. Every stroke is a testament to your culinary prowess (or lack thereof). Be generous. Let the ham know who’s boss.
Step 5: The Clove Situation
Stick cloves into the ham at the intersections of the scores. This is your chance to take out any residual aggression. Think of each clove as a tiny stake, and your ham is a vampire. Or something.
Step 6: Pineapple Juice Bath
Pour pineapple juice over the ham. This is not a drill. You’re giving your ham a tropical vacation before its final journey. Let it soak in the glory of your kitchen, basking in the sweet, tangy ambrosia.
Step 7: The Foil Tent – Not for Camping
Now go and fashion a foil tent over your ham. This isn’t the outdoor adventure you were hoping for, but it’s crucial. It prevents your ham from drying out and keeps in the moisture, like a little sauna for your soon-to-be feast.
Step 8: The Great Oven Adventure
Gently place your masterpiece-in-the-making into the preheated oven. Settle it in as if tucking in a child, or more accurately, a large, sticky, clove-studded child. Set your timer – let’s say about 15 minutes per pound (or 0.45kg) – 120 minutes for 8 pound (3.5kg) ham, 150 minutes for 10 pound (4.5kg) ham. That gives you ample time to ponder your life choices and wonder why you didn’t just order pizza.
Step 9: Basting – Not Just for Turkeys
Every 20 minutes, open the oven (brace yourself for the heat wave), lift up the foil and baste the ham with its own juices. This is like giving your ham a pep talk, except with more pineapple juice and less inspirational words. It’s a spa day for the ham, and you’re the overzealous spa attendant.
Step 10: The Final Countdown
In the last 20 minutes of cooking, remove the foil tent. Let your ham get that gorgeous, golden tan and crisp up. This is its moment in the sun (or, well, oven). Keep basting; your ham appreciates the attention.
Step 11: Checking for Doneness
Use a meat thermometer to check if your ham is ready to face the world. You’re aiming for 140°F (60°F). If it’s not there yet, give it some more time. Patience is a virtue, or so they say.
Step 12: The Grand Finale – Resting
Once your ham reaches the perfect temperature, take it out of the oven. Let it rest for 15 minutes. This is like the cool-down after a workout. It lets the juices redistribute, making every slice as perfect as your optimism.
And there you have it! A perfectly cooked ham, a testament to your culinary bravery (or foolishness). Serve with a side of self-satisfaction and a dash of disbelief. You did it! Now, go forth and bask in the glory of your creation, or at least, enjoy it before you start planning your next kitchen escapade. Remember, cooking is all about the journey, and sometimes, the journey is a slightly overcooked ham. Bon appétit!
Bonus Glaze Recipes: Elevate Your Ham Game
1. Maple Bourbon Glaze
- Ingredients:
- 1 cup pure maple syrup
- 1/2 cup bourbon
- 1/4 cup brown sugar
- 2 tablespoons Dijon mustard
- 1 teaspoon ground cinnamon
- 1/2 teaspoon ground cloves
- Instructions:
- Combine all ingredients in a saucepan.
- Simmer over low heat for 10-15 minutes until thickened.
- Brush over your ham during the last 30 minutes of cooking.
This glaze adds a rich, sophisticated flavor with a hint of warmth from the bourbon.
2. Orange Marmalade Glaze
- Ingredients:
- 1 cup orange marmalade
- 1/4 cup honey
- 1/4 cup Dijon mustard
- 1/4 cup orange juice
- 1 tablespoon soy sauce
- 1 teaspoon ginger, grated
- Instructions:
- In a bowl, whisk together all the ingredients.
- Apply to your ham 20 minutes before the end of cooking, and again 10 minutes before finishing.
This glaze offers a delightful citrusy twist, perfect for a fresh and zesty flavor profile.
3. Spicy Pineapple Glaze
- Ingredients:
- 1 cup pineapple juice
- 1/2 cup brown sugar
- 1/4 cup honey
- 1/4 cup Sriracha or hot sauce
- 2 tablespoons soy sauce
- 1 teaspoon garlic, minced
- Instructions:
- Mix all ingredients in a saucepan.
- Bring to a boil, then simmer until it reduces and thickens.
- Brush over the ham repeatedly during the last 40 minutes of cooking.
For those who like a bit of heat, this glaze brings a spicy kick balanced with the sweetness of pineapple and honey.
Pro Tips: Because We All Need a Little Extra Help
- The Thermometer is Your Best Friend
Invest in a good meat thermometer. It’s like a trustworthy sidekick in your superhero journey of cooking. It tells you the truth when your ham is trying to be sneaky about its doneness.
- Customize Your Glaze
Feeling adventurous? Customize your glaze. Add orange zest for a citrusy twist, or a splash of bourbon if you’re feeling particularly bold (and not driving). Your glaze, your rules.
- Leftover Magic
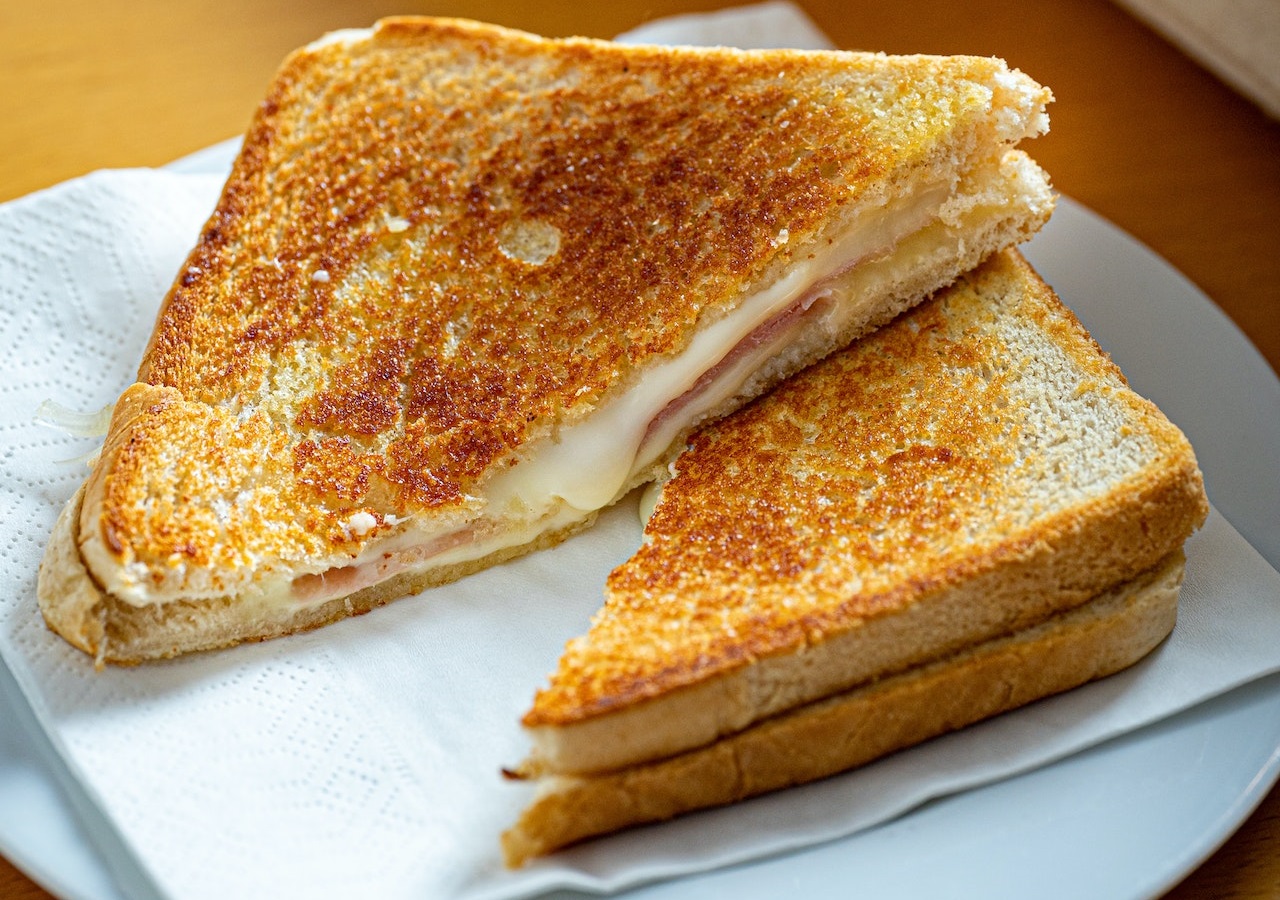
Ham leftovers? Make a ham sandwich, ham salad, or throw it in a soup. The possibilities are as endless as your regret for not making a smaller ham.
- Don’t Skip the Resting
Letting your ham rest isn’t a suggestion; it’s a commandment. It’s like giving your ham a brief vacation before it gets devoured. Respect the rest.
- Save the Bone
If your ham comes with a bone, save it! It’s perfect for soups, beans, or a spell to summon the spirit of a chef who actually knows what they’re doing.
- Safety First
Remember, oven mitts are not just a fashion statement. Use them. Love them. Thank your lucky stars for them when you’re not nursing a burn.
- Embrace Imperfections
Your ham might not look like the ones in glossy magazines, and that’s okay. It’s a reflection of real life: imperfect but still wonderful (and delicious).
Frequently Asked Questions: The Ham Conundrum Solved
The ham is done when it reaches an internal temperature of 140°F (60°C). If you lack a meat thermometer, it’s like driving without a GPS – possible, but not recommended.
Absolutely. Just make sure to store it properly in the fridge, unless you fancy a side of food poisoning with your ham.
Overcooking is the usual culprit. It’s a ham, not a cactus; it doesn’t thrive under neglect. Next time, keep a closer eye on it and let it baste in its juices.
Cooked ham can last in the fridge for about 3-5 days, or in the freezer for up to 2 months. It’s like the gift that keeps on giving, just in smaller, colder doses.
Of course! The glaze world is your oyster. Maple syrup, molasses, or even a cola-based glaze can add a unique twist. Just remember, experimentation is the father of discovery (and occasionally, culinary disasters).
Yes, for the first part of the cooking process. Think of the foil as a cozy blanket that keeps the ham from drying out. Remove it towards the end to achieve that glorious golden-brown exterior.
Injecting your ham with flavored liquids or marinating it overnight can infuse extra flavor. It’s like giving your ham a flavor spa treatment.
While not mandatory, basting is like giving your ham little hugs of flavor and moisture throughout the cooking process. It’s worth the extra effort.
Yes, you can! A slow cooker can make the ham tender and juicy. It’s like a ‘set it and forget it’ method, but with better results than most of your past relationships.
Use a sharp knife and carve thin slices parallel to the bone. It’s like performing delicate surgery, but with more applause at the end.


