Scrambled eggs. The pinnacle of culinary achievement. A dish so complex, so nuanced, that it has bewildered humanity for… well, not really. But hey, you’re here, and that means you want to master the art of scrambling an egg, right? Buckle up, because we’re diving deep into this vast culinary landscape. Make sure to take notes; this is PhD-level stuff we’re talking about.
Ingredients: The Sacred Elements of Scrambled Eggdom
Essential Ingredients
- Eggs: 2 (because one is just too lonely, you know?)
- Salt: A pinch (or more, if you’re as salty as I am about life)
- Butter: 1 tablespoon (Why not? Life’s short)
Optional, but Clearly Necessary Ingredients
- Milk: 1 tablespoon (for that creamy Michelin-star texture)
- Cheddar Cheese: ¼ cup shredded (because dairy-free is a life not worth living)
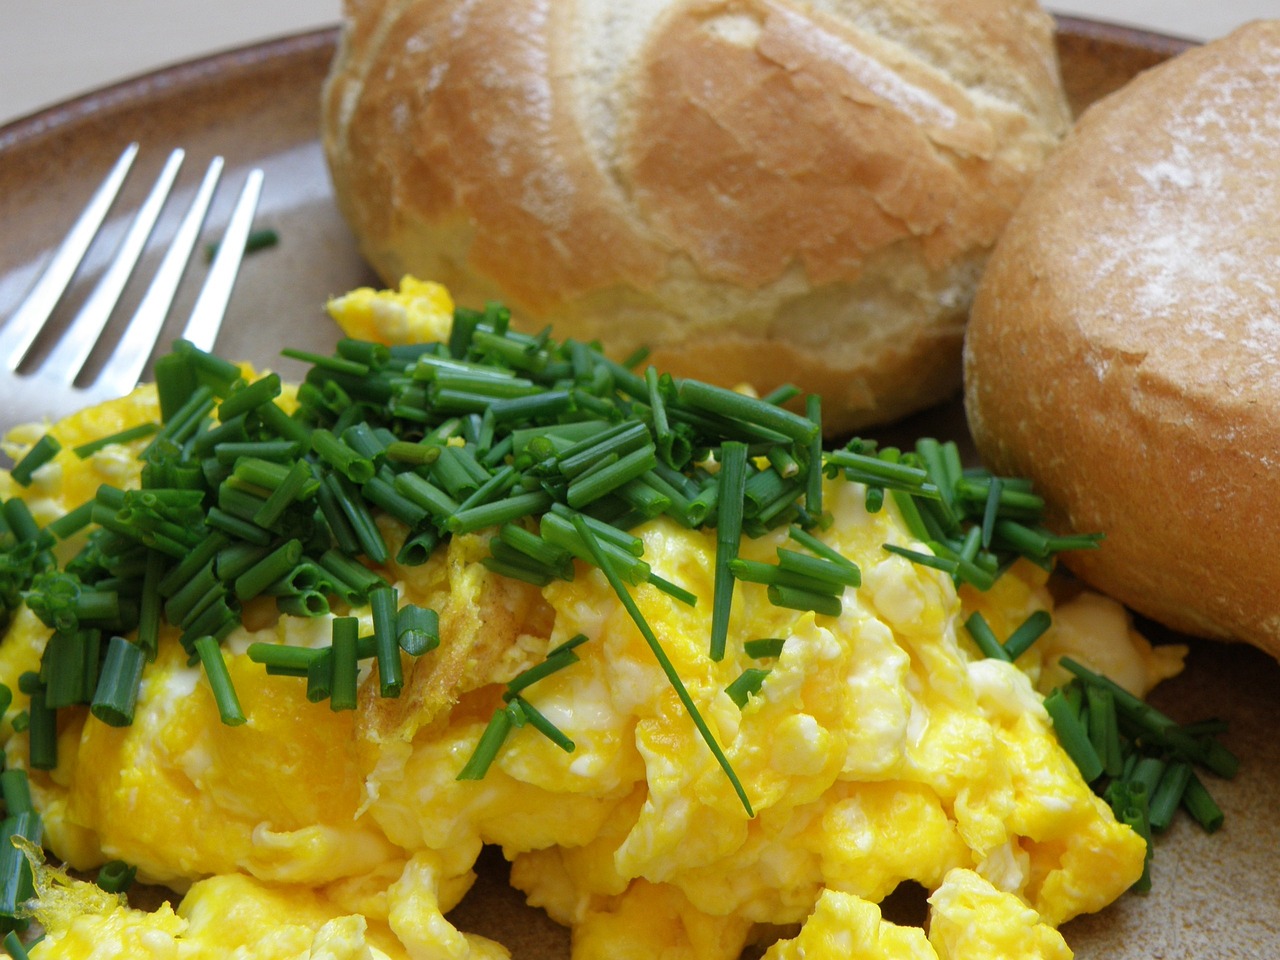
- Chives: 1 tablespoon, finely chopped (so you can pretend you’re sophisticated)
- Love: An immeasurable amount (or substitute with indifference, if you’re cooking for yourself)
Tools of the Trade: Your Armory
- Non-stick frying pan: Because you don’t want the eggs to stick and ruin your Instagrammable moment.
- Spatula: The Excalibur of the kitchen.
- Mixing bowl: For the pre-scramble huddle.
- Whisk or fork: Choose your weapon.
Instructions: The Path to Enlighteggment
Step 1: Crack Those Eggs — Literally
Take two eggs — yes, make sure they are real eggs and not those Easter plastic ones — and crack them into a bowl. How you crack them is a matter of personal philosophy. Some say tap them on the edge of the bowl, while others say flat surfaces are better to avoid shell intrusion. The choice is yours, young Padawan.
Step 2: The Grand Whisk-y Business
You have two options here: a whisk or a fork. A whisk will make you look like a pro, while a fork screams “I can’t find my whisk but look at me improvising!” Whisk those eggs like they’ve done something wrong, but you still love them. A few good whips should get them looking like the golden elixir of the gods.
Step 3: Salt Bae, But for Real
Throw in that pinch of salt. And do it in slow-motion, if you must, to feel like an Instagram star. Remember, the salt enhances flavor but can also act like a spiteful friend — too much, and you’ll wish you’d never invited it.
Step 4: Milk It
Here’s where the 1 tablespoon of milk comes in. Why milk? Because it gives your eggs that fluffy, cloud-like texture that’ll make you swear you’re eating a piece of heaven. If you’re lactose intolerant, I hear water works too, but then you’re just making wet eggs. Your call.
Step 5: The Buttering Up
You might think buttering someone up is just a metaphor, but oh no, it’s an essential step here. Take your non-stick frying pan and place it over low-medium heat. Yes, you heard right, low-medium. This isn’t a race; it’s an art. Add the tablespoon of butter. Watch it melt as you ponder about the melting ephemeral nature of life itself — or just enjoy the sizzle, your choice.
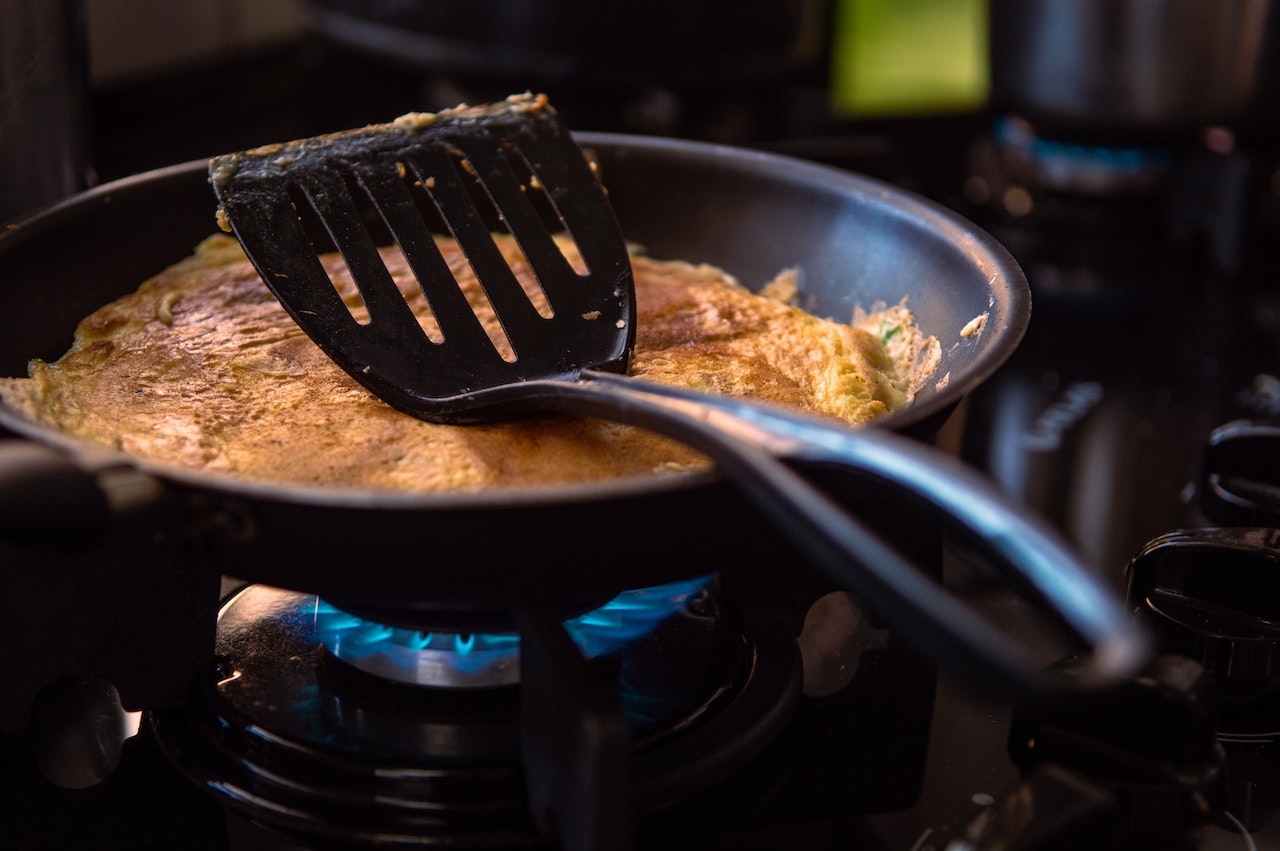
Step 6: The Pan is Lava
Pour your egg mixture into the pan. Here’s where the drama starts. The eggs will immediately latch onto the idea that they’re supposed to become something more significant than just a runny mess. Keep them moving. Be vigilant. Use your spatula like a knight wields his sword. Stir frequently so that large soft curds form.
Step 7: Cheesy Does It
If you’re a fan of cheese — and let’s be honest, who isn’t — this is the time to let that ¼ cup of shredded cheddar cascade like a waterfall into your eggs. Mix it in and let it melt into gooey greatness. If you’re lactose intolerant and still reading this, my condolences; your life is hard enough. Skip this step.
Step 8: Are We Done Yet?
Almost. You’re aiming for soft, slightly runny eggs. Overcooked scrambled eggs have the texture of rubber and the taste of defeat. How to tell when they’re done? When they still look a bit glossy but have a firm structure, like your ideal summer body, they’re ready for the plate.
Step 9: Plate it, Mate
You’re ready to serve your scrambled eggs fit for a king, or at least a very hungry you. Use the spatula to gently slide the eggs from the pan to the plate.
Step 10: The Sophistication Sprinkle
You didn’t chop those chives for nothing! Sprinkle them over your mound of golden goodness to convince everyone you know what you’re doing. Snap that photo for Instagram with the hashtag #ChefLife, and you’re done.
Bonus Step: The Eating Part
This is the moment you’ve been working toward. Pick up your fork (or just use your spatula; no judgments here), and dive into your creation. Is it good? Of course, it is; you made it. Is it Michelin-star quality? Let’s not get carried away.
Step 11: Reflect on the Journey
You’ve done it. You’ve scrambled eggs. Take a moment to soak in your culinary prowess before you wash the dishes and realize you’re still a mere mortal. But for a brief moment there, you were a god in the kitchen.
So there you have it — a guide to making scrambled eggs that’s so straightforward, even a boiled egg could follow it. Now, go forth and scramble, you kitchen warrior, you.