Ah, gravy! That heavenly concoction that turns your dry, overcooked turkey into a five-star gourmet experience. A Sunday roast without gravy is like watching a romantic comedy without a kiss at the end — utterly pointless and vaguely unsatisfying. Don’t even get me started on mashed potatoes without gravy; that’s basically like eating cloud-flavored cement. So, in the grand quest to elevate your sad, tasteless plate of solids into an emotionally fulfilling meal, I hereby bestow upon you the art of gravy-making. Buckle up, buttercup. Your culinary life is about to get saucy.
Ingredients: (or the “Magic Potion” as I like to call it)
- 4 cups of low-sodium chicken broth (Because who needs water when you can have broth?)
- 1/2 cup of unsalted butter (Real butter, please. None of that “I Can’t Believe It’s Not Butter!” nonsense.)
- 1/2 cup of all-purpose flour (Yep, you’re allowed to use flour that isn’t keto, paleo, or gluten-free.)
- 1/2 teaspoon of salt (Feel free to sneak in a bit more if your arteries aren’t screaming already.)
- 1/4 teaspoon of black pepper (Freshly ground. As in, you’re actually going to use that fancy pepper mill you got at your wedding.)
- Optional: A splash of white wine (Because cooking without wine is like attending a wedding without an open bar — perfectly doable but less fun.)
Ready? Let’s dive in.
Step 1: Unearth Your Frying Pan
Start by finding your frying pan. Yes, it’s that dusty, neglected object buried under your Tupperware. Congratulations, you’ve just taken your first step into the glamorous world of gravy-making. If your frying pan could talk, it would thank you for saving it from a life of obscurity.
Step 2: Make a Roux, Not a Ruin
Before we turn your kitchen into a Michelin-star restaurant, we need to make a roux. In culinary terms, a roux is like the foundation of your house — it’s dull, boring, and nobody cares about it until it crumbles and ruins everything.
Place that glorious 1/2 cup of unsalted butter into your pan and melt it over medium heat. Don’t rush it; you’re melting butter, not defusing a bomb. Once the butter is fully liquid and starts considering its state of existence, sprinkle in your 1/2 cup of all-purpose flour. This is the point where you actually need to pay attention. Stir the mixture continuously for about 4-5 minutes, or until it takes on a lovely golden color. If your roux turns black, congratulations, you’ve just created culinary charcoal. Throw it out and start over.
Step 3: Pour, Baby, Pour!
Grab that chicken broth you’re pretending to use as a healthy alternative to soda. Slowly pour it into your roux while whisking fervently. And by slowly, I don’t mean in geological time; I mean a steady stream that integrates the roux and the broth into one cohesive unit of deliciousness. This is your moment to shine; don’t let lumps form, or you’ll end up with gravy that has the consistency of cottage cheese. Keep stirring until the mixture thickens, kind of like the plot of a good Netflix series.
At this point, you can add your salt and freshly ground black pepper. Give it a taste. Need more seasoning? Go ahead, live a little. Add that optional splash of white wine if you’re feeling adventurous. After all, what’s the point of cooking if you’re not willing to flirt with culinary disaster?
Step 4: The Simmer Game
You’ve whisked, you’ve poured, and hopefully, you’ve managed to do so without turning your kitchen into a disaster zone worthy of a FEMA intervention. Now, reduce the heat and let your gravy simmer for about 5 minutes. This is the “getting to know you” phase for your gravy. The flavors will meld together, and it’ll turn into something that actually deserves to be on your dining table. Feel free to use this time to sip more of that optional white wine you hopefully didn’t dump all into the gravy.
Step 5: The Great Sieve Caper
For those of you who think your gravy has achieved perfection at this stage, let me introduce you to the concept of straining. Yes, you’re going to pour your gravy through a sieve or fine-mesh strainer. Why? Because lumps are for mashed potatoes, not for gravy. So, grab a bowl, position the sieve over it, and gently pour your gravy through. What remains in the bowl is a silky, velvety gravy, and what’s left in the sieve is your failure as a cook. Dispose of it immediately and never speak of it again.
Step 6: The Grand Reveal
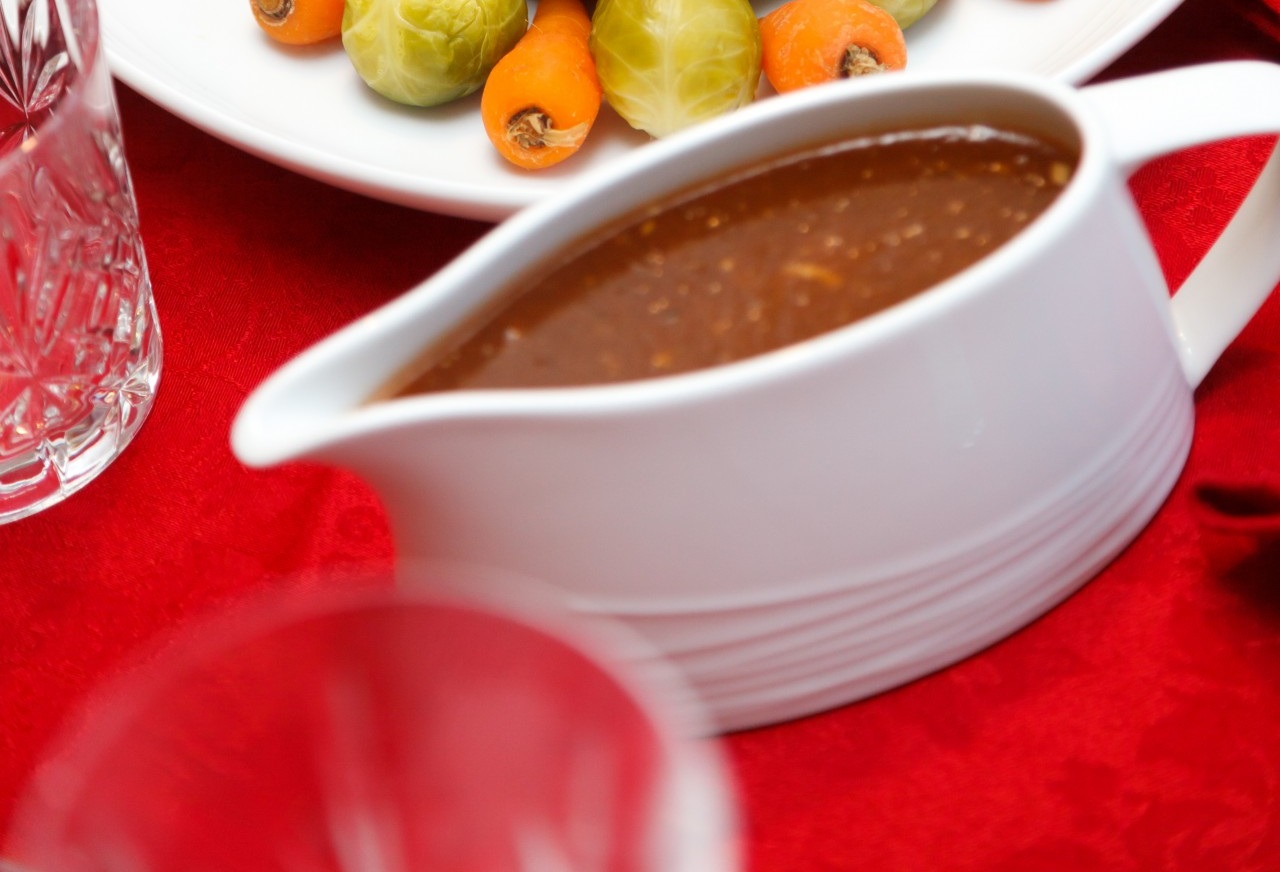
By now, your gravy should be lump-free, seasoned to perfection, and hopefully, won’t incite a salt-induced family argument. Time to bring it to the table. Pour it into the fanciest gravy boat you own, even if that happens to be a teacup. Yes, we’re looking for the “wow” factor here. When you place it on the table, do so with a flourish. Spin, twirl, use jazz hands if you have to. This is your moment, seize it.
Step 7: Accept Your Applause
The grand finale! You’ve created an elixir so delectable it could make cardboard taste like prime rib. As you pour that heavenly liquid over your meal, take a moment to relish the gasps and awed looks from your audience. When Aunt Susan asks for your secret, just wink and tell her it’s a family recipe — no need to mention that the family in question is a sarcastic food writer from the internet.
And there you have it, folks! Seven steps to create a gravy that will elevate your culinary credentials from “I can make toast” to “I can make edible, even enjoyable, gravy.”
In summary, the key to perfect gravy lies not just in the ingredients but also in the tender loving care with which you blend them together. Kind of like love, but with more calories. You’re welcome, and remember, in the grand arena of kitchen fiascos, gravy is your saving grace. Treat it well, and it will make you look like the rockstar chef you’ve always pretended to be on Instagram. Cheers!