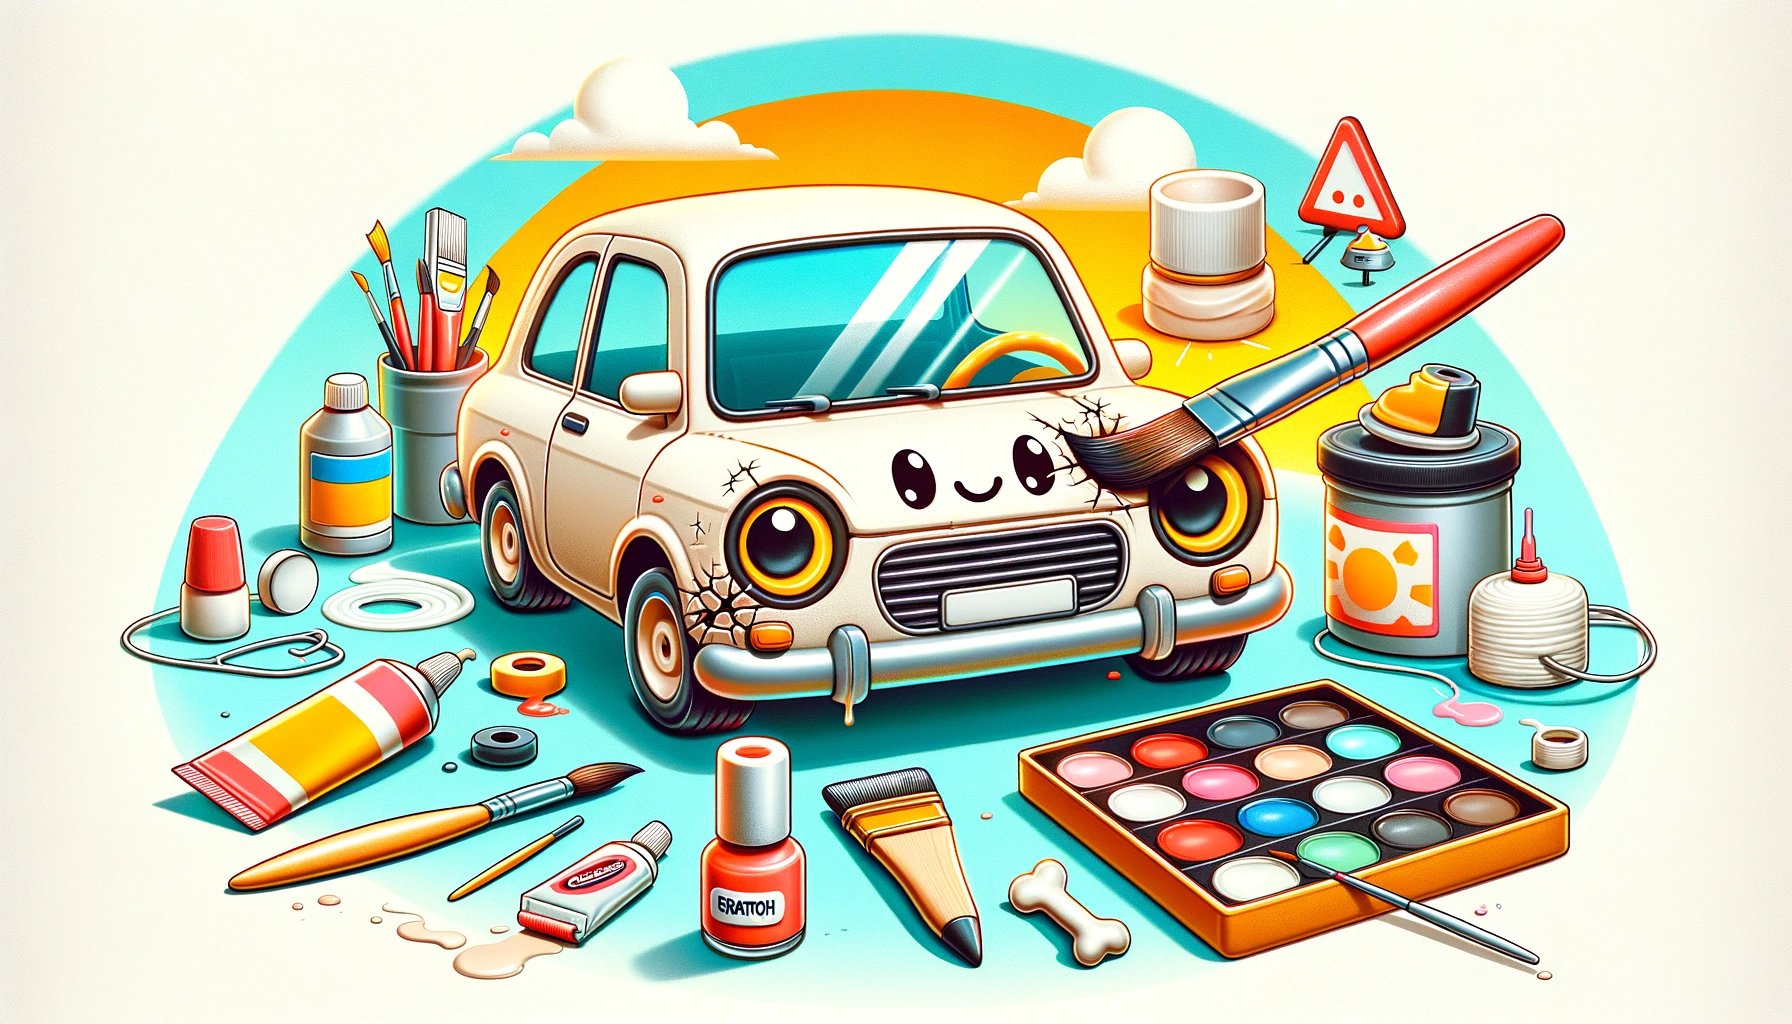
Oopsie-daisy! You’ve made a little boo-boo on your precious chariot, haven’t you? Well, fear not, for I come bearing wisdom that will have your four-wheeled beauty back to its (almost) pristine self! Here’s the not-so-secret guide to fixing that unsightly scratch in the most practical way.
Step 1: Acceptance and Deep Breathing
Firstly, don’t freak out. Seriously, your car is still functional, right? Take a deep breath and accept the ugly truth: your car has been marked! It’s almost like a rite of passage. And honestly, every scratch has a story, right? Tell everyone your car was attacked by a rogue shopping cart on the prowl. It’s more exciting than admitting you miscalculated that tight parking spot next to a pole.
Step 2: Nail Polish Isn’t Just for Nails!
Raid your (or someone else’s, with permission of course) nail polish stash. Yes, you heard right. Find a color that matches your car. Or maybe go for a contrasting glitter shade if you’re feeling fancy. But remember, the goal is to minimize attention to the scratch, not make it the centerpiece of an art exhibit.
Step 3: The Soap and Water Trick
Oh, don’t look so surprised! Sometimes, that menacing “scratch” is just some stubborn dirt playing a mean trick on you. Grab some soap, water, and a cloth. Gently rub the suspected scratch area. If you’re lucky, that horrifying mark will be nothing more than yesterday’s dirt playing peek-a-boo. If not, well, at least you’ve cleaned a part of your car. That’s something!
Step 4: The Toothpaste Method
Toothpaste isn’t just for minty fresh breath. Dab some non-gel toothpaste onto a soft cloth and rub it on the scratch in a circular motion. This mild abrasive can help reduce the appearance of minor scratches. Rinse off with water. Now, every time you pass by that spot, you can remember the importance of oral hygiene!
Step 5: Actual Scratch Removers Exist!
Okay, okay, if none of these practical methods work, you might consider diving into the boring world of actual car scratch removers. Head to your local auto store, and ask the assistant for the best scratch remover. They’ll probably point you to a shelf with a thousand options. Just pick one. How different can they be? (Note: They can be. Read labels, or ask someone who knows better.)
Step 6: Embrace the Art of Distraction
You know what they say: if you can’t fix it, distract from it! Consider getting a bumper sticker or car magnet with a funny quote. Ideally, it should be something so hilarious that people will be too busy laughing to notice the scratch. You might wonder if this really works. The answer is… probably not. But hey, at least you’ll have a cooler looking car!
Step 7: The Magic of Shoe Polish
Here’s a wild idea: black or white shoe polish can act as a temporary indicator. Apply the shoe polish on and around the scratch. The polish will settle into the deeper parts, highlighting the areas you need to focus on when sanding or buffing. This isn’t so much a solution as it is a “let’s see how bad it really is” investigation.
Step 8: DIY Sanding (For the Brave Only)
Now, if you’re feeling brave, or just a tad reckless, you can attempt to wet sand the scratch. Buy ultra-fine sandpaper, soak it in soapy water, and gently sand the scratch. Warning: This method requires patience, courage, and a decent amount of skill. If done wrongly, you might end up making things worse. So proceed with caution. Or maybe don’t proceed at all. Seriously, maybe just skip to the next step.
Step 9: Wax On, Wax Off
Remember Mr. Miyagi’s wisdom in “The Karate Kid”? Well, it’s time to put it to use. After fixing (or perhaps masterfully failing to fix) the scratch, apply a layer of wax to the treated area to seal your hard work and give it a shiny finish. Even if the scratch is still slightly visible, at least it’ll gleam in the sunlight, giving the illusion of a job well done.
Step 10: Embrace the Scratch
If all else fails, consider this: every scar (or scratch) has a story. Wear it with pride. Let it be a reminder of that time you tried to parallel park in a space clearly two sizes too small, or when you underestimated the sharpness of that rogue tree branch. Life is about experiences, and your car is now richer for them. Besides, now you have a wonderful conversation starter at parties!
And there you have it! Whether you’ve successfully fixed the scratch or just given up and embraced it, remember: It’s not about the destination, it’s about the hilarious journey. Keep on driving and try not to add any more “battle scars” to your vehicle. But if you do, well, you know where to come for some seriously funny advice!
End of the road… for now.
Note: Remember, always test any method on a small, inconspicuous part of your car to ensure it doesn’t cause further damage!
Additional Pro Tips on Fixing Car Scratches
- Use a Scratch Repair Kit
For those who don’t trust their DIY skills with household items, a scratch repair kit can be a lifesaver. These kits usually come with everything you need, including a solution to fill the scratch, sandpaper to smooth it out, and polish to restore the shine. Follow the instructions carefully for the best results.
- Touch-Up Paint for Deeper Scratches
If your scratch has gone past the clear coat and into the paint, it might be time to bring out the touch-up paint. You can usually find a paint that matches your car’s color code. Apply it carefully with a fine brush or a small dabber. It requires a steady hand, but it’s worth it for making those deeper scratches almost invisible.
- Clear Coat Pen for Protection
After you’ve filled in a scratch, especially with touch-up paint, use a clear coat pen to seal and protect the area. This will help prevent rust and make the repair last longer. It also adds a layer of shine that helps blend the repair with the rest of the car’s body.
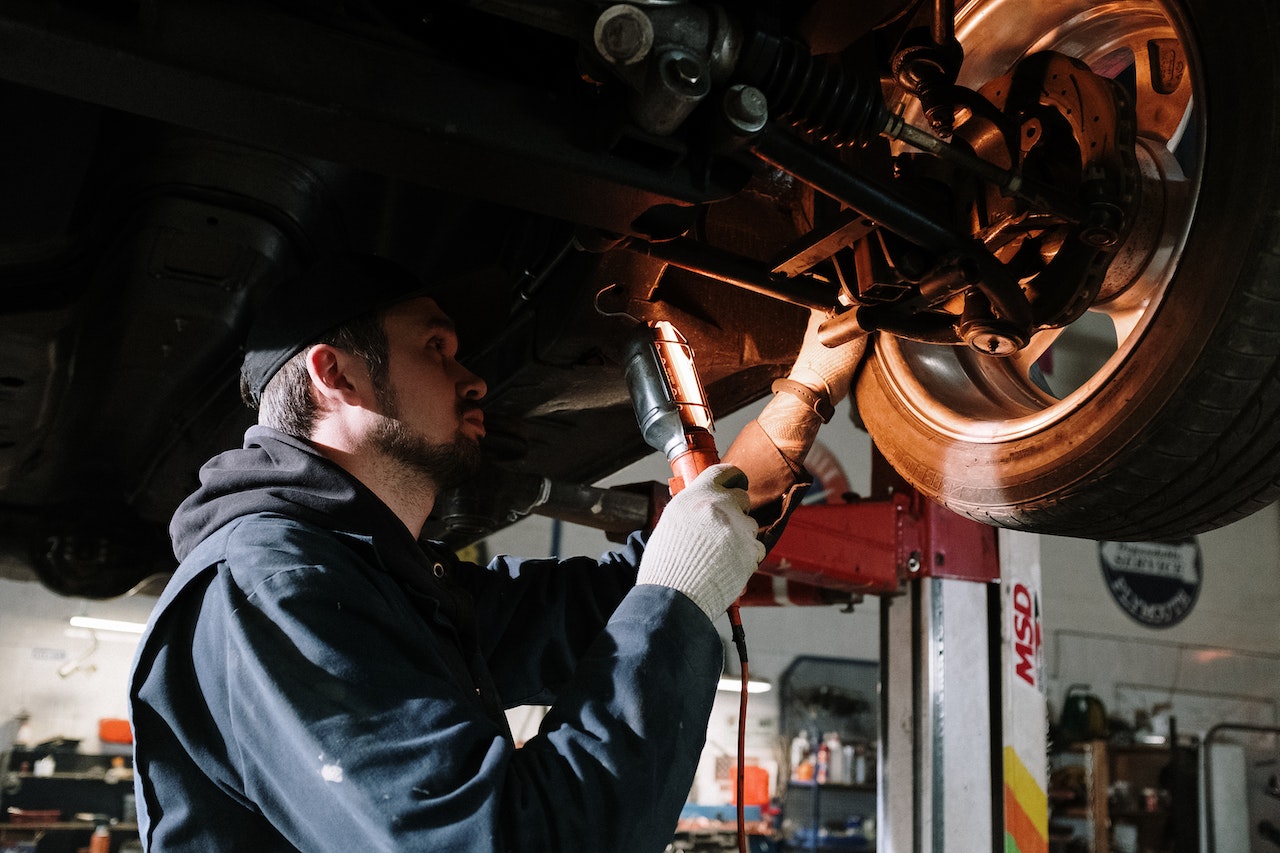
- Professional Buffing for Stubborn Scratches
Sometimes, a scratch is too stubborn for DIY methods. In this case, consider taking your car to a professional for buffing. They have the tools and expertise to reduce the appearance of deeper scratches significantly.
- Prevention is Key
To avoid future scratches, try to park in less congested areas, use car covers when parked for long periods, and be mindful of potential hazards like low-hanging branches or narrow garage entrances.
- Regular Maintenance
Regularly washing and waxing your car can also help prevent scratches by keeping the surface smooth and less prone to damage from dirt and debris.
- Be Realistic
Understand that some scratches might be too deep or complex for a perfect fix at home. In such cases, it’s important to set realistic expectations or consult with a professional.
FAQ
Toothpaste can be effective for very light scratches, particularly those that haven’t cut through the clear coat. It acts as a mild abrasive, helping to smooth out the surface. However, it’s not suitable for deeper scratches.
For nail polish, it’s a trial-and-error process to find a close match. For touch-up paint, check your car’s manual or identification plate for the paint code, then purchase touch-up paint that matches this code.
It’s best to use a mild, non-abrasive soap, like dishwashing liquid or a dedicated car wash soap. Avoid anything with harsh chemicals that might damage the car’s paint.
Generally, yes. But it’s always wise to test the product on a small, inconspicuous area first to ensure it doesn’t cause any discoloration or further damage.
Follow the instructions on the kit carefully. Typically, this involves cleaning the area, applying the filler, smoothing it out, and then polishing. Patience and precision are key.
Wet sanding can be effective but risky. It should only be done by those who are confident in their DIY skills or have experience. If in doubt, it’s better to consult a professional.
Waxing every three to four months is generally recommended. Regular waxing provides a protective layer that can help prevent minor scratches.
If your repair attempts worsen the scratch, it’s best to stop and seek professional help. Sometimes, what starts as a small DIY fix can turn into a more complex repair if not handled correctly.
While it’s difficult to prevent scratches entirely, careful driving, mindful parking, and regular maintenance can significantly reduce the risk.
It depends on your personal preference and the car’s value. Small scratches are mostly a cosmetic issue. If they bother you or you’re concerned about the car’s resale value, then yes, it’s worth fixing them.