Ah, the pancake: the crown jewel of breakfast foods, the epitome of culinary mastery, the pinnacle of gastronomic excellence. This fluffy masterpiece is so complex, it has caused entire generations to quake in their spatulas. Well, fear not, oh humble kitchen warriors. Today, we elevate your cooking game from “edible, maybe” to “Michelin-star worthy, probably not.”
First off, let’s talk ingredients. Grab a pen, paper, and a seat. Brace yourselves.
Ingredients:
- Flour: 1 cup (Because anything worth doing is worth doing floury)
- Baking Powder: 2 teaspoons (Yes, it’s the white powdery stuff that’s not sugar or cocaine)
- Salt: 1/2 teaspoon (A little bit of sodium never hurt anyone. Well, except for those on a low-sodium diet)
- Sugar: 1 tablespoon (This is not a drill. I repeat: sugar goes IN the pancake)
- Milk: 1 cup (Plant-based milk works too, if you’re into that sort of thing)
- Egg: 1 (Chicken egg. Don’t even think about emu, you weirdo)
- Unsalted Butter: 2 tablespoons, melted (Why unsalted? Because we’ve already salted the batter, pay attention)
Optional:
- Chopped fruit, nuts, or chocolate chips (For those who believe that breakfast is just dessert with better PR)
Step 1: Prepare Your Battlefield
Clean your kitchen. Or don’t, who am I to judge your life choices? Just remember, the chance of flipping a pancake directly into a pile of dirty dishes is directly proportional to how disgusting your countertop is.
Step 2: Sift the World’s Easiest Dry Ingredients
Grab a medium-sized bowl. If you don’t know what medium-sized means, I can’t help you. You should probably stick to cereal. Into this bowl, sift together the flour, baking powder, salt, and sugar. Why sift? Because clumpy pancakes are the culinary equivalent of a sock with a hole. Not tragic, but annoying enough to ruin your day.
Step 3: Mix the Liquid Magic
In another bowl (yes, you’ll have to wash two bowls, life is hard), beat the living daylights out of that lone egg. Add the milk and melted butter and whisk like you’re auditioning for a cooking show you’ll never be on.
Step 4: Combine Like Voltron, but Less Cool
Pour the liquid ingredients into the dry ingredients while whispering sweet affirmations to the batter. Stir until just mixed; do not overmix. If you’re unsure what ‘just mixed’ means, stop when it looks like batter, not cement.
By this point, if your batter is neither too dry nor too wet, congratulations! You’ve passed the first test of “being able to follow basic instructions.” If it’s too dry, add milk. Too wet? Add flour. Can’t figure it out? Consider takeout.
Step 5: Preheat Like Your Life Depends On It
This step is crucial. Preheat your griddle or non-stick frying pan over medium heat. The pan is ready when you flick a droplet of water onto it, and the water sizzles like it’s at a techno club. Too much sizzle, and your pancakes will end up like charcoal briquettes. Not enough sizzle, and you’ll be flipping goo. Aim for the sizzle sweet spot.
Step 6: Grease the Landing Strip
Take some butter, cooking spray, or the tears of your culinary foes to lightly grease the pan. If you’re using butter, let it melt but not brown because you’re cooking pancakes, not auditioning for the role of a smoky campfire.
Step 7: Spoon and Spread, but Don’t Dread
Here comes the moment of truth. Take a ladle or a large spoon (yes, the utensil you eat soup with, not the shovel you eat ice cream with) and pour some batter onto the pan. How much? Well, that depends on how confident you are in your flipping skills. Let’s not kid ourselves — go small. You can pretend you meant to make silver-dollar pancakes.
Step 8: Watch for Bubbles, Then Troubles
Watch the batter. When you start seeing bubbles break the surface, take a peek under the pancake using a spatula. If it’s golden brown, flip it like you’re tossing cabers at a Scottish games festival. If you have no idea what that means, just flip the damn pancake.
Step 9: The Other Side
Cook until the other side is also golden brown. This usually takes less time than the first side because now the pancake is cooking in its own existential dread.
Step 10: Stacking 101
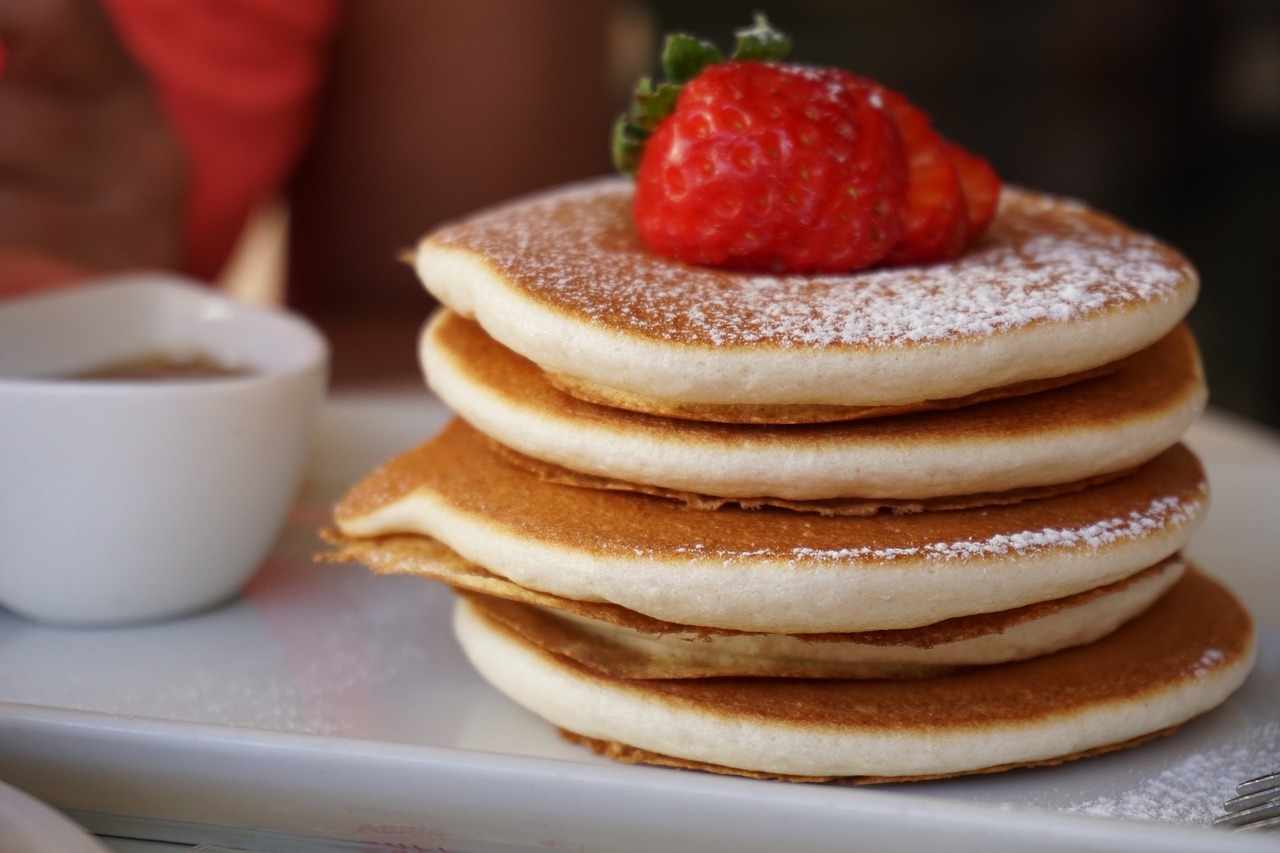
Your pancake is ready. Let’s be real; you’re going to eat it immediately. But for those of you with more self-control than a toddler, place the cooked pancake on a warm plate and cover with a kitchen towel. Repeat this process until you have enough pancakes to post a photo that’ll make your Instagram followers “ooh” and “ahh,” even if the insides are slightly undercooked.
Step 11: Toppings? More Like Ploppings
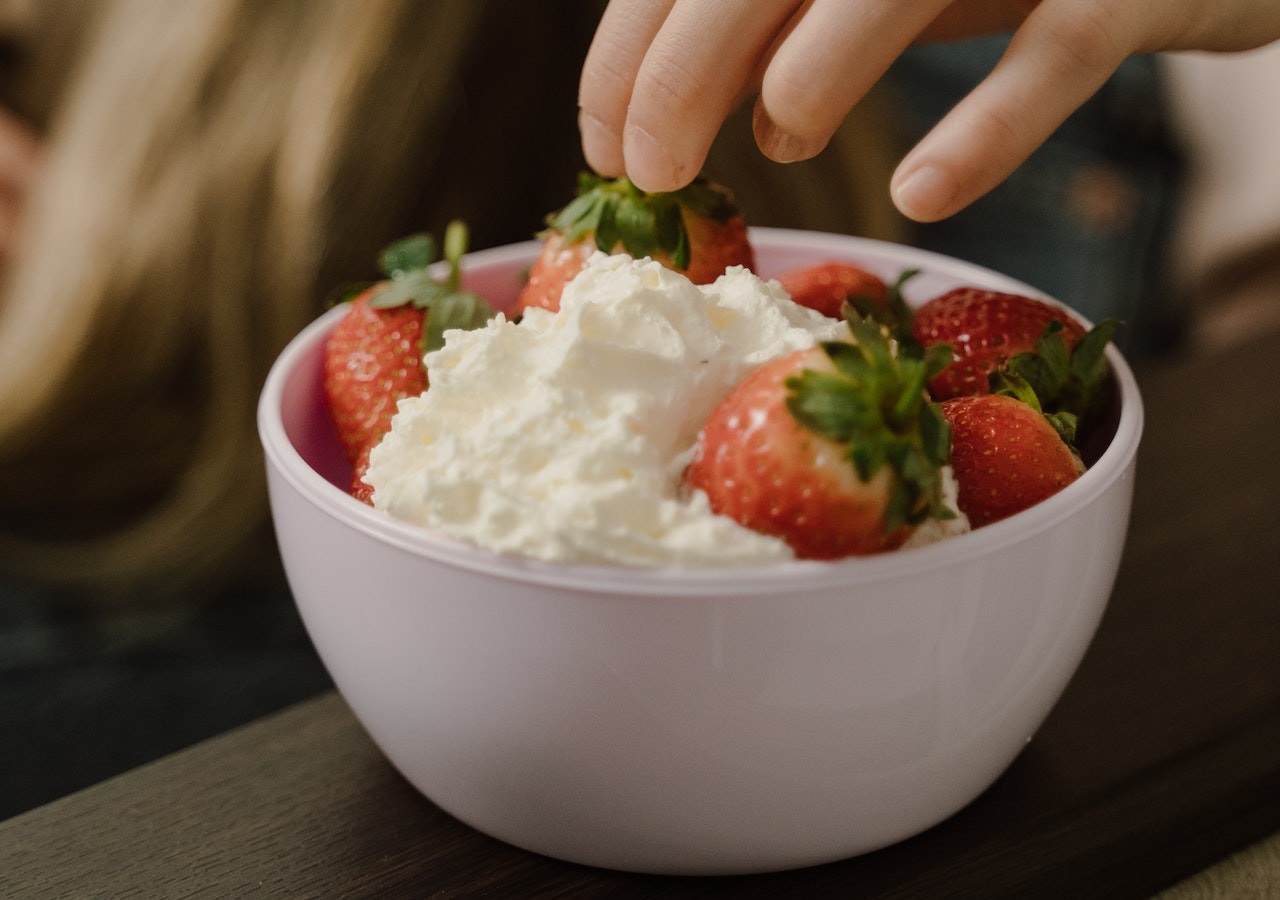
Here’s where you can really pretend to be sophisticated. Fresh fruits, a dollop of whipped cream, a splash of maple syrup, or just a simple pat of butter — let your creativity soar. Or, just dump a mountain of syrup on it, because we all know that’s what you’re going to do anyway.
Step 12: The Feast
If you’ve followed all these steps and your pancakes look more like craters on the moon, just remember, the road to Hell is paved with good intentions — and possibly your pancakes. But if they look edible, congratulations! You’ve just made something that humans have been making since about 30,000 BCE, but who’s counting?
Remember, you’re not just making breakfast. You’re making history. Or at least, you’re making sure history doesn’t repeat itself the next time you’re entrusted with Sunday brunch.
Step 13: Archive this Guide
Bookmark this page, save it to your desktop, print it out and stick it on your fridge, tattoo it on your arm — whatever helps you remember these essential life skills. Because who knows, someday you may have to teach someone else the almost sacred art of making pancakes, and the cycle of sarcasm and flour will continue for a new generation.
And there we have it — your complete guide to making pancakes, from kitchen disaster to breakfast hero. You’ve laughed, you’ve cried, you’ve probably sworn at your frying pan. But in the end, you have pancakes. And really, isn’t that what life’s all about?