Corn on the cob – nature’s attempt at giving us all dental floss challenges. But if you’re here, it probably means you’ve decided to brave the world of kernels and embark on the complicated culinary journey that is… boiling corn. So, buckle up, buttercup, because we’re about to make your dreams come true!
Ingredients:
- Fresh corn on the cob – As many as you can fit in your pot or as many as your heart desires. Just remember, size does matter in this game.
- Water – Oh, you know, that transparent liquid? Enough to drown the cobs, not your sorrows.
- Salt – 1 tablespoon or just a few tears from your past kitchen failures. They’ll add some real flavor.
- Butter – As much as your arteries can handle.
- Optional: a sense of humor, because this is going to be corny!
Instructions:
- Selecting your corn: This might shock you, but you need corn for this recipe. Wild, right? Head to your local farmer’s market or supermarket and strut down to the produce section. Look for the corn that speaks to you (not literally; if that’s happening, seek help). You want firm, plump kernels, and green, snug husks. If the corn starts telling you its life story, it’s probably too old.
- Prepping the battlefield: Find a pot. Any pot. No, not that little teacup-sized one. Think bigger. Bigger. Yes, that’s the one! Fill it with water. I know, this is high-level chef stuff. But trust in yourself.
- Toss in some salt: Add your tablespoon of salt or the aforementioned tears. If you’re worried about it being too salty, just remember – it’s an ocean for your corn, not the Dead Sea.
- Undress your corn: Pull off the outer leaves and silks from your corn. Whisper sweet nothings to it if necessary. If you’re struggling, just think of it as a nature-made puzzle meant for the elite few (like yourself).
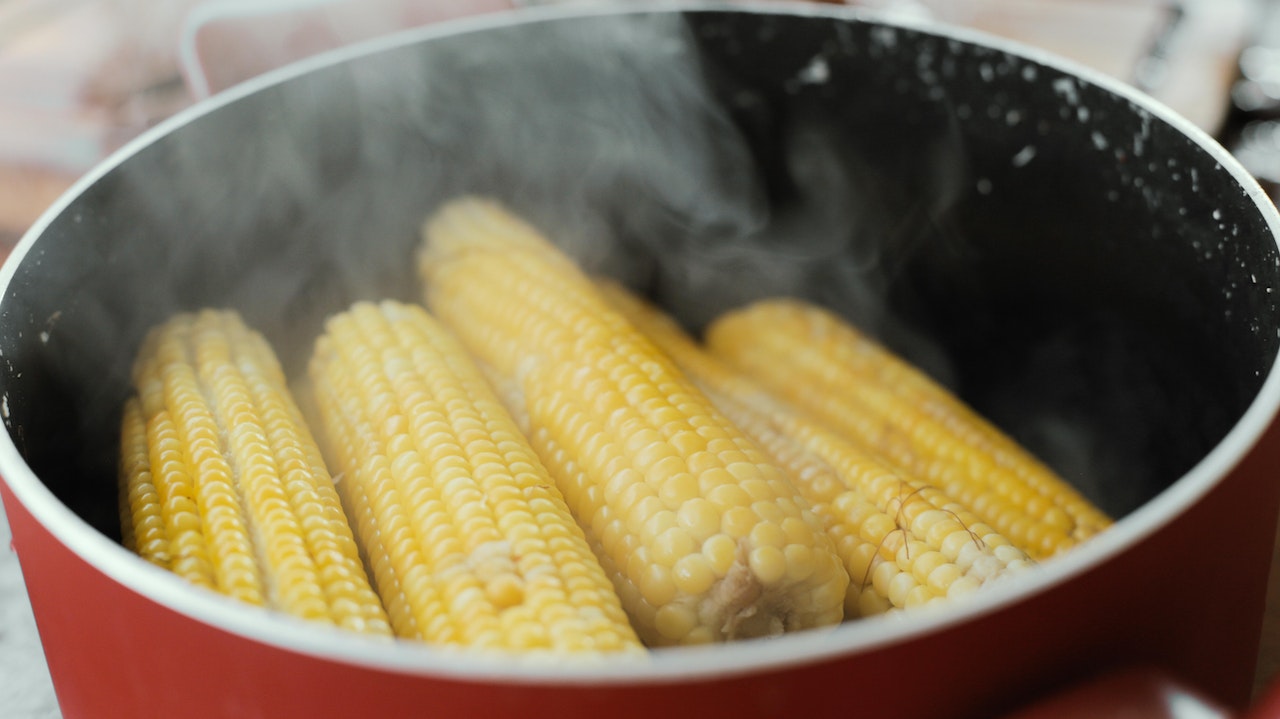
- The Boiling Dance: Now, with all the grace of a ballet dancer, or at least someone who’s walked without tripping over their own feet, place the corn in the pot of water. Crank up that heat, and wait for bubbles. That’s right, we’re about to turn this pot into a corn spa. If you’re not humming “Hot Tub Time Machine” by now, you’re missing out on a golden opportunity.
- Cook ’em up: Once your water’s bubbling away, reduce the heat a tad, letting the corn simmer for 8-10 minutes. You can take this time to reflect on your life choices and why you’re reading a funny guide on boiling corn. But hey, no judgment.
- Buttering Your Masterpiece: After patiently awaiting the transformation of your corn from raw to edible, it’s time to pamper it. Grab that stick of butter. And no, don’t just slap the whole stick on there like a barbarian. Glide it over the hot corn, letting it melt and soak in, enveloping each kernel in a creamy embrace. If you accidentally use the entire stick, just remember, there’s no such thing as too much butter; there’s only “Wow, that’s a lot of flavor!”
- Season to Impress: Want to seem gourmet? Sprinkle a pinch of chili powder, paprika, or pepper on the corn. Everyone will think you’re a world-class chef or at least someone who knows their spice cabinet exists.
- The Art of Consumption: Now comes the truly challenging part – eating the corn without getting it all over your face or lodged between every tooth. Start from one end and make your way across, rotating as you go. Like a typewriter, but tastier. Alternatively, just devour it like no one’s watching. Because let’s be honest, everyone else is too busy dealing with their own corn carnage to notice yours.
- Post-Corn Cleanup: Once you’ve annihilated your corn, you may find remnants of your battle left behind on your face, hands, or table. Just remember: Napkins are your friends. If you missed the memo and find yourself in public without one, the back of your hand or a discreet shirt sleeve can work wonders.
- Dental Care 101: Remember the dental floss challenge we mentioned earlier? Now’s the time to tackle it. Unless you’re going for that “I just had corn, and I want the world to know it” look, you might want to visit the bathroom. A quick toothpick maneuver or a dedicated flossing session will leave you feeling confident and corn-free.
- Reflect on Your Culinary Journey: As you sit back, patting your full belly, take a moment to appreciate the epic journey you’ve undertaken. From selecting the finest corn specimens to mastering the art of buttering and consumption, you’ve not only nourished your body but your soul (and your sense of humor).
In conclusion, while the steps to cook corn on the cob may seem simple to the untrained eye, you now understand the depths and intricacies of this age-old culinary practice. So the next time someone downplays the art of corn preparation, just smile knowingly. You’re part of an elite club now.
To all the brave souls who’ve followed this guide to its conclusion, congratulations! You are now armed with the tools, knowledge, and sarcastic wit required to conquer any corn on the cob that dares cross your path. Go forth, and may your corn always be buttery, delicious, and hilariously prepared!
Pro Tips for the Corn Connoisseur:
- Corn Selection Matters: Consider choosing corn with the tassels still moist and the stalks fresh. Dry tassels and dried-out stalks might mean older corn. You’re aiming for the freshest of the crop!
- Ice Bath Shock: After boiling, if you want to stop the cooking process immediately (especially if you like your corn a tad crunchy), dunk the cobs in an ice bath. This will also make them cool enough to handle faster.
- Grill Marks Galore: If you want to add a smoky flavor, after boiling, throw the corn on a grill for a couple of minutes on each side. Those grill marks don’t just look good, they add an extra depth of flavor.
- Flavored Butter: Mix herbs or spices into your butter before applying to your corn. Garlic butter, herb-infused butter, or even honey butter can elevate your corn game.
- The Corn Holder Trick: If you’re a fan of kitchen gadgets, invest in some corn holders. They’ll keep your fingers clean, and let’s be honest, stabbing a cob with tiny corn-shaped daggers is ridiculously fun.
- Opt for Cheese: Sprinkle a bit of grated Parmesan or crumbled feta on your buttered corn. This savory touch will have your guests thinking you’ve spent years in culinary school.
- Sour Cream Spread: For a richer, creamier corn experience, spread a thin layer of sour cream on your corn, then sprinkle with chili powder and a squeeze of lime.
- Save Those Cobs: Don’t throw away your used cobs! They’re great for making corn stock or soup. Simply simmer them in water with some herbs, and you’ve got a flavorful base for another dish.
- Toothpick Treasure: Always have toothpicks on hand. After enjoying your corn, there’s nothing more satisfying than freeing your teeth from those pesky kernels. Plus, it doubles as a mini sword for any leftover butter battles.
- Memories Over Mess: Remember, it’s not about the mess you make, but the memories you create. Even if you find kernels on the ceiling, a buttery handprint on the wall, or a strand of silk in your hair, it’s all part of the corn cooking adventure.
Corn on the cob isn’t just a side dish; it’s an experience. Embrace the journey, laugh at the quirks, and always strive for that perfect bite.
Frequently Asked Questions (FAQ) About Cooking Corn on the Cob
Salt boosts the flavor of the corn, enhancing its natural sweetness. Plus, it mimics the saline environment of the corn’s dream ocean vacation.
Once the water reaches a boil, allow the corn to simmer for 8-10 minutes. The kernels should be tender when pierced with a fork but not mushy.
Absolutely! Overcooked corn becomes mushy and loses its natural sweetness. It’s a fine line between perfectly tender and overdone. Stick to the recommended cooking time and always keep an eye on it.
Corn can become tough if it’s over-matured before harvest or if it’s overcooked. Always select the freshest corn and monitor your cooking time.
Yes, you can pre-boil your corn and then reheat it on the grill or in the microwave. Just be careful not to overcook it during the reheating process.
While it’s ideal to remove as many silks as possible for a pleasant eating experience, a few stray threads won’t hurt. They’re nature’s little reminders of corn’s authenticity.
Some people add a teaspoon of sugar to enhance the corn’s natural sweetness, especially if the corn isn’t at its peak freshness. However, with fresh, in-season corn, you usually don’t need the extra sugar.
Allow the corn to cool, then store it in an airtight container in the refrigerator. Consume within 3-5 days for the best taste and texture.
Definitely! Grilling, roasting, and steaming are other popular methods. Each method provides a unique flavor and texture experience.
While butter adds a rich and creamy flavor, it’s optional. You can use olive oil, coconut oil, or even flavored spreads as alternatives.


