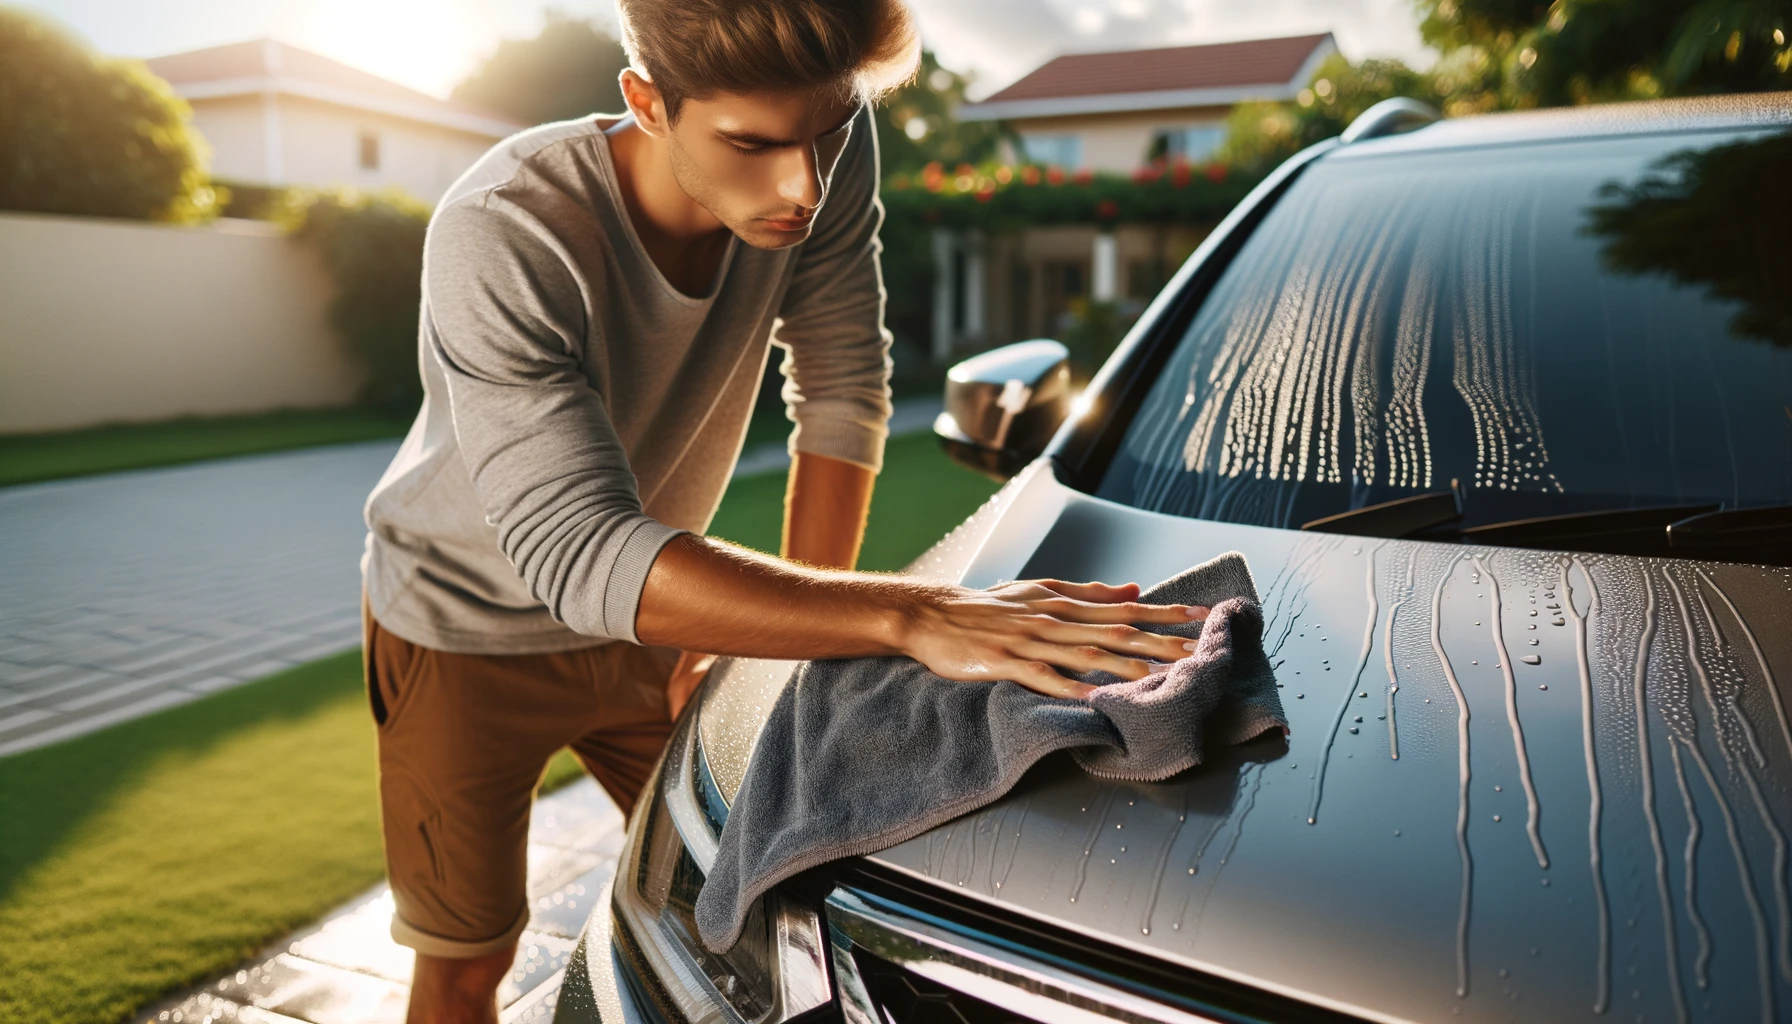
The noble art of car washing – an activity so simple, it’s a wonder why there isn’t a Nobel Prize category for it yet. But fear not, my dear friend, for I am here to guide you through this herculean task with advice so genuine, it might just sparkle like your soon-to-be immaculate car.
Step 1: Wait for the Perfect Weather (or Don’t)
First things first, check the weather. You want a nice, cloudy day for this endeavor. Why? Because washing your car in direct sunlight is like trying to fry an egg on the hood – it’s just going to lead to streaks and a lot of regret. But let’s be honest, if you’re waiting for the perfect weather to wash your car, you might as well wait for pigs to fly.
Step 2: Assemble Your Arsenal
Got the weather? Good. Now, gather your tools. No, not a hammer and nails – we’re washing, not reconstructing. You’ll need:
- A bucket: Preferably one that holds water. Revolutionary, I know.
- Car wash soap: Using dish soap is a great idea if you want to strip off your car’s wax and show it the true meaning of vulnerability.
- A hose: With water, unless you’re into the whole dry-washing scene.
- Sponge or wash mitt: Because using your cat is generally frowned upon.
- Microfiber towels: To dry your car, not for a post-wash nap.
Step 3: The Pre-Soak Spectacle
Before you start scrubbing away like Cinderella before the ball, you need to pre-soak your car. This is crucial to soften and remove the larger dirt particles. Skip this step if you enjoy the sound of sandpaper against your car’s paint.
Step 4: Lather, Rinse, Repeat
Apply your car wash soap in a gentle, swirling motion – think “wax on, wax off”, but with less martial arts and more soap. Be sure to rinse your sponge or wash mitt frequently, because nothing says “I love my car” like grinding dirt into the paintwork.
Step 5: Rinse Like You Mean It
Rinse your car thoroughly. And by thoroughly, I mean leave no soap behind. Imagine you’re trying to find Waldo, but instead of Waldo, it’s suds.
Step 6: The Art of Drying
Finally, dry your car with microfiber towels. Why microfiber? Because we’re fancy and we care about not scratching the paint. Also, it’s super absorbent. Air drying is an option if you’re a fan of water spots and living on the edge.
Step 7: Contemplate Waxing (But Actually Do It)
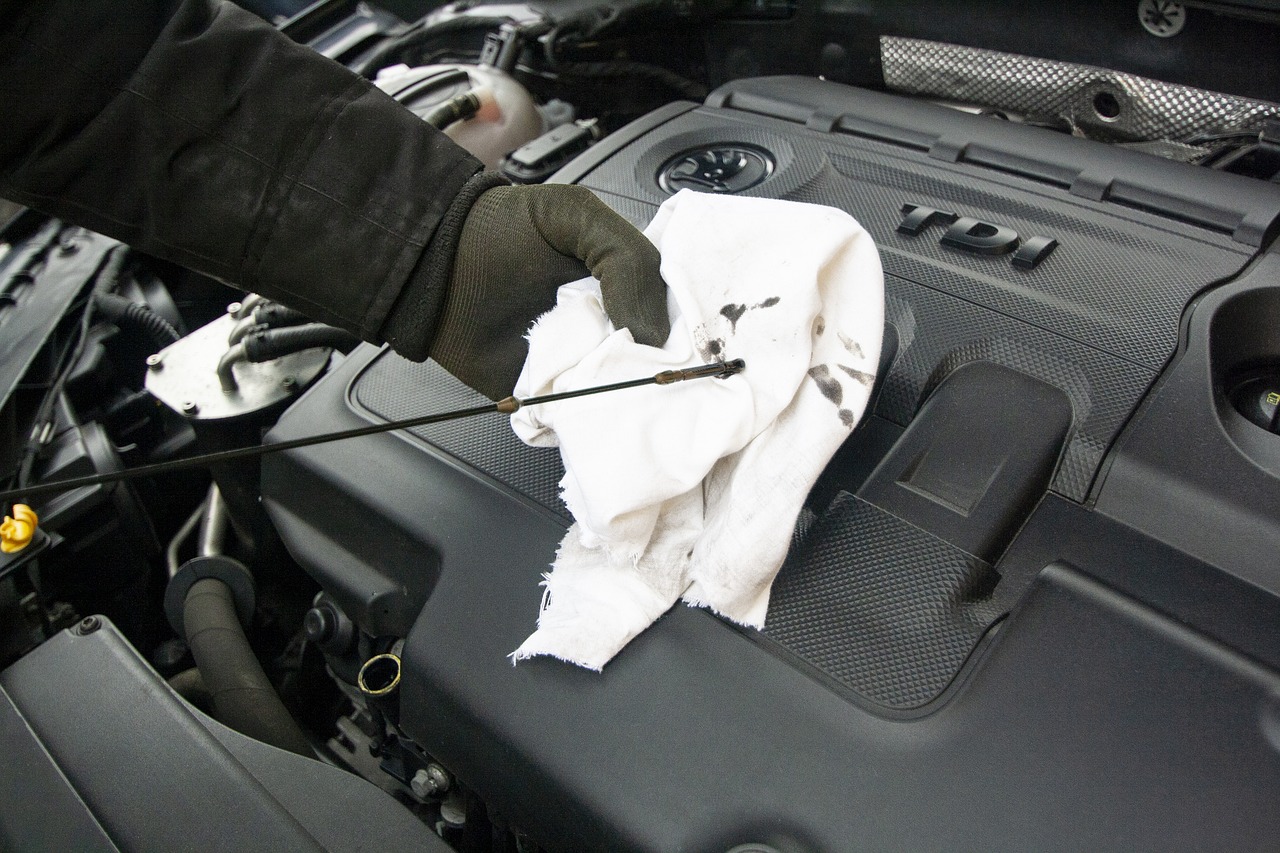
After drying, it’s time to wax. Waxing your car is like giving it a shield, but shinier and less medieval. It protects the paint, repels water, and gives you something to brag about at dinner parties. Choose a car wax – paste, liquid, or spray – based on how much elbow grease you’re willing to expend. Remember, the more effort you put in, the more you can annoyingly point out your car’s shine to others.
Step 8: The Windows – Your Portal to the Outside World
Cleaning the windows is crucial unless you enjoy driving with the visibility of a submarine. Use a glass cleaner and a fresh microfiber towel. Why a fresh one? Because using the same towel you used to dry the car is like using your bath towel to clean the bathroom – just don’t.
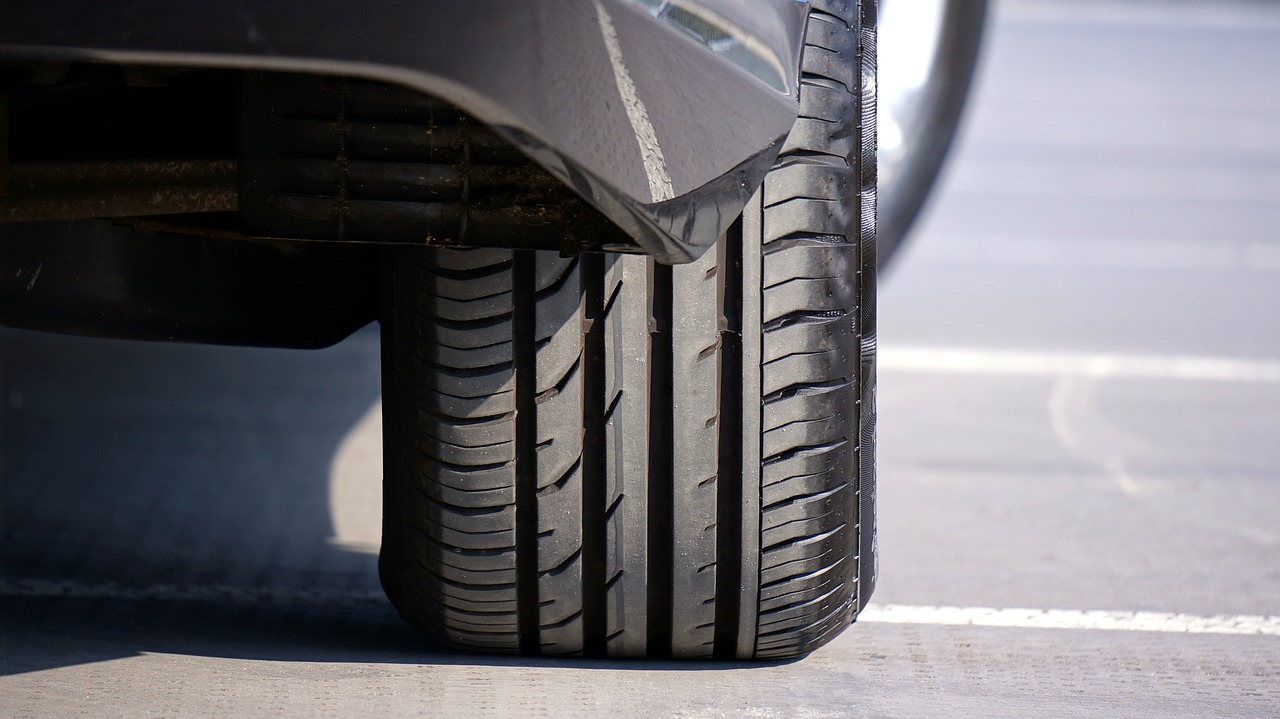
Step 9: Tire and Wheel Detailing – Where the Rubber Meets the Road
Next up, the tires and wheels. These often-overlooked heroes carry your entire car, so show them some love. Use a dedicated wheel cleaner and a tire brush. Scrub them like you’re scrubbing away your last bad decision. Rinse thoroughly, and if you’re feeling extra, apply some tire shine. It’s like mascara for your tires – completely unnecessary but oddly satisfying.
Step 10: The Interior – Where the Magic Happens
Let’s not forget the interior, the place where you actually spend time. Remove trash, vacuum the seats, mats, and surfaces. Wipe down the dashboard with an appropriate cleaner, and for the love of all that is pure, don’t forget to clean your cup holders. Nothing says “I take care of my things” like sticky cup holders.
Step 11: Admire Your Work (and Maybe Take a Selfie)
Step back and admire your handiwork. Your car is now cleaner, shinier, and probably a few pounds lighter without all that dirt. Go ahead, take a selfie with your gleaming chariot – you’ve earned it.
Step 12: The Aftermath
Lastly, clean up your mess. Put away your tools, and responsibly dispose of any waste water. You’ve just partaken in a sacred ritual of car ownership, and the gods of cleanliness will surely smile upon you.
And there you have it – a complete guide to washing your car, infused with humor and peppered with actual, useful advice. May your journeys be safe, your car be clean, and your sarcasm always be sharp. Until next time, happy washing!
Pro Tips: The Secret Sauce of Car Washing
Before you rush away to wash your car, here are some pro tips that separate the car-care wizards from the mere mortals. These nuggets of wisdom will ensure your car doesn’t just look clean, but radiates cleanliness from every angle.
- Two-Bucket Method
Embrace the two-bucket method. One bucket for your soapy water, and the other for rinsing your sponge or mitt. This drastically reduces the chances of you redecorating your car with the dirt you just removed. Think of it as keeping your clean and dirty laundry separate – basic hygiene, but for your car.
- Use a Grit Guard
Invest in a grit guard for your rinse bucket. It’s like a bouncer at a club, but for dirt particles. It keeps the grit at the bottom of the bucket, preventing it from reuniting with your sponge and then your car.
- Wheel First Approach
Always start with the wheels and tires. They’re usually the dirtiest part of the car and you don’t want to splash wheel grime onto your freshly cleaned paintwork. It’s like washing your face after your feet in the shower – a big no-no.
- The Magic of Clay Bars
After washing and before waxing, use a clay bar. This nifty tool will pick up contaminants and bits of dirt that washing alone can’t. It’s like giving your car a spa treatment, but less cucumber masks and more dirt extraction.
- Avoid Cross Contamination
Keep different microfiber towels for different tasks – one for drying the body, another for windows, and a separate one for wheels. Mixing these up is like using your toothbrush for combing your hair. It just doesn’t make sense.
- Protect Your Trim
Apply a trim protectant to plastic and rubber parts before waxing. This prevents wax residue from staining these materials. It’s like putting tape around the edges when painting a room – it keeps everything neat and tidy.
- Patience with Waxing
When waxing, let the wax sit and haze before buffing it off. Rushing this process is like eating a cake before it’s baked – it just ruins the final product.
- Regular Maintenance
Regularly washing your car prevents the buildup of contaminants that can damage your paint over time. It’s like brushing your teeth; do it regularly, and you’ll avoid a lot of unpleasantness down the line.
- Mind the Details
Pay attention to small details like the door jambs, under the hood, and around the fuel cap. Cleaning these areas is like ironing the collar of your shirt – it’s a small detail that makes a big difference.
FAQ: Everything You Wanted to Know About Car Washing
While dish soap is great for your greasy pans, it’s not ideal for your car. It can strip away the wax and damage the paint over time. Stick to car-specific wash soaps – they’re formulated to be gentle on your car’s paint.
It depends on your environment and how much you use your car. Generally, washing it every two weeks is a good practice. If you live in an area with a lot of pollution or salt (like near the sea), you might want to wash it more frequently.
Washing your car in direct sunlight can lead to water spots and streaks, as the heat causes the water and soap to dry too quickly. It’s best to wash your car in the shade or on a cloudy day.
Waxing isn’t just for show; it protects your paint from UV rays, dirt, and moisture. So yes, waxing is an important step if you want to maintain the health and look of your car’s paint.
Pressure washers can be safe if used correctly. Use a wide-angle spray and keep it at least 12 inches (30 cm) away from the car’s surface. Be careful around window seals and loose body trim.
It’s best to use different towels. Microfiber towels are great for drying as they are highly absorbent and soft. For polishing, use a clean, lint-free cloth to avoid contaminating your car’s surface.
Automatic car washes are convenient, but they can be harsh on your paint. They often use aggressive brushes that can leave swirls. Hand washing is gentler and gives you more control over the cleaning process.
It’s usually best to clean the exterior first. This way, you avoid bringing any dirt or grime from the outside into a clean interior.
Dry your car immediately after washing to prevent water spots. Using a clean microfiber towel or a squeegee can help remove water quickly and efficiently.
Use a separate brush or sponge for the wheels and tires. They often have brake dust and road grime that you don’t want to transfer to the car’s body. Also, use a cleaner that’s specifically designed for your type of wheels.