Welcome, brave souls, to the treacherous yet strangely satisfying journey of removing gel nail polish. This is not for the faint of heart, nor is it for those who believe that “gentle” and “nail polish remover” belong in the same sentence. If you’ve ever applied gel nail polish, you know it’s like signing a blood pact with your nails – that stuff is meant to last. But fear not, because I’m here to guide you through the harrowing adventure of getting that stubborn polish off your nails, all while keeping your sense of humor intact.
Breaking Up with Gel Polish
First things first, let’s get one thing straight: removing gel nail polish is not a sprint, it’s a marathon. And like any marathon, it requires preparation, patience, and a whole lot of elbow grease. So, if you were hoping for a quick and easy solution, you might as well keep dreaming.
But for those of you ready to roll up your sleeves and get down to business, let’s dive in.
Step 1: Acceptance
Before we even touch a nail file, it’s important to come to terms with the fact that this is going to take time. Gel polish is designed to be durable, long-lasting, and resistant to chipping, which is great until you actually want to remove it. So, take a deep breath, accept your fate, and let’s get started.
Step 2: Gather Your Tools
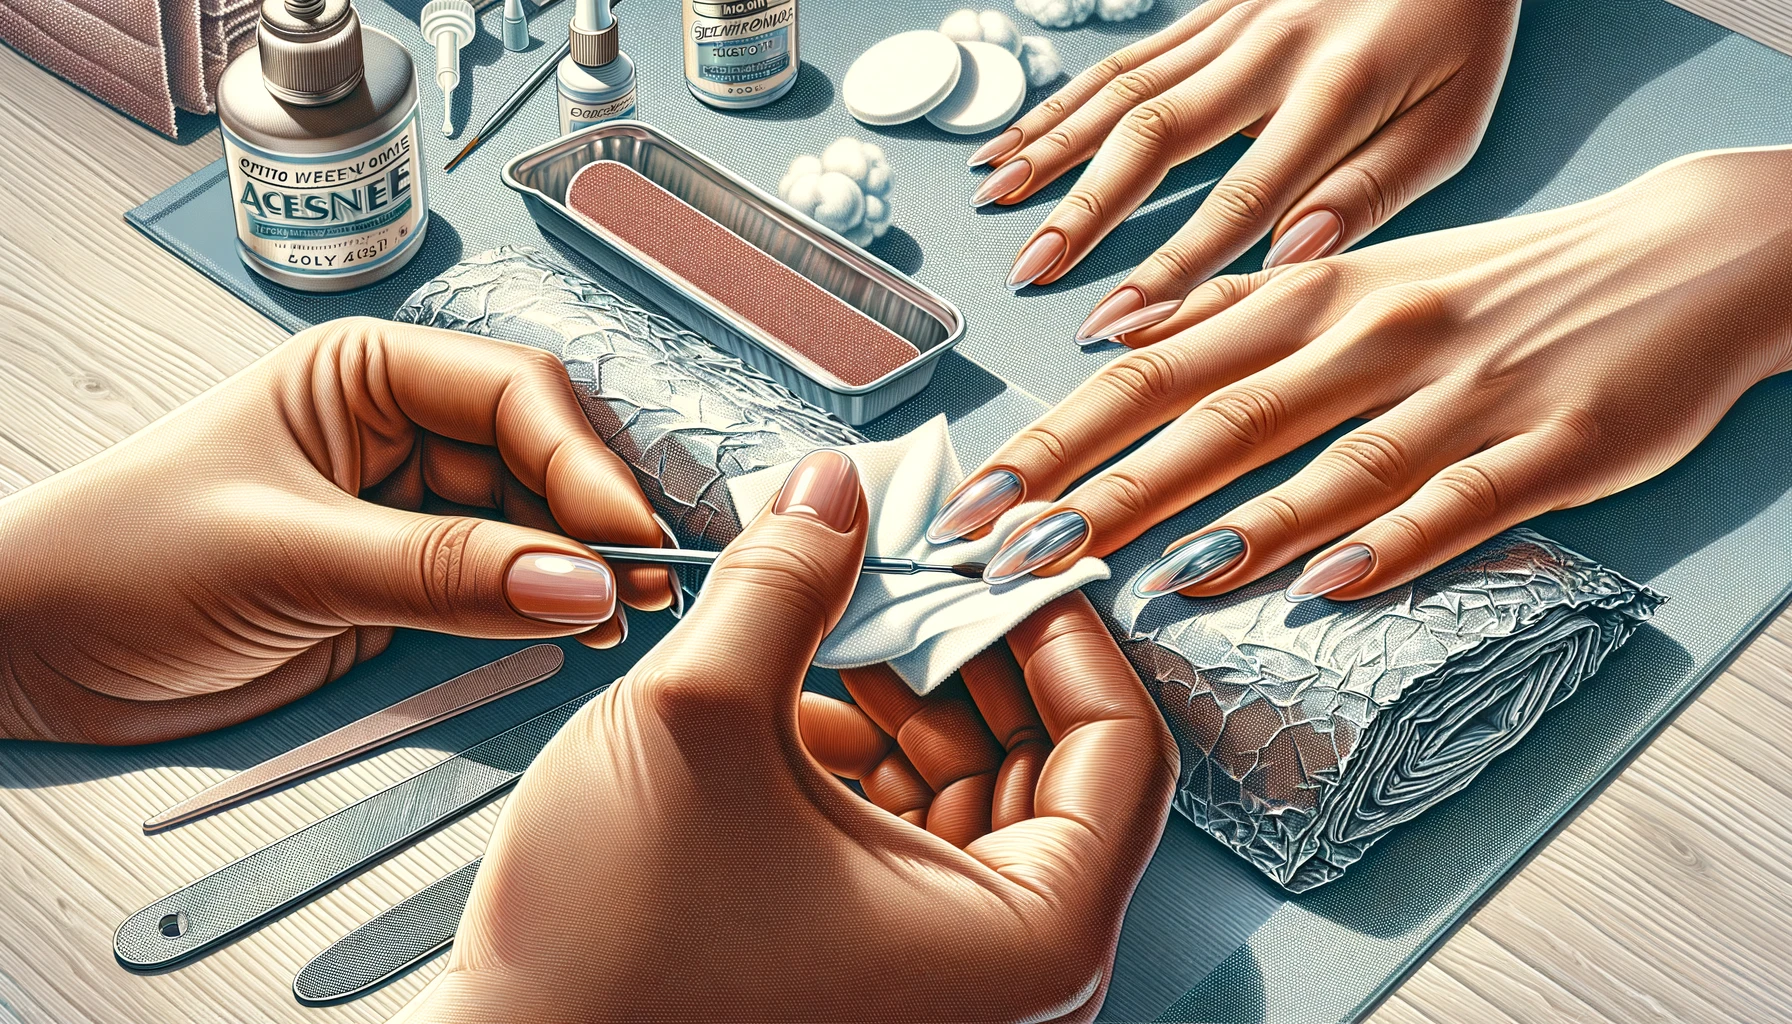
You wouldn’t go into battle without your armor, and you shouldn’t attempt to remove gel nail polish without the proper tools. Here’s what you’ll need:
- Nail file
- Acetone (and lots of it)
- Cotton balls or pads
- Aluminum foil
- A cuticle pusher or orange stick
- Patience (not sold in stores)
Make sure you have everything on hand before you start, because there’s nothing worse than getting halfway through and realizing you’re out of acetone. Trust me.
Step 3: Buff, Baby, Buff
Now that you’ve accepted your fate and gathered your tools, it’s time to get down to business. Start by using your nail file to gently buff away the top layer of the gel polish. And when I say gently, I mean gently. The goal here is to remove the shiny top coat without filing away your actual nail. So, channel your inner Zen master and buff with care.
You might be tempted to skip this step and go straight to the acetone, but resist the urge. Buffing away the top coat allows the acetone to penetrate the polish and work its magic, so don’t cut corners.
Step 4: Acetone Time
Once you’ve buffed away the top coat, it’s time to break out the big guns: acetone. Soak a cotton ball or pad in acetone, place it on your nail, and wrap it up in a piece of aluminum foil. Repeat for each nail, then sit back and wait.
And when I say wait, I mean wait. This is not the time to be impatient. The acetone needs time to break down the gel polish, so give it at least 10-15 minutes. Use this time to ponder life’s mysteries, catch up on your favorite TV show, or contemplate why you ever decided to apply gel nail polish in the first place.
Step 5: The Great Unwrapping
By now, your nails should be thoroughly soaked in acetone and ready for the next step. Gently unwrap the aluminum foil from each finger, and use a cuticle pusher or orange stick to gently push the gel polish off your nails. And when I say gently, I really do mean gently. This is not the time to unleash your inner Hulk. The gel polish should slide off easily, like butter on a hot pancake. If it doesn’t, rewrap your nail and give it a few more minutes to soak.
Remember, patience is a virtue, especially when it comes to removing gel nail polish. Rushing the process can damage your nails, and trust me, no one wants that.
Step 6: The Nitty Gritty
Once you’ve successfully removed the gel polish, you might notice that your nails are looking a bit rough around the edges. Fear not, for this is completely normal. Simply take your nail buffer and gently smooth out the surface of your nails. Again, the keyword here is gently. Your nails have just been through a lot, so treat them with the care and respect they deserve.
And there you have it – smooth, polish-free nails ready to take on the world (or at least ready for another coat of gel polish, because who are we kidding, we’re all gluttons for punishment).
Step 7: The Aftercare
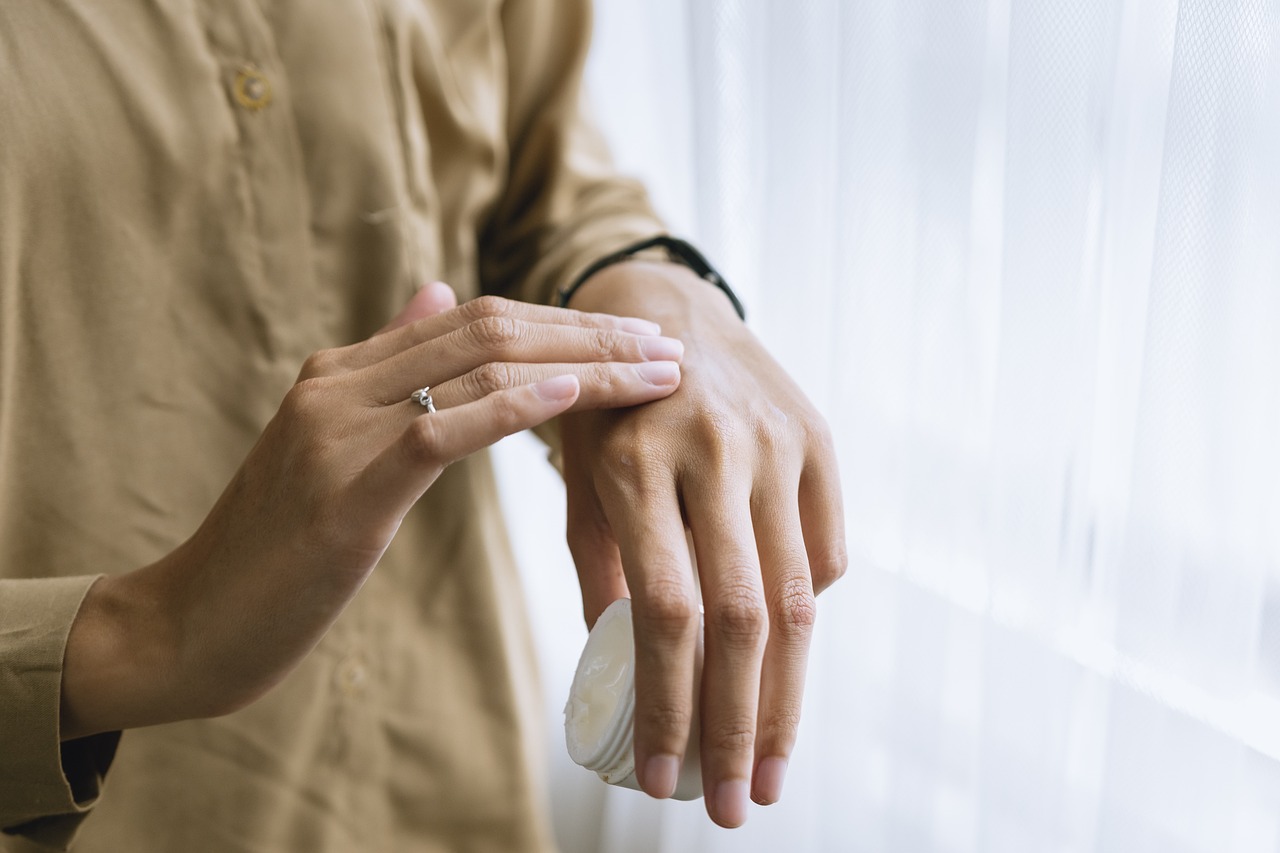
Removing gel nail polish is a battle, and like any battle, it’s important to take care of yourself afterwards. So, treat your nails to a little TLC with some cuticle oil and a good hand moisturizer. Your nails will thank you, and you’ll be ready to tackle the next beauty challenge that comes your way.
Conclusion
Removing gel nail polish is a journey filled with buffing, soaking, and a whole lot of patience, but in the end, it’s worth it to see your natural nails shining through.
So, embrace the process, laugh in the face of acetone, and remember, you are not alone in this journey. Every gel nail polish wearer has been there, and with a little humor and a lot of patience, you’ll come out on the other side victorious. Happy removing!
Pro Tips to Master the Art of Gel Nail Polish Removal:
- Chill, Don’t Drill:
I know it’s tempting to reach for the drill or electric file to speed things up, but trust me, your nails will not thank you for it. Gel polish is stubborn, but so are you. Stick to the manual file and keep the peace.
- Cotton Ball Segments are Your New Best Friend:
Instead of using a whole cotton ball for each nail, cut them into smaller pieces that fit your nails perfectly. This way, you use less acetone, save on supplies, and still get the job done efficiently. Plus, it’s like a fun little arts and crafts project in the middle of your nail salon session.
- Warm it Up:
Slightly warming up the acetone can help speed up the process. But before you go microwaving your acetone bottle, try soaking your cotton balls in acetone and then placing them in a slightly warmed-up heat pad. It’s like a spa day for your nails, and who wouldn’t want that?
- Aluminum Foil Strips for the Win:
Cut your aluminum foil into strips before you start the removal process. This way, you’ll have everything ready to go, and you won’t be fumbling around with a roll of foil, risking smudges and prolonging the process. It’s all about efficiency, people!
- Hydration is Key:
After the whole ordeal, your nails might be screaming for hydration. Give them what they want! Use a nourishing nail and cuticle oil to bring back moisture and keep them strong. Your nails just had a major workout, and they deserve a little protein shake.
- Don’t Rush the Process:
I know you’re eager to jump back into the world of beautifully polished nails, but give your nails a breather. Let them live their natural, naked life for a day or two before applying another coat of any polish. They’ve earned it.
Frequently Asked Questions: Gel Nail Polish Removal Saga
Oh, absolutely! If you’re also a fan of living dangerously and potentially ruining your nails. Peeling off gel polish might feel satisfying for a hot second, but it can take layers of your nail with it, leaving them weak and vulnerable. It’s like ripping off a Band-Aid slowly — why put yourself through that pain?
Sure, if you also enjoy watching paint dry or grass grow. Regular nail polish remover might work…eventually. But if you want results this century, you’re better off using acetone. It’s like trying to cook a steak with a candle — technically possible, but not recommended.
Well, aren’t you popular! Removing gel polish is not a quick in-and-out kind of deal. It’s a commitment. Set aside at least 30 minutes to an hour, depending on how stubborn your polish decides to be that day. It’s the perfect time to catch up on a podcast, contemplate your life choices, or wonder why you didn’t just go to a salon.
Acetone is kind of like that friend who’s a blast at parties but a little too much one-on-one. It’s great at removing gel polish, but it can be harsh on your skin. Use it wisely, and moisturize after. Your skin will thank you.
If by “possible” you mean “time-consuming, frustrating, and not as effective,” then yes, it’s possible! There are non-acetone removers and soaking methods that involve hot water and oil, but they’re like trying to open a soda can with your teeth — why go through the hassle?
Buffing is like preparing your nails for battle. You’re breaking through the top coat of the polish, allowing the acetone to do its job more effectively. Skipping this step is like going into a sword fight with a pool noodle. Good luck with that.
If you’re looking for a way out and willing to pay for it, then yes, a salon is your escape route. They’re the professionals, after all. It’s like having a personal chef for your nails. But if you’re feeling brave, adventurous, or just plain stubborn, grab your nail file and join the ranks of DIY gel polish removers.
Acetone is like that roller coaster everyone’s afraid to ride — it’s intense, but with the right precautions, you’ll come out just fine and maybe even a bit exhilarated. Make sure you’re using it in a well-ventilated area and giving your nails some good ol’ TLC afterward. Fear not, brave soul, you’ve got this!