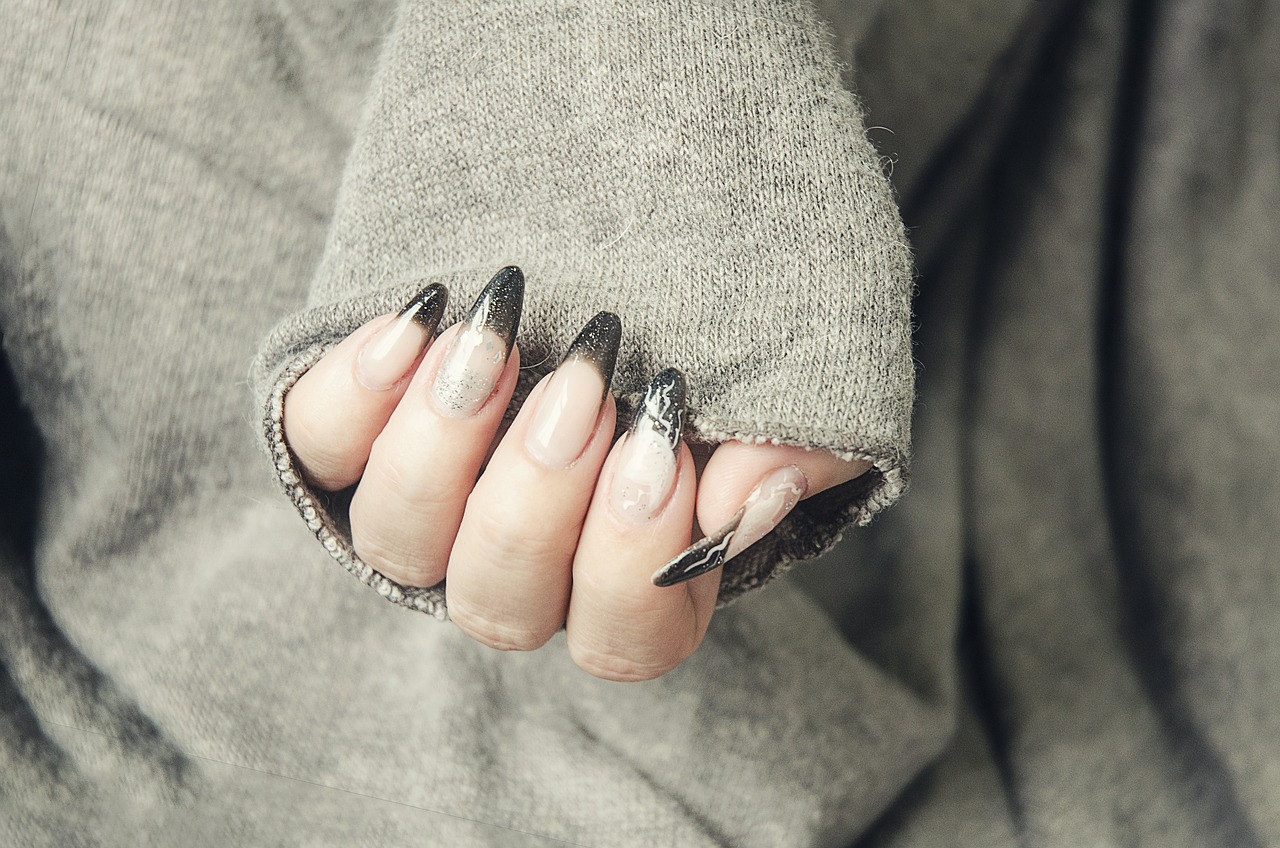
Ah, acrylic nails. They’re like the Kardashians of the nail world. Glamorous, beautiful, and absolutely fabulous — until they start to chip, grow out, or snag your favorite sweater. Then they suddenly turn into the Freddy Krueger of fashion accessories, haunting your every move. So, you’ve finally decided to part ways with them. Breakups are hard, but sometimes it’s just time to move on.
Good news! You don’t need to take another trip to the nail salon to bid adieu to your acrylics. No, you can break up with them right in the comfort of your own home, wearing your rattiest sweatpants and sipping on a glass of wine — or three. After all, a little liquid courage never hurt anyone, except maybe your nails. Kidding, put the wine down; we’re using acetone.
So let’s get those bad boys off and reclaim your natural nails, shall we? Here’s your practical, completely serious guide to removing acrylic nails at home.
Gather Your Supplies
First things first, a field trip to your nearest pharmacy or beauty supply store is in order. Ah yes, the land of possibilities, where you can purchase anything from headache medicine to weird foot scrubs that you’ll never use. For this operation, you’ll need:
- Acetone (The good stuff, none of that nail polish remover business)
- Aluminum Foil (You’re not making a casserole, but it’s just as important)
- Cotton Balls (No, you can’t substitute this with toilet paper)
- Petroleum Jelly (Vaseline, not for sandwiches)
- Nail Buffer or File (Not the one from your office desk)
- Tweezers or Wooden Cuticle Stick (Don’t even think about using your teeth)
Acetone is the VIP in this shindig. Remember, we’re talking pure acetone, not regular nail polish remover. Acetone is basically the reality TV show host of chemicals: it gets right to the point and isn’t afraid to cause a little drama — like literally dissolving your acrylics.
Prepare Your Space
Unless you want to turn this into a sci-fi horror scene, it’s best to prepare your space for the “operation.” Lay down some paper towels or an old towel because acetone doesn’t play around. It’s like the toddler of chemicals, spilling and splattering wherever it pleases. Open a window unless you’re keen on a headache that even your wine can’t cure. And please, for the love of your nails, keep your pets and kids away unless you want to explain to a vet or pediatrician why Fluffy or Timmy has fashion-forward but highly toxic claws.
Step 1: The Preliminary File Down
Start by filing down the top layer of each acrylic nail. The aim is to remove the glossy finish and any designs or colors, but let’s be honest: what you’re really doing is telling these acrylics that their time is up. Think of it as the nail equivalent of unfollowing your ex on social media.
Step 2: Protect Thy Skin
Acetone isn’t just antsy to dissolve your acrylics; it’s also not a fan of your skin. Before you start the removal process, it’s wise to slather some petroleum jelly around the skin that surrounds your nails. This will act like a security guard at an exclusive club, keeping the rowdy acetone from irritating your skin. Don’t put the jelly on the nails themselves, or you’ll be back to square one.
Step 3: Cotton Ball & Acetone Tango
Soak a cotton ball in acetone, the way you soak up drama from the latest celebrity Twitter feud. Place the drenched cotton ball squarely on your nail. Now, I know it’s tempting to let it roam free like a gazelle in the Serengeti, but it’s got to stay put on your nail. This is serious business, people.
Step 4: Foil Fingers — The Latest Fashion Statement
Rip off a piece of aluminum foil and wrap it tightly around the cotton ball and your finger. Try to make sure it’s snug, but not cutting off your circulation. Yes, you’ll look like you’re preparing to communicate with aliens, but trust the process. Repeat for all the other imprisoned nails.
Step 5: The Waiting Game
This is the boring part. You must wait. You’ll need about 20-30 minutes for the acetone to do its thing, which is just enough time to ponder your life choices or rewatch an episode of “Friends” for the umpteenth time. Patience is key. You can’t rush art, and this, my friend, is art of the highest form.
Step 6: The Great Unveiling
After what will seem like an eternity but is actually only half an episode of your favorite reality show, it’s time to check on a nail. Unwrap the aluminum foil cautiously, as if you’re opening a treasure chest filled with gold and precious stones. Use your tweezers or wooden cuticle stick to gently pry the acrylic off. If it doesn’t come off easily, rewrap and wait another 5-10 minutes. We don’t want to force it; this isn’t a soap opera cliffhanger.
Step 7: Buffer the Aftermath
So, you’ve managed to get those pesky acrylics off. Congratulations! Your nails are now free but also probably look like they’ve been through a blender. Don’t fret. Take your nail buffer or file and gently work on the surface of your nails. This will remove any leftover acrylic and adhesive and make your nails ready for their next big adventure — or at least somewhat presentable.
Step 8: Treat Yo’ Self
Your nails have just been through the chemical Olympics. Now it’s time for some TLC. Wash your hands, slather on some luxurious hand cream, and apply cuticle oil like you’re anointing royalty.
And there you have it, a foolproof, laugh-inducing, and yet somewhat practical guide to removing acrylic nails at home. Your nails are now as free as a bird, and you’ve saved a trip to the salon. That money you saved? Spend it on something that won’t require chemical dissolution in a month. Or, you know, buy another set of acrylics because let’s face it, they did look fabulous.


