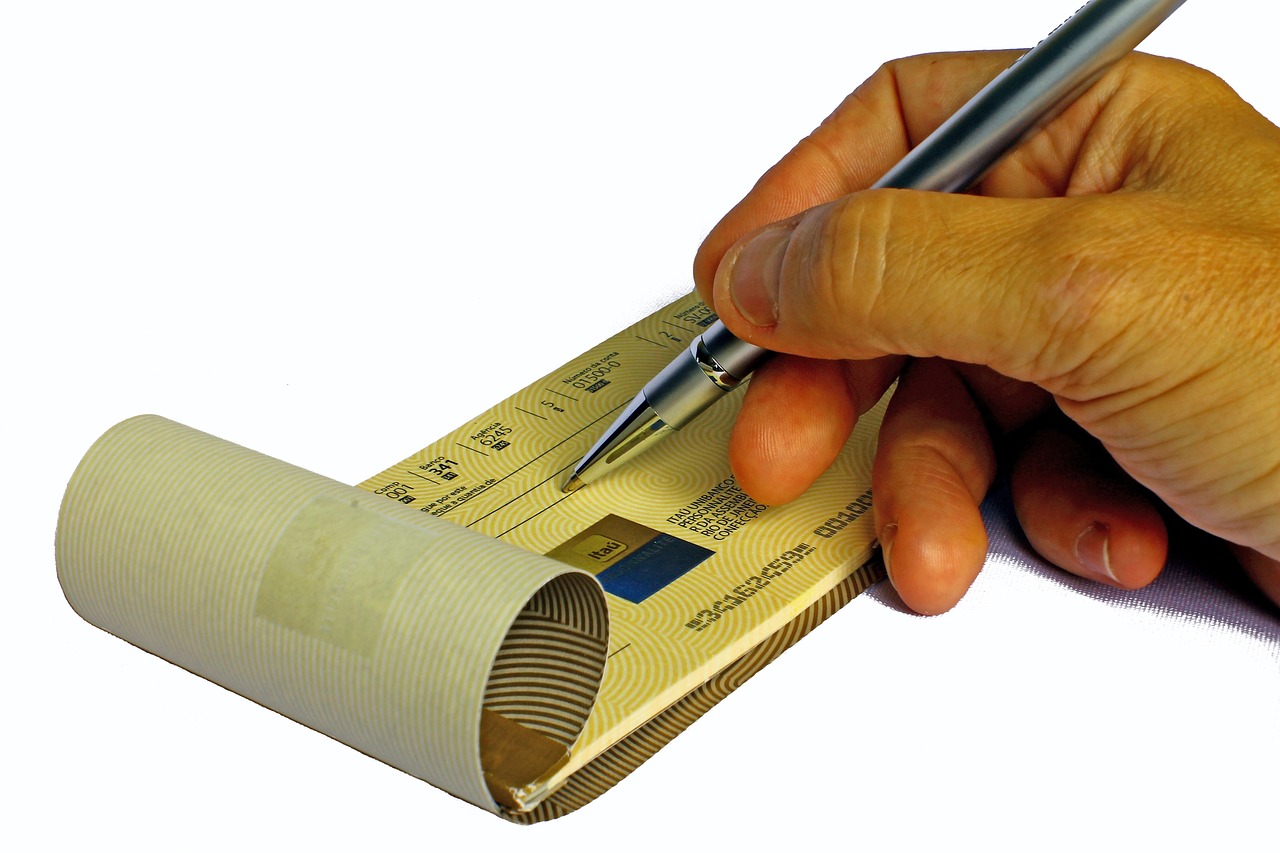
Ah yes, writing checks — arguably the most modern way to part with your money, second only to throwing coins into a wishing well. If you ever find yourself overcome with the insatiable urge to time-travel back to 1973 but lack a DeLorean, don’t worry. Just pull out that dusty checkbook you’ve had since your grandma insisted you’d need it. Sure, you could use Venmo, PayPal, or — God forbid — actual cash, but where’s the nostalgic torture in that?
Step 1: Locate Your Checkbook
Your first task is to find your checkbook, which is no easy feat. By now, it has likely fossilized beneath a stack of unopened bills, old tax returns, or a pile of manuals for appliances you no longer own. If you have trouble finding it, employ the use of a metal detector or perhaps even a team of archaeologists.
Step 2: Choose the Perfect Pen
Remember, you can’t use just any writing instrument. No, this isn’t your average grocery list you can jot down with a stolen IKEA pencil. This is a check, a sacred artifact! Only a pen worthy of such gravitas will suffice. May I suggest a fountain pen, dipped in ink made from the tears of a unicorn?
Step 3: Who’s the Lucky Recipient?
Now you’ll need to write the name of the person or organization you’re sending this relic to. But be careful! One false move and you’ve just made “Jon” into “Jonnnn,” forcing you to start all over again. And you don’t want to run out of checks before your next pilgrimage to the bank in 2031.
Step 4: Enter the Amount in Numbers and Words
On the right side of the check, there’s a box where you write the amount in numerical form. Directly below that, you’ll spell out the same amount using words. That’s right, it’s your chance to show off those fifth-grade spelling skills. Turn that “$200” into a “Two Hundred and 00/100” so fast, you’d make your English teacher weep with joy.
Step 5: What’s it For?
Ah, the memo line. The place where you can clarify that you’re not just giving away money for funsies, but for something important, like “Vintage Beanie Baby Investment” or “Non-imaginary Bills.” This line is crucial because 50 years from now, historians will unearth this check and marvel at your spending habits.
Step 6: Sign on the Dotted Line
Your signature is the crown jewel, the pièce de résistance. So go ahead, let your John Hancock flow like you’re signing the Declaration of Independence. Make it fancy but illegible — this is your art form.
Step 7: Record Keeping, Because You’re So Responsible
Your checkbook probably comes with a register, which is basically the Stonehenge of personal finance tools. In it, jot down the check number, date, recipient, and amount. Congratulations, you’ve just doubled your admin work for no apparent digital gain.
Step 8: The Handoff
Now that you’ve successfully inked a paper with financial jibber-jabber, what do you do with it? You could frame it, enshrining your financial naivety for generations to come. Or, you can hand it off to the lucky recipient and watch as they give you a puzzled look, wondering what in the name of contactless payments they’re supposed to do with this archaeological find.
Step 9: Obsessively Check Your Bank Account
Days will pass. Weeks. Perhaps even a geological epoch or two. Eventually, the recipient will deposit the check, and you’ll see the funds exit your account just like your hope in modern banking.
Step 10: Never Speak of This Again
Having successfully completed this archaic transaction, pledge to never speak of it again. Return to your apps and your one-click payments, and try to forget that you ever regressed to the financial equivalent of Morse code.
There you have it: a comprehensive, wholly unexaggerated guide to writing a check. The next time you find yourself yearning for the complexities of a bygone era, you’ll know just what to do. Now, excuse me while I go write a check for my time machine down payment.


