Boiling eggs. The quintessential culinary challenge that has perplexed humanity for centuries. An enigma wrapped in a shell, floating in a pot. This complex and intricate endeavor can certainly make or break a Michelin-star chef. So, brace yourselves, for today we unravel the deep, dark secrets of how to boil an egg. Get your notepads out, folks. This is going to be more exciting than binge-watching paint dry.
Step 1: Contemplate Your Existence
Before you so much as glance at an egg, it’s essential to sit down and ponder the gravity of the task ahead. Boiling an egg isn’t just cooking; it’s a philosophical journey. Look in the mirror and ask yourself, “Am I ready to take on this monumental task?” When your reflection stares back at you, shell-shocked, you know you’re ready. Probably.
Step 2: Acquire an Egg (or Eggs if You’re Feeling Daring)
Ah yes, the egg — nature’s enigma. Procuring an egg may seem like a simple task, but oh, you’d be so wrong. You can’t just waltz into a store and pick up any carton of eggs. The layperson might reach for a dozen Grade-A Large, but you, the savvy egg-boiling connoisseur that you are, know better. Look the egg in the eye — yes, imagine it has an eye — and interrogate its very soul. Only then can you deem it worthy of your pot.
Step 3: Choose Your Weapon—The Pot
Now, you could use any old pot lying around, but that would be like using a plastic knife in a samurai duel—utterly uncivilized. To properly boil an egg, you need a pot crafted from the tears of unicorns and the sweat of a Himalayan Yeti. Or, you know, anything that’s clean and will hold water.
Step 4: The Sacred Liquid — Water
Ah, water — the elixir of life, the universal solvent, and the crucial ingredient to your egg boiling quest. But not just any water will do. For the love of all things boiled, do NOT use regular tap water. You need water that’s been harvested under a full moon by elves or at the very least has been sitting in your fridge, forgotten for months, absorbing the ambient flavors of leftover pizza and expired milk.
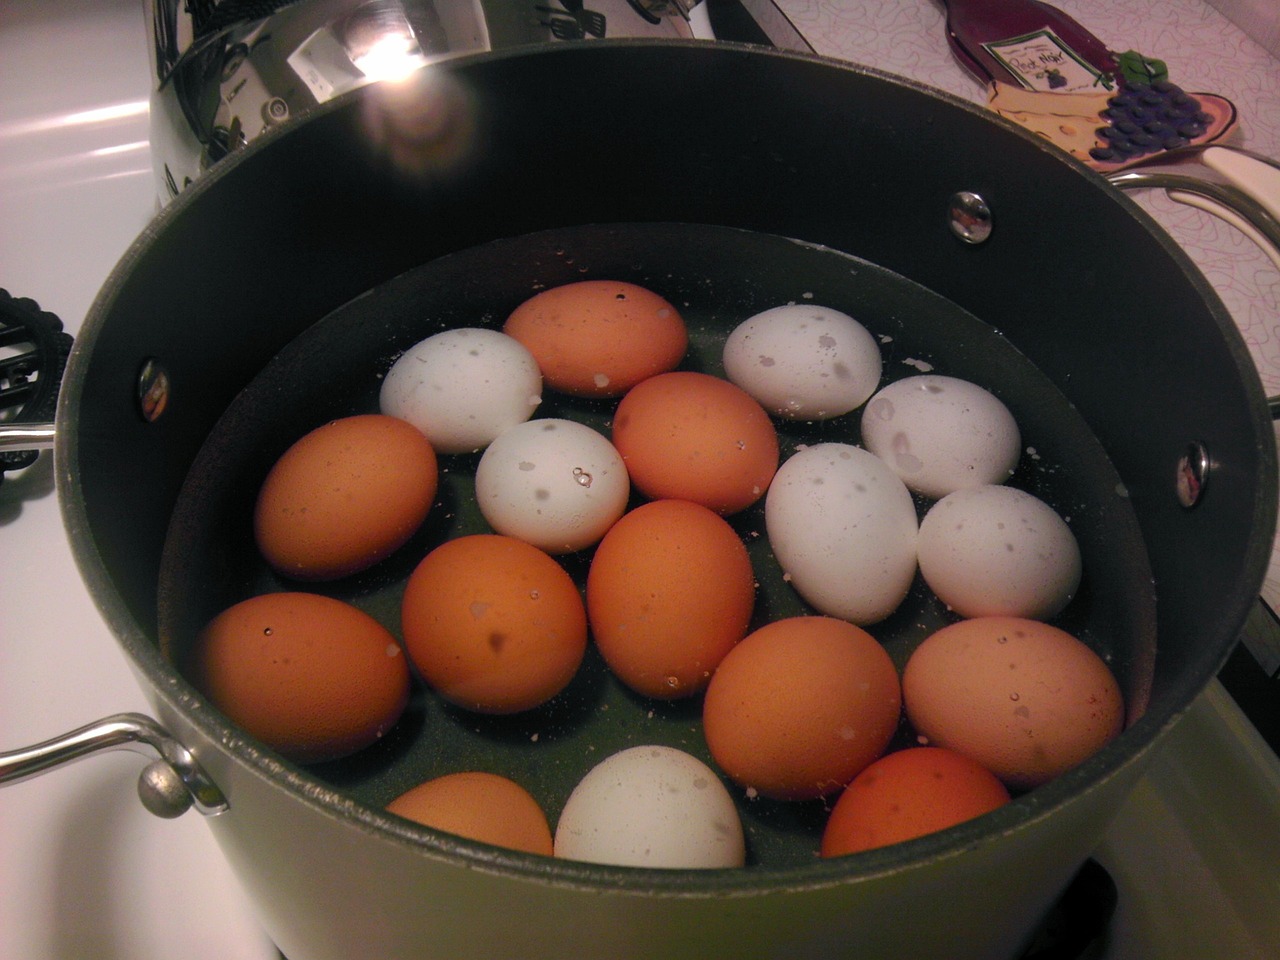
Step 5: Let the Ritual Commence
Fill your chosen pot with the sacred water and place it on the stove. Turn the knob to initiate the “fire spell” on your stove. Most commoners call this setting “high heat,” but we, the scholars of egg boiling, refer to it as “Summoning the Infernal Cauldron.” Then wait. And wait. Stare deeply into the rippling water as it starts to bubble, as if it’s telling you the secrets of the universe—or gossiping about that potato you baked last week.
Step 6: The Baptism of the Egg
It’s time. With the elegance of a ballet dancer and the precision of a neurosurgeon, gently lower the egg into the boiling water. Do not — I repeat — do not just drop the egg in like a barbarian tossing stones into a pond. You risk cracking the egg, unleashing the yolk monster that will haunt your culinary dreams forever.
Step 7: Timing is Everything
Most amateurs would start a timer or look at the clock. Ha! What you really need is a sun dial or an ancient hourglass to count the minutes. The uninitiated might say, “Boil for 9-12 minutes for hard-boiled, 4-6 for soft-boiled.” We know better. The egg will tell you when it’s ready. Listen to it. Well, don’t actually listen; that’d be absurd. But you get the idea.
Step 8: The Ice Bath of Rejuvenation
Once the egg whispers to you that it’s done, rescue it from the pot and plunge it into a bath of ice-cold water. This step is vital for stopping the cooking process and also gives the egg a refreshing spa day it so rightfully deserves.
Step 9: The Great Unveiling
Finally, the moment has arrived. Hold your breath as you tap the egg gently against a hard surface to crack the shell. Then peel away, revealing the wondrous oval perfection you’ve spent your entire life, or at least the last hour, working toward. Marvel at its splendid simplicity.
Step 10: The Feast
What, you thought we were done? You now have a boiled egg, but eating it is another esoteric art altogether. You can’t just chomp down; you must savor each bite, chewing precisely 32 times before swallowing, all while humming Beethoven’s 9th Symphony.
And there you have it, folks! The ludicrously overcomplicated, utterly sarcastic, but nonetheless oddly detailed guide to boiling an egg. By now, you’re not just a cook; you’re an eggstraordinary culinary wizard, a maestro in the grand symphony of boiling eggs. Go forth and spread the gospel of your newfound wisdom — or just make some egg salad, whichever.
Pro Tips: Eggstraordinary Hints and Tricks
- Egg Age Matters: Older eggs are easier to peel after boiling than fresh ones. If you’re planning an egg-boiling marathon, consider buying your eggs a week or so in advance. The age lets the pH of the whites increase, which makes them less likely to adhere to the shell. That means no more unsightly divots and a perfect egg every time.
- Rollin’ & Peelin’: Once boiled and slightly cooled, you can roll the egg gently on a countertop to crack its shell. This creates tiny fissures all over, which makes peeling a breeze. It’s like giving your egg a mini massage after its intense spa session.
- Salt the Water: A pinch of salt in the boiling water can make the peeling process smoother. And if, heaven forbid, an egg cracks while boiling, the salt can help coagulate the white more quickly, sealing the crack. Think of it as your egg’s knight in salty armor.
- Vinegar Victory: Adding a splash of vinegar to the boiling water can help firm up the egg whites faster. Plus, if you’re an unfortunate soul who has an egg crack in the water, the vinegar prevents the whites from feathering out too much.
- Size Matters: Remember, smaller eggs will cook more quickly than larger ones. Adjust your “sun dial” or “ancient hourglass” accordingly.
- Store Wisely: Store your eggs pointy end down in the fridge. This helps keep the yolk centered, ensuring a more aesthetically pleasing boiled egg. Beauty is, after all, in the eye of the egg-holder.
- Egg-Speriment: While we’ve given you the definitive guide to egg boiling, every egg is unique. Do some trial runs to find your ideal boiling time. After all, life (and boiling eggs) is about the journey, not just the destination.
- Egg Rings: Once your eggs are boiled and cooled, store them in the fridge in their shells. You can mark them with a small “B” using a pencil or marker so you can differentiate between your boiled masterpieces and their raw counterparts.
- Check for Freshness: Unsure about the age of your eggs? Place them in a bowl of water. Fresh eggs will sink and lay flat on the bottom. If an egg stands upright on the bottom or floats, it’s older – but not necessarily bad. Just be cautious and give it a sniff test after cracking.
- The Golden Center: For a perfectly centered yolk, especially important for dishes like deviled eggs, gently rotate the raw egg on a countertop a few times before boiling. This helps center the yolk, making for a picture-perfect boiled egg.
FAQs: Boiling Eggs Like an Eggspert
As eggs age, the pH of the whites increases, which makes them less adhesive to the shell. This change in pH results in an air gap between the egg white and shell, making it easier to peel.
A pinch of salt or a tablespoon of white vinegar should suffice for a regular pot of water with up to a dozen eggs.
The greenish ring around the yolk is a result of a reaction between the yolk and the egg white when it’s overcooked or cooled too slowly. It’s harmless, but for a visually pleasing yolk, make sure to monitor your boiling time and immediately plunge the eggs into an ice-cold bath after boiling.
Boiled eggs, when kept in their shell, can be refrigerated safely for up to one week.
For a perfectly centered yolk, gently rotate the raw egg on a countertop a few times before boiling.
Starting with cold water can make it easier to time the eggs and prevent them from cracking. Adding eggs to boiling water might give you more control over the cooking time. Both methods have their merits; it’s a matter of preference.
Overcooked boiled eggs might have a rubbery texture and, as mentioned earlier, a greenish ring around the yolk. Follow our guide to ensure perfect timing.
Absolutely! The process is similar, but the boiling times will vary. Quail eggs typically take 2-3 minutes for soft-boiled and 4 minutes for hard-boiled, while duck eggs take a bit longer than chicken eggs due to their size.
Rapid temperature changes can cause eggs to crack. Always ensure that your eggs are at room temperature before boiling or add them to cold water and then bring it to a boil to minimize cracking.
You can mark boiled eggs with a small “B” using a pencil or marker. Another fun trick is to spin the egg on a countertop. Boiled eggs will spin smoothly while raw eggs will wobble.