Contouring – the magical art of painting new bone structure onto your face with the finesse of a Renaissance artist. Yes, you too can fool people into thinking you have cheekbones sharp enough to slice through glass. But fear not, my aspiring Picassos of the makeup world, I’m here to guide you through this treacherous journey with a mix of genuine advice and a healthy dose of humor.
Step 1: Gather Your Tools
First things first, let’s talk tools. You’ll need a contouring kit – yes, they sell these. It’s like buying a flat-pack furniture kit but for your face. Opt for a palette that has both dark and light shades. The dark is to create those oh-so-elusive shadows (because who doesn’t want to look like they’ve been skulking in dark alleys?), and the light is to highlight the areas you want to bring forward, like your undereye bags, but in a chic way.
Don’t forget brushes! If you’re feeling fancy, get a contour brush with a slightly angled edge; it’s like training wheels for your cheekbones. And a fluffy brush for blending, because nobody wants to look like they have a dirt streak on their face – unless that’s your thing, no judgment here.
Step 2: Understand Your Face Shape (Yes, Geometry Will Finally Come in Handy)
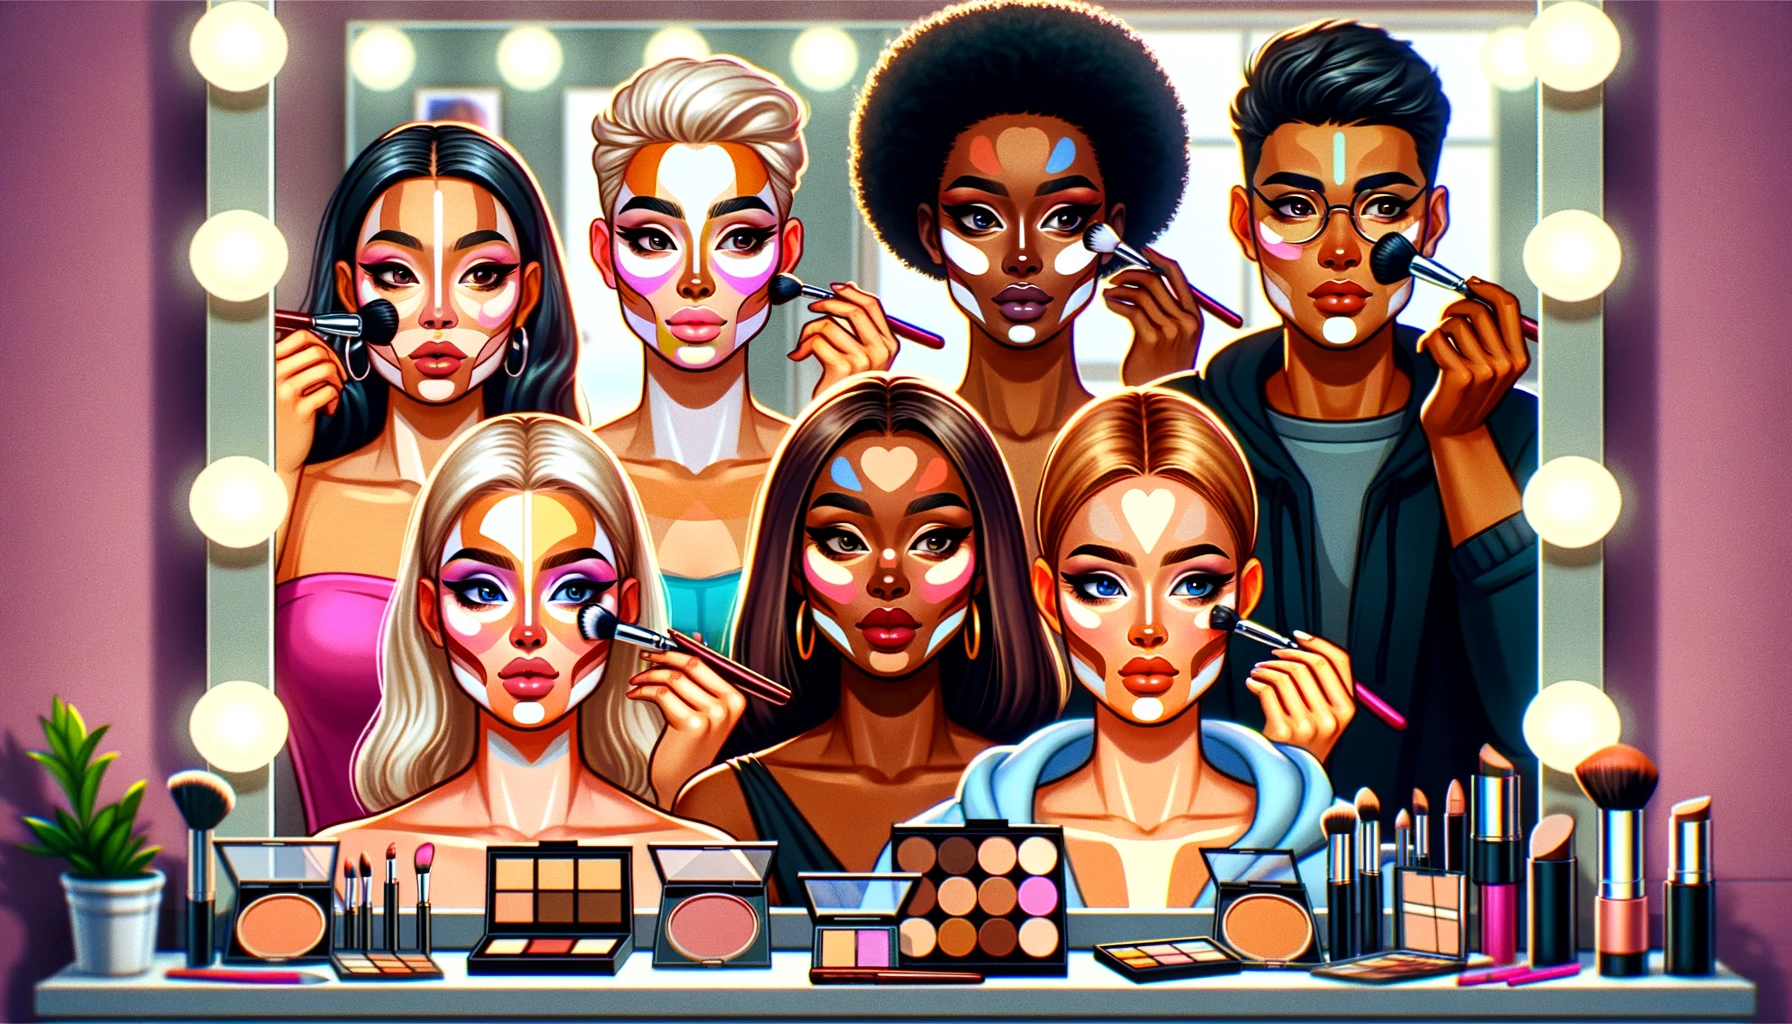
Before you go all Van Gogh on your face, understand your face shape. Is it round like a perfect pancake? Long like the hallway in “The Shining”? Square like SpongeBob’s pants? Each shape has its own contouring map. For instance, if you have a round face, you’ll want to contour the sides of your forehead and jawline to create more defined angles – like a Photoshop filter but in real life.
Step 3: The Art of Illusion (No Rabbits or Hats Involved)
Now, for the actual contouring. Suck in your cheeks and see where that natural shadow falls – that’s your guideline. Apply the darker shade in these hollows. But remember, less is more unless you’re auditioning for a role as a 19th-century stage villain. Blend upwards, not downwards – gravity does enough of that for us already.
For your forehead, apply the contour along the hairline. This is especially great if you, like me, have a forehead so vast it could be its own geographical region.
Highlighting comes next. Think of where the light naturally hits your face – bridge of your nose, brow bone, above the cheekbones, and the cupid’s bow. This is where you apply the lighter shade from your contour kit. It’s like using a flashlight to guide people’s attention to the parts of your face you actually like.
Step 4: Blend, Blend, and Then Blend Some More (Your Arm Workout for the Day)
Remember when I said to get a fluffy brush? Here’s where it becomes your best friend. Blend like your social media credibility depends on it. The goal is to make the dark and light shades merge seamlessly into your skin. You’re going for ‘naturally sculpted’, not ‘I just rubbed dirt and chalk on my face’. Circular motions are your go-to here. Think of it as stirring a cauldron of youthful illusion – a little witchy, a lot effective.
Step 5: Reality Check (Mirror, Mirror on the Wall…)
Now, step back and look in the mirror. If you resemble a zebra, go back to step 4. It’s a trial and error process. No one gets the perfect contour on the first try – if they say they did, they’re lying or they’re a wizard. Adjust as necessary. Maybe blend a little more here, a little less there. This is your face, your canvas. Play around until you find what works best for your unique features.
Step 6: Setting It All (Because You Don’t Want Your Hard Work to Slide Off)
Once you’re happy with how your contouring looks, set it with a setting powder or spray. This is like the varnish on a painting. It keeps everything in place, so you don’t end up with your cheekbones sliding down to your chin halfway through the day.
Final Thoughts: Embrace Your Inner Artist (You’re Practically Da Vinci Now)
And voilà! You’ve successfully contoured your face. Take a moment to admire your handiwork. Snap a selfie, or better yet, have a full-on photoshoot. You’ve earned it.
Remember, makeup is an art, and like any art form, it’s subjective. What works for one person might not work for another. The beauty of makeup is in its versatility and ability to transform, not just our looks, but also our confidence. So wield your brush with pride and a dash of humor – after all, it’s just makeup. It washes off, unlike that tattoo you got on a dare.
Until next time, keep blending and pretending – you’re doing great, sweetie!
Pro Tips for a Perfect Look
- Quality Over Quantity (Your Face Isn’t a Bargain Bin)
Invest in good-quality makeup. It doesn’t have to be the price of a small yacht, but remember, this stuff is going on your face. Better quality products tend to blend more easily, last longer, and are kinder to your skin. Plus, they often come with less risk of looking like you contoured with mud.
- Lighting is Key (Because You’re Not Always in a Candlelit Bistro)
Always do your makeup in good lighting. Natural light is best, but if that’s not possible, get yourself a decent makeup light. Bad lighting can trick you into thinking your contour is blended perfectly when in reality, you look like a before photo in a makeover show.
- Practice Makes Perfect (Or At Least Makes It Better)
Practice, practice, then practice some more. You might not get it right the first, second, or even tenth time, but that’s okay. Makeup is an art form and even Picasso had to start somewhere. Experiment when you have nowhere to be. That way, if you end up looking like a Picasso painting, you can just wash it off and try again.
- Skin Care is Your Foundation (Literally and Figuratively)
Good makeup starts with good skincare. Think of your skin as the canvas for your contouring masterpiece. The better the canvas, the better the end result. Keep your skin clean, moisturized, and happy. Happy skin makes for an easier and more beautiful makeup application.
- Know When to Stop (Less Can Be More)
Sometimes, less is more. You don’t need to contour every inch of your face. Pick a feature or two to focus on. Overdoing it can make your makeup look heavy and unnatural. Remember, the goal is to enhance your natural beauty, not cover it up.
- Have Fun (It’s Makeup, Not Rocket Science)
Lastly, have fun with it! Makeup is a wonderful way to express yourself. Don’t be afraid to try new techniques, colors, or styles. The worst that can happen is you don’t like it and you take it off. It’s a great way to show off your personality and creativity.
Frequently Asked Questions About Contouring
Absolutely! Contouring is a versatile technique that can be adapted to enhance any face shape. The key is to understand the unique contours of your face and apply shading and highlighting accordingly.
While specialized contouring kits are available and often make the process easier, you can also use regular makeup products. A matte bronzer and a highlighter a couple of shades lighter than your skin tone can work wonders.
It depends on your skin type and preference. Cream contours blend easily and are great for dry skin, offering a more dewy finish. Powder contours are better for oily skin and tend to be easier for beginners to control.
Your contour shade should be about two shades darker than your skin tone and have the same undertone as your foundation. The goal is to create a natural-looking shadow.
Yes! If you have fair skin, go for a lighter, cooler contour shade to avoid looking muddy. Remember, blending is key, and always start with a light hand and build up as necessary.
One common mistake is not blending enough, resulting in harsh lines that look unnatural. Another mistake is using too much product or a shade that’s too dark, which can make the face look dirty rather than sculpted.
Contouring can be adapted for both everyday wear and special occasions. For a daily look, opt for a lighter, more natural application. Save the more dramatic contouring for nights out or special events.
Yes! There are numerous online tutorials, blogs, and videos. Try searching for contouring tutorials on platforms like YouTube, where many makeup artists and enthusiasts share their techniques for various face shapes and skin tones.