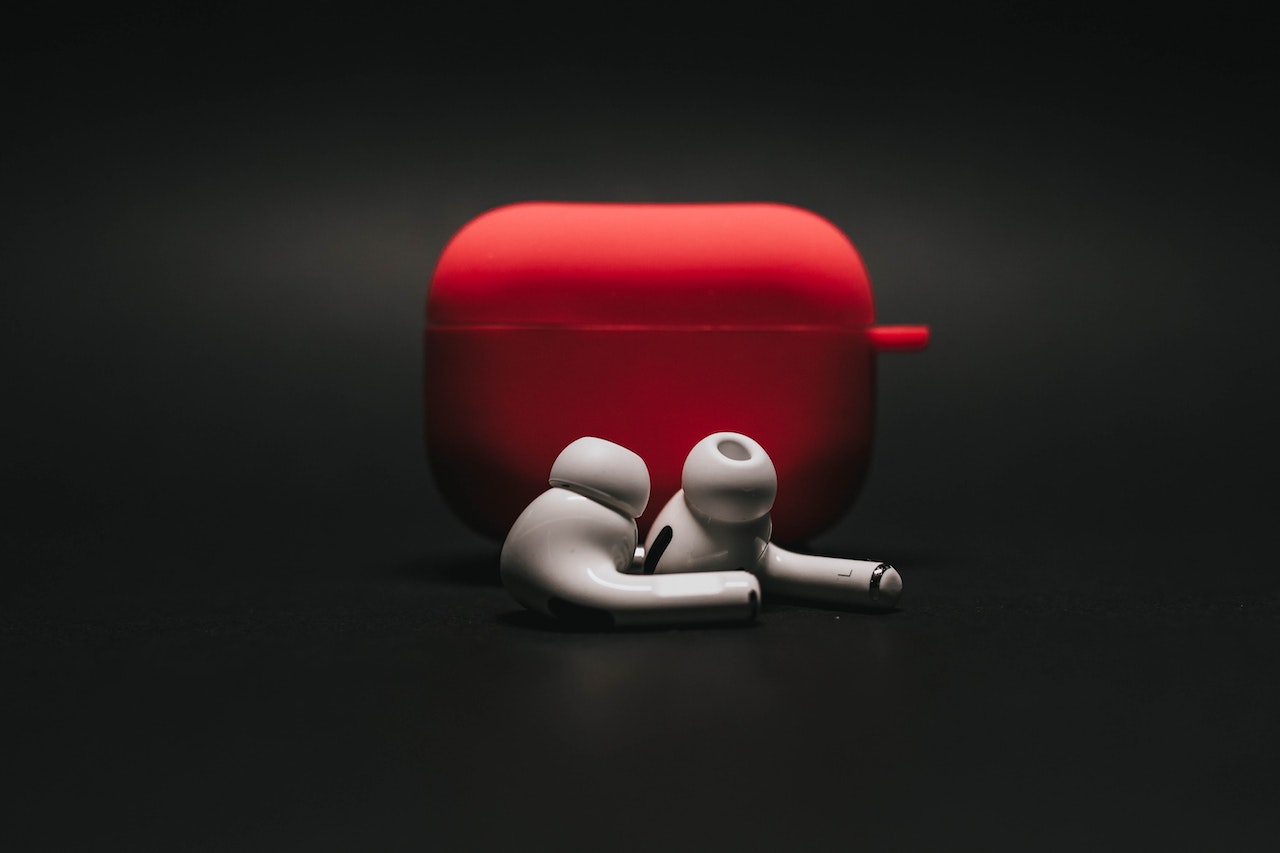
Ah, AirPods! Those elegant white ear gems that make you feel like you’re living in the future. However, after some time, they begin to look less like cutting-edge tech and more like archaeological artifacts that have been in the ground for a century. So, let’s face it, as proud as we all are to show off these little wonders, we also need to give them some TLC every now and then. Fear not, dear reader, for I’m here with the ultimate guide to cleaning your AirPods – sprinkled with just the right amount of humor and love.
1. Admire the Earwax Artwork
First things first. Let’s pause and take a moment to admire the impressive collection of earwax, dust, and God-knows-what-else that’s taken up residence in your AirPods. Is that a tiny civilization building its empire in the mesh? Did you just discover a new species of microorganisms? Document it; you never know, this might be your ticket to a Nobel prize.
2. The Classic Blow Technique
Now, for the first tried-and-true method. Place the mesh end near your lips and blow on it as if it’s your birthday and you’re blowing out a candle. This won’t really remove anything, but it does make you feel like you’re doing something productive. Plus, it’s a great way to get dizzy and appreciate how much cleaner your AirPods already are, even if it’s just an illusion.
3. A Toothbrush: Not Just for Your Teeth
Remember that old toothbrush you’ve been meaning to replace for, well, ever? It’s finally found its true calling! Gently scrub the mesh with the brush to get out the most stubborn gunk. Just make sure you’re not using the same brush you just used to clean your toilet. Or, you know, do – it’s a free world.
4. A Sticky Affair with Blu Tack
Blu Tack, the malleable sticky stuff you’ve been using to pin up posters, is about to become your AirPod’s new best friend. Roll a small piece into a ball and press it gently against the mesh. Lift. Repeat. It’s like waxing, but for your AirPods. Plus, it’s oddly satisfying watching all that dirt come out.
5. The Soap and Water Delusion
Now, this one is purely hypothetical and just for kicks, because you’re not actually going to dunk your AirPods in water, right? But just imagine gently lathering them with a fancy soap, rinsing under a waterfall, and letting them sun dry in the Bahamas. Sounds dreamy. Remember, this is your imaginary spa day for the AirPods. Reality check: electronics and water are frenemies at best. So, keep daydreaming, but keep them dry.
6. Specialty Cleaning Kits: For the Overachievers
For those of you who want to take cleaning to the next level, there are AirPod cleaning kits. They come complete with antiseptic wipes, tiny brushes, and the feeling of superiority. If you have a small fortune to spend on essentially fancy Q-tips, be my guest.
7. The Old-School Q-tip Maneuver
Ah, the ever-trusty Q-tip. Here’s how it goes: Grab one, stare at it, wonder about its life choices, then gently swipe it over the AirPods’ surfaces. Please, for the love of all things tech, make sure it’s dry. A damp Q-tip is just waiting to give your AirPods an unwanted bath.
8. Pocket Lint: The Unsung Villain
You know those mysterious moments when your AirPods vanish into the black hole known as your pocket? Well, while in there, they’re mingling with the VIP of dirt: pocket lint. Using a small pin or needle, very gently poke around (without stabbing your precious buds) and extract that sneaky lint. Just don’t go all Jack the Ripper on them. They’ve been through enough.
9. Compressed Air: The Rocket Launcher
Feeling adventurous? Use a can of compressed air. Aim, fire, and watch in awe as tiny debris flies out of your AirPods at warp speed. But remember, you’re going for a gentle breeze, not a full-blown tornado. Nobody wants to see an AirPod get launched into space…or the neighbor’s yard.
10. A Moment of Silence for the Case
Don’t forget the humble abode of your AirPods, the case. Its insides probably resemble an abstract painting of dirt and earwax by now. Wipe it down with a slightly damp cloth and dry immediately. Use a dry Q-tip or toothpick for those hard-to-reach nooks and crannies.
11. The Professional Touch
Still think your AirPods look like they’ve survived a post-apocalyptic wasteland? Maybe it’s time to let professionals take a shot. Some tech shops offer cleaning services, and let’s be honest, sometimes it’s nice to let someone else handle the messy business while you sit back and sip a latte.
12. Celebrate Your Success (Or Lack Thereof)
By now, your AirPods should either be shining like a diamond or just slightly less dirty than when you started. Give yourself a pat on the back or a facepalm, depending on the outcome. Either way, you tried, and that’s what counts, right?
In Conclusion…
Cleaning AirPods is like trying to clean your reputation after singing karaoke – it’s tricky, somewhat embarrassing, but ultimately worth it. Whether you’re simply hoping to salvage some semblance of hygiene or trying to restore the pristine sound quality, these tips (no matter how sarcastic) have got you covered.
Now go forth, put those sparkly clean (or semi-clean) AirPods in, and strut your stuff. After all, you’ve earned it. And if anyone asks about your cleaning secrets? Just wink and say, “I have my methods.”
Pro Tips (because you obviously need more)
- Silicone Tips Need Love Too: If you have AirPods Pro, remove the silicone tips and clean them separately. A gentle wash with soap and water, followed by thorough drying, can do wonders. But always ensure they’re completely dry before reattaching.
- Alcohol Wipes: For disinfecting, use a 70% isopropyl alcohol wipe. Gently wipe the external surfaces of your AirPods or EarPods. Avoid any openings to ensure no liquid enters the device.
- Mesh Maintenance: Over time, the mesh can accumulate dirt affecting sound quality. You can lightly dampen a soft cloth with fresh water and gently clean the mesh. Ensure no water drips into the openings.
- Watch the Charger Port: When cleaning the AirPods case, pay particular attention to the charging port. Lint and other debris can accumulate there, affecting the charging efficiency. Use a soft-bristled brush to gently sweep away any debris.
- Regular Maintenance: Make it a habit to check your AirPods for dirt and debris after each use. The more frequently you clean them, the less chance there is for dirt to build up and affect performance.
- Store Properly: When not in use, always store your AirPods in their case. This protects them from dirt, debris, and potential damage.
- Avoid Harsh Chemicals: Never use household cleaners, aerosol sprays, solvents, or other harsh chemicals on your AirPods. These can damage the materials and affect functionality.
- Dry Environments are Best: Always dry your AirPods and the charging case in a room with good airflow. Never use external sources of heat, like hair dryers, as they can cause damage.
Remember, the key to longevity for any tech gadget is regular maintenance and careful handling. Your AirPods are no exception.
Frequently Asked Questions (FAQ) about Cleaning AirPods
No, never submerge your AirPods in water or any other liquid. They are not waterproof and doing so can cause irreversible damage.
Ideally, give them a quick check and wipe after each use. A more thorough cleaning can be done once a week or when you notice a buildup of dirt or decreased sound quality.
Use fresh water for any damp cleaning, and 70% isopropyl alcohol wipes for disinfecting external surfaces.
No. Avoid using household cleaners, aerosol sprays, solvents, or other harsh chemicals as they can damage the AirPods’ material and functionality.
Dirt, earwax, or debris accumulated in the mesh can cause a decrease in sound quality. Regular cleaning can help maintain optimal sound.
While they are not essential, cleaning kits can provide specialized tools that might make the cleaning process easier and more thorough. Ensure you follow the manufacturer’s guidelines.
If you’ve used any liquid to clean the case or the AirPods, ensure they are completely dry before charging to avoid any potential damage.
Dry them immediately with a soft cloth. Do not charge until you’re sure they’re completely dry. Do not use external heat sources like hair dryers.
Remove them and clean separately with soap and water. Make sure they’re completely dry before reattaching.
Yes, always use gentle motions when cleaning. Avoid poking too hard, especially near the mesh, as it could cause damage or push debris further inside.


